Repairing an EV charger circuit board starts with one rule: treat the charger as safety-critical electrical equipment, not just a small electronics project. A loose connector, failed relay, damaged capacitor, moisture leak, or control-board fault can stop charging, but opening the unit without the right skills can expose you to shock, arc, fire, warranty, and listing risks.
Quick Answer
You can safely inspect an EV charger circuit board only after the charger is fully deenergized, disconnected or locked out, and checked for stored energy. Basic checks include error codes, loose connectors, corrosion, burnt marks, and damaged solder joints. Call a qualified technician for hardwired chargers, live testing, ground-fault faults, melted parts, or unknown high-voltage problems.
Key Takeaways
- Start with safe external checks before opening the charger: breaker, outlet, plug, cable, vehicle port, app fault, and indicator lights.
- Never work on a hardwired EV charger unless the circuit is isolated, locked out or tagged, and verified deenergized by a qualified person.
- Capacitors and high-voltage sections can hold dangerous energy even after power is removed.
- Board-level repair may void the warranty or affect the charger’s safety listing, so check the manual and manufacturer support first.
- Replace or professionally service the charger if you see melted relays, burned traces, water damage, repeated GFCI trips, or failed ground-fault protection.
At a Glance
| Time Required | 15 to 30 minutes for safe visual inspection; longer only for qualified diagnosis or manufacturer-approved repair |
| Difficulty | Moderate for visual inspection; advanced and pro-only for energized testing, hardwired units, or board-level component replacement |
| Tools Needed | Owner manual, phone camera, labels, insulated screwdrivers, ESD strap, flashlight, magnifier, CAT-rated multimeter for qualified users, and a temperature-controlled soldering iron only when repair is safe and approved |
| Cost | Small parts may cost $5 to $50, but professional diagnosis, board replacement, or full charger replacement varies by model and local labor rates |
Warning: Do not open or probe an EV charger while it is connected to power. A hardwired Level 2 charger must be isolated at the breaker or disconnect, protected from being turned back on, and verified deenergized before service. Capacitors can also store energy after shutdown. If you are not trained for electrical testing, stop and call a qualified technician.
Understanding the Role of Circuit Boards in EV Chargers
The circuit board inside an EV charger, also called EVSE or electric vehicle supply equipment, helps control charging safety and communication. In many AC home chargers, the board does not charge the battery directly. Instead, it manages the relays or contactors, pilot signal, ground monitoring, thermal sensors, display lights, buttons, Wi-Fi or app module, and safety checks before power flows to the vehicle.
That is why a circuit board fault can look like several different charger problems. You may see no power light, a stuck error code, a relay that clicks but never starts charging, random charging stops, a failed display, or repeated breaker or GFCI trips.
Standards such as UL 2594 for Electric Vehicle Supply Equipment cover conductive EV supply equipment and show why these devices should be treated as safety equipment, not ordinary gadgets. If the charger is sealed, listed, leased, under warranty, or installed by an electrician, board-level repair may not be the best first step.
Safe Checks Before Opening an EV Charger
Before you remove the charger cover, rule out simple problems that do not require touching the circuit board.
- Check the manual and fault code. Match the LED blink pattern, screen message, or app error to the manufacturer’s guide.
- Try a known-good charging setup. If possible, test the vehicle on another charger or test the charger with another compatible EV.
- Inspect the plug and cable. Look for heat discoloration, bent pins, cuts, crushed insulation, loose strain relief, or moisture in the connector.
- Reset only once. If the breaker or GFCI trips again, do not keep resetting it. Repeated tripping points to a real fault.
- Check for water entry. Outdoor chargers can fail from cracked gaskets, loose conduit fittings, or condensation inside the case.
- Look for software clues. Networked chargers may show logs, firmware errors, Wi-Fi dropouts, or contactor faults in the app.
Note: If your charger is still under warranty, contact the manufacturer before opening it. Opening the housing or replacing board parts can void coverage and may affect the safety listing of the equipment.
Common Issues in EV Charger Circuit Board Repair
When an EV charger circuit board fails, the cause is often visible only after safe isolation and inspection. Common board-level issues include:
- Burned or darkened areas: These can point to overheated relays, resistors, traces, or power-supply parts.
- Swollen or leaking capacitors: Bulging tops, leakage, or crusty residue are warning signs.
- Loose connectors: Vibration, heat, or poor strain relief can loosen wire harnesses and signal plugs.
- Cracked solder joints: Heavy parts such as relays and terminal blocks can develop ring cracks around their pins.
- Corrosion or moisture damage: Green, white, or black residue can bridge pins and damage traces.
- Failed relays or contactors: A relay may click but fail to pass current, or it may weld closed in a dangerous failure.
- Damaged low-voltage power supply: If the control board has no low-voltage output, LEDs, display, and logic circuits may stay dead.
- Ground-fault or pilot-circuit faults: These are safety-critical and should not be bypassed.
If a charger trips protection devices, smells burned, shows melted plastic, or has water inside, the safest repair is usually professional diagnosis or replacement, not repeated resets.
How to Repair Your EV Charger Circuit Board
The safest repair process is a decision path. You are not trying to force the charger back on. You are trying to identify whether the problem is external, safely inspectable, repairable by the manufacturer, or pro-only.
Step 1: Deenergize the Charger
For a portable plug-in charger, unplug it from the outlet and keep the plug under your control. For a hardwired charger, turn off the correct breaker or disconnect. If anyone else can reenergize it, use proper lockout or tagout procedures and call a qualified person.
Do not rely on an app, button, screen, or internal interlock as the only off switch. Control circuits are not the same as physically disconnecting the electrical source.
Step 2: Wait and Verify Before Touching the Board
Give the charger time to power down. A qualified person should verify absence of voltage with a properly rated meter before the board is handled. Large capacitors must be treated with caution because stored energy can remain after the charger is disconnected.
Step 3: Document Everything
Take clear photos before moving any connector or screw. Capture the model label, serial number, board number, wire positions, connector orientation, and any burnt or corroded area. Label plugs if several connectors look similar.
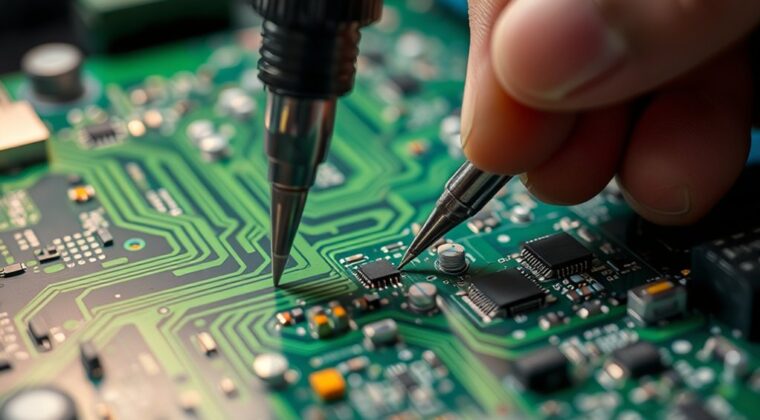
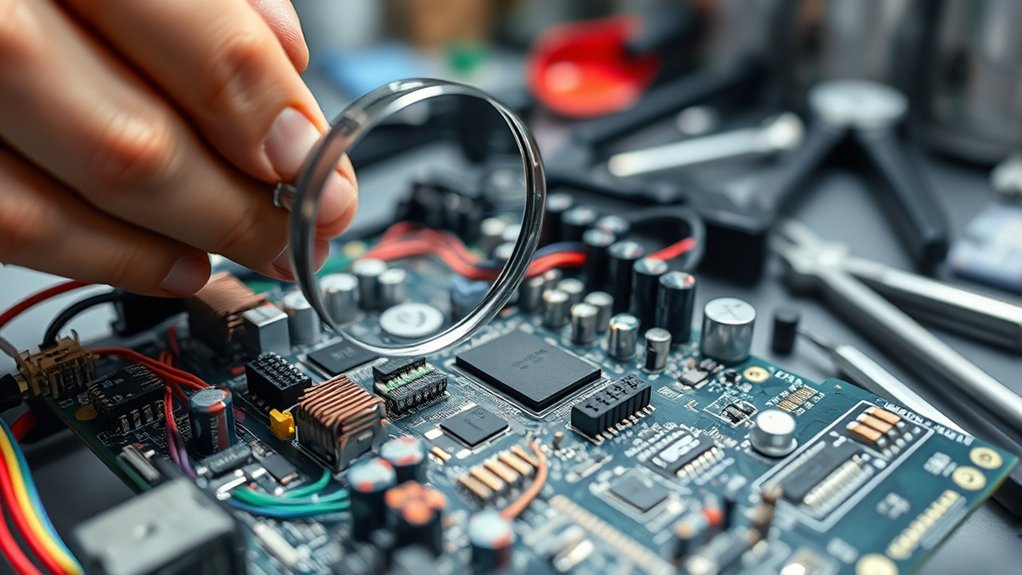
Step 4: Inspect Without Forcing Parts
Use a flashlight and magnifier to look for cracked solder joints, loose terminals, broken plastic clips, water stains, insect debris, swollen capacitors, or heat marks. Do not scrape, bend, or pry at parts unless you already know the replacement process.
Step 5: Decide: Repair, Replace, or Call a Pro
A simple loose low-voltage connector may be safe to reseat after the unit is deenergized. A damaged relay, burned trace, failed ground-fault circuit, or melted terminal is different. Those failures can affect shock and fire protection, so they should be repaired only by the manufacturer, a qualified electronics repair technician, or a licensed electrician familiar with EVSE equipment.
Step 6: Test Safely After Reassembly
After any approved repair, the enclosure must be fully reassembled with gaskets, strain relief, screws, and covers in place. Do not test the charger open. Confirm the charger starts normally, stops normally, reports no fault codes, and does not overheat. If the same fault returns, stop using the charger.
Pro Tip: Search support forums only with your exact charger model, board revision, and fault code. Advice for another model can be unsafe because relay layout, grounding checks, thermal sensors, and pilot circuits vary by manufacturer.
Essential Tools for EV Charger Circuit Board Repair
The right tools help you inspect the charger without creating new damage. Use electronics-safe tools, not automotive test lights or household repair tools.
- Owner manual and fault-code chart: Always start with the manufacturer’s troubleshooting steps.
- Phone camera or high-resolution camera: Photograph wires, board markings, connectors, and damage before disassembly.
- Insulated screwdrivers: Use the correct bit size so you do not strip safety screws or damage the housing.
- ESD wrist strap and ESD-safe mat: These reduce the chance of static damage to microcontrollers and communication chips.
- Flashlight and magnifier: Use them to check solder joints, corrosion, cracked traces, and relay pins.
- CAT-rated multimeter: Use only if you know how to verify deenergized circuits and choose the correct meter category and range.
- Temperature-controlled soldering iron: A 30 to 60 watt electronics iron is better than an oversized soldering gun for most small PCB work.
- Lead-free rosin-core solder and electronics flux: Never use acid flux or plumbing solder on a circuit board.
- Isopropyl alcohol and ESD-safe brush: Use these for light residue cleaning only after the unit is fully deenergized.
A multimeter is useful for continuity checks, resistance checks, diode testing, and low-voltage diagnostics. It is not a license to probe live mains circuits. If a test requires the charger to be energized while open, that test belongs to a qualified person with proper PPE and test equipment.
What Not to Repair on an EV Charger Board
Some charger faults are too risky for DIY repair. Stop and call a pro if you find any of these signs:
- Burned copper traces or carbonized board material
- Melted terminal blocks, relays, contactors, plug pins, or wire insulation
- Water inside the charger housing
- Repeated breaker or GFCI trips after one reset
- Ground-fault, isolation, pilot-signal, or safety-relay fault codes
- Swollen capacitors in the power-supply section
- Loose high-current terminals
- Evidence that a previous repair bypassed a fuse, thermal sensor, relay, or safety device
- No matching replacement part from the manufacturer or a trusted electronics supplier
Do not bridge fuses, bypass interlocks, defeat ground-fault protection, remove thermal sensors, or force a relay closed. These shortcuts can turn a repairable charger into a shock or fire hazard.
When Should You Call a Pro for Circuit Board Fixes?
You should call a qualified technician, electrician, or the charger manufacturer when the repair involves hardwired power, live testing, burned components, water damage, warranty coverage, or safety circuits. This is especially important for outdoor chargers, commercial chargers, shared parking chargers, and any unit connected to a dedicated 240 volt circuit.
Professional service can do more than replace a part. A qualified repair can confirm the correct breaker, grounding, torque on terminals, enclosure sealing, strain relief, contactor function, temperature sensing, and safe operation after repair. That matters because a charger may appear to work but still have a hidden safety fault.
If the manufacturer offers a replacement board, replacement head unit, or exchange program, that is often safer than unsoldering parts from a safety-listed EVSE board. If the charger is old, water-damaged, or heavily burned, full replacement may be the safer and more economical choice.
Frequently Asked Questions
What safety precautions should I take while repairing an EV charger circuit board?
Disconnect the charger from power, prevent it from being reenergized, verify absence of voltage if you are qualified, and treat capacitors as potentially charged. Wear eye protection, use insulated tools, keep the work area dry, and do not work on hardwired or energized equipment unless you are trained for that work.
How can I identify specific components on the circuit board?
Start with the board labels, component markings, wire labels, and manufacturer diagram if available. Relays are usually larger box-shaped parts, capacitors are cylindrical or rectangular parts, and connectors often have printed labels nearby. Photograph everything before unplugging connectors, and do not guess if the board has no clear markings.
What type of solder should I use for EV charger board repairs?
Use electronics-grade solder, usually lead-free rosin-core solder, along with electronics-safe flux. Do not use plumbing solder or acid flux because the residue can corrode copper and create leakage paths. Match the original solder type when possible and use a temperature-controlled iron to avoid lifting pads.
Will a DIY repair void my EV charger warranty?
It can. Many manufacturers limit warranty coverage if the charger is opened, modified, repaired by an unauthorized person, or damaged during service. Before opening the housing, check the manual, warranty terms, and manufacturer support options.
Can I use a multimeter for circuit board diagnostics?
Yes, but only within your skill level and with a properly rated meter. A multimeter can help with continuity, resistance, diode checks, and low-voltage checks. Do not probe live 120 volt or 240 volt circuits inside an open charger unless you are qualified and using the correct safety equipment.
Why does my EV charger click but not start charging?
A click often means a relay or contactor is trying to close, but the charger may still block charging because of a ground fault, pilot-signal issue, temperature fault, vehicle communication problem, or failed relay contacts. Check the error code first. If the issue involves safety circuits or high-current parts, call a technician.
Is it better to replace the board or replace the whole charger?
If the manufacturer sells a matching replacement board and the repair is done by a qualified person, board replacement can make sense. If the charger has water damage, burned high-current parts, repeated protection trips, no parts support, or an expired safety listing concern, replacing the full charger is often safer.
Conclusion
An EV charger circuit board repair should always start with safe troubleshooting, not soldering. Check the simple external causes first, document the fault, and inspect the board only after the charger is fully deenergized and safe to handle. Small issues such as loose low-voltage connectors or visible corrosion may be easy to identify, but burned parts, hardwired circuits, ground-fault errors, and live testing call for professional help. When safety, warranty, or listing status is uncertain, the best repair is the one that keeps the charger safe to use every day.
Sources
- OSHA 1910.333, Selection and use of work practices — supports deenergizing, lockout/tagout, capacitor discharge, and qualified-person guidance for electrical work.
- OSHA 1910.147, The control of hazardous energy — supports lockout/tagout and energy-control guidance for service and maintenance.
- UL 2594, Electric Vehicle Supply Equipment — supports EVSE safety-standard context and scope for conductive EV supply equipment.
- U.S. Department of Energy Alternative Fuels Data Center, Electricity Basics — supports EV charging and public charging infrastructure context.
- Reliability of Open Public Electric Vehicle Direct Current Fast Chargers — supports charger reliability and fault-context discussion.
