
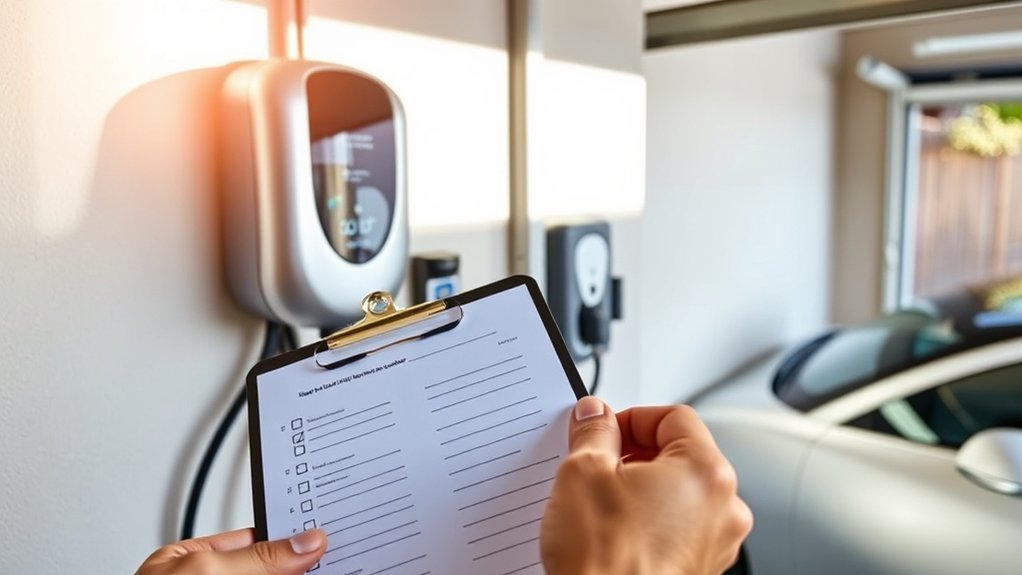
Inspecting your EV charger does not require taking anything apart. Most homeowners can do a safe visual check by looking for damage, heat marks, loose mounting, cable wear, connector debris, warning lights, and app alerts. The key is knowing what you can check yourself and when to stop using the charger and call a licensed electrician.
Quick Answer
Inspect your EV charger by checking the housing, cable, connector, plug or outlet, mounting hardware, indicator lights, app alerts, and nearby breaker area for cracks, corrosion, looseness, heat marks, burning smells, or water damage. Stop using the charger if you find damage, repeated faults, overheating, or exposed wiring.
Key Takeaways
- Do a quick visual check monthly if the charger is outdoors, used daily, or exposed to kids, pets, tools, or garage traffic.
- Look for frayed insulation, cracked casing, loose mounting, bent connector pins, corrosion, heat discoloration, buzzing, and burning smells.
- Clean only the exterior and connector shell with the charger off and unplugged from the vehicle. Do not spray water into the connector or housing.
- Use a licensed electrician for breaker trips, hot outlets, melted plugs, hardwired charger problems, wiring repairs, or panel work.
At a Glance
| Time Required | 10 to 20 minutes for a visual inspection |
| Difficulty | Easy for visual checks; professional-only for wiring, breaker, or internal charger work |
| Tools Needed | Flashlight, dry microfiber cloth, phone camera, charger app, and your charger manual |
| Cost | Free for DIY visual checks; electrician inspection or repair cost varies by location and issue |
Why Regular EV Charger Inspections Matter
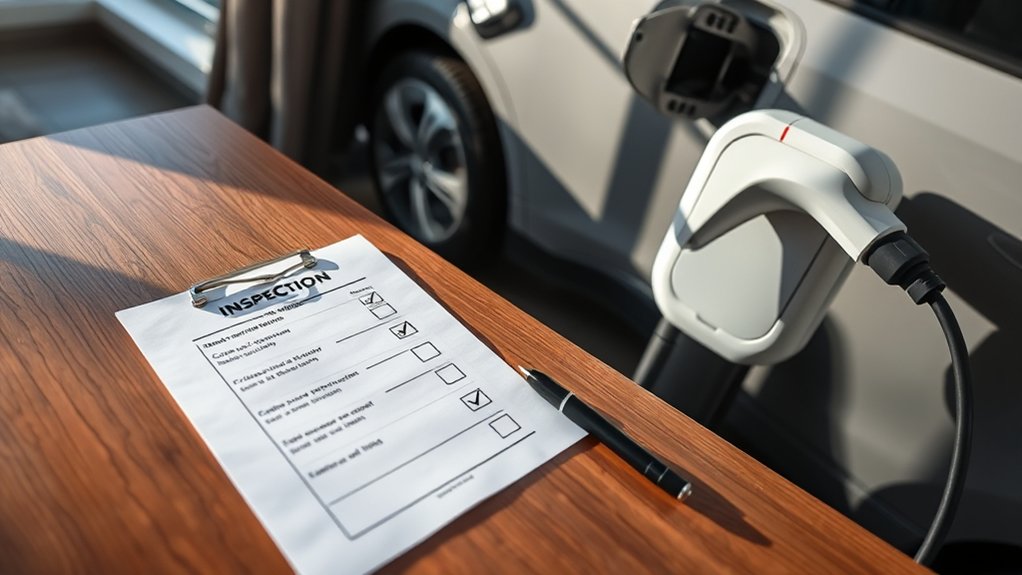
Regular inspections help you catch small problems before they turn into unsafe charging conditions. A home charger handles repeated high-current use, so damaged cables, loose plugs, cracked housings, water intrusion, and heat marks should never be ignored.
The U.S. Department of Energy’s Alternative Fuels Data Center notes that most EV drivers charge at home with Level 1 or Level 2 charging equipment. It also recommends safety-certified equipment and a certified electrical contractor when installation or electrical capacity is involved.
A charger can look normal at a glance but still show early warning signs at the cable, connector, plug, outlet, mount, or app status screen.
Routine checks can also protect your warranty records. If you document faults, repairs, photos, and service visits, it is easier to explain when a problem started and what action you took.
Before You Start: Safety Steps
Start with safety before you touch the charger or cable. You are doing a visual inspection, not electrical repair.
Warning: Do not open the charger housing, outlet box, junction box, or breaker panel unless you are qualified to work on electrical equipment. If you see melted plastic, exposed wire, smoke, a burning smell, buzzing, sparking, or repeated breaker trips, stop using the charger and call a licensed electrician.
- Stop the charging session in the vehicle or app before inspecting.
- Unplug the connector from the vehicle and place it in its holster.
- Keep your hands dry and stand on a dry surface.
- Use a flashlight so you can see the cable jacket, connector face, and wall area clearly.
- Do not use a pressure washer, hose, solvent, metal pick, or sharp tool on the connector.
- Check your owner’s manual for model-specific warnings and indicator-light codes.
Your EV Charger Inspection Checklist
Use this checklist every few months for a typical indoor home charger. Use it monthly if your charger is outdoors, shared by multiple drivers, installed in a busy garage, or used every day.
1. Check the Charger Housing
Look over the front, sides, and bottom of the charger. The casing should be firmly closed, clean, and free from cracks, dents, missing screws, swelling, scorch marks, or water stains.
If the unit is outdoors, confirm it is outdoor-rated and that the cover, cord holder, and connector holster still protect the equipment from rain, snow, direct spray, and debris. Outdoor EV charging can be safe when the equipment is rated for outdoor use.
2. Inspect the Charging Cable
Run your eyes along the full length of the cable. Do not bend it sharply or pull it hard. Look for:
- Frayed or cracked insulation
- Flattened, pinched, or crushed sections
- Cuts, exposed conductors, or chew marks
- Stiff spots, bubbling, or melted areas
- Burning smell or cable sections that feel unusually warm after charging
The Electrical Safety Foundation International warns against using cords that feel hot or are damaged in any way. Treat EV charging cable damage the same way: stop using the charger until it is inspected or repaired.
3. Check the Connector and Holster
Inspect the connector face without inserting tools into it. The connector should be dry, clean, and free from mud, corrosion, broken plastic, bent parts, or stuck debris. The latch should move normally, and the connector should sit securely in its holster when not in use.
Most U.S. EVs use J1772, CCS, Tesla/NACS, or J3400-style connectors depending on the vehicle and charger. No matter which connector you use, the goal is the same: clean contact surfaces, a secure fit, and no visible heat damage.
4. Verify the Mounting and Cable Support
Gently check that the wall unit, pedestal, cable hook, and strain relief are secure. A loose charger can stress wires, plugs, cable glands, or mounting hardware over time.
Pro Tip: Keep the charging cable looped on its holder instead of leaving it on the floor. Secure cable storage helps prevent tripping, crushing, water exposure, and connector damage.
5. Inspect the Plug, Outlet, and Nearby Wall Area
If your charger plugs into a receptacle, check the plug and outlet area without removing the outlet cover. Look for discoloration, melted plastic, looseness, cracking, a burnt smell, or a plug that does not sit firmly.
If your charger is hardwired, do not remove covers or inspect internal wiring. Instead, look for external signs of trouble near the junction point, such as heat marks, buzzing, water stains, or loose conduit.
6. Check the Breaker Area Without Opening the Panel
You can look at the outside of the electrical panel and note whether the EV charger breaker has tripped. Do not remove the panel cover. A one-time trip may come from a temporary fault, but repeated trips mean the charger, circuit, outlet, breaker, or wiring needs professional diagnosis.
EV charging equipment is treated as a continuous electrical load under the National Electrical Code, and local permits or inspections may apply to charger installation. Use a licensed electrical contractor for panel, breaker, circuit, or load-capacity work.
7. Confirm Lights, Screens, and App Alerts
Check the charger’s indicator lights, display screen, or app. Normal lights vary by brand, so compare them with your manual. Look for warning lights, fault codes, offline status, charging interruptions, failed schedules, or repeated “charging stopped” alerts.
If the charger is smart or networked, also check:
- Wi-Fi or cellular connection
- Firmware update status
- Charging schedule and off-peak settings
- Load-sharing or power-limit settings
- Utility demand-response settings, if enrolled
8. Clean the Exterior Safely
Wipe the exterior with a dry or lightly damp microfiber cloth. Use mild soap only on the outside surface if needed. Do not spray water into the connector, outlet, vents, display, seams, or cable ends.
Identifying Common Problems During Your Inspection
Most charger problems show up as visible damage, heat signs, connection trouble, or charging interruptions. Use the table below to decide what to do next.
| Problem Found | What It May Mean | Safe Next Step |
|---|---|---|
| Frayed, cut, crushed, or chewed cable | Damaged insulation or possible shock/fire hazard | Stop using the charger and contact the manufacturer or electrician |
| Melted plug, outlet discoloration, or burnt smell | Overheating, loose connection, overload, or wiring fault | Stop use immediately and call a licensed electrician |
| Loose wall unit, loose pedestal, or strained cable | Mounting failure or stress on wiring/cable support | Do not pull on the cable; schedule service |
| Debris, corrosion, or moisture in connector area | Poor connection, water exposure, or contact damage | Let it dry if only exterior moisture is present; call service for internal corrosion or damage |
| Fault lights, repeated charging stops, or app errors | Vehicle communication issue, charger fault, network issue, or circuit problem | Check the manual and app; call support or an electrician if faults repeat |
How to Inspect Your EV Charger Safely
Follow this safe order so you do not miss the common trouble spots.
- Stop the charging session. End charging from the vehicle, charger, or app before touching the connector.
- Check the charger body. Look for cracks, missing covers, swelling, water stains, scorch marks, or loose parts.
- Inspect the cable. Look for fraying, flattened spots, cuts, melting, or damage from tires, doors, tools, pets, or rodents.
- Look at the connector. Confirm it is dry, clean, and seated securely in the holster when not in use.
- Check the mount. Make sure the charger, cable hook, and strain relief are secure.
- Review the plug or hardwired entry point. Look for heat marks, cracking, looseness, or unusual smells without opening covers.
- Check charger status. Review indicator lights, display messages, app alerts, firmware status, and recent charging history.
- Write down what you found. Take photos of damage, note the date, and save service records.
Note: A visual inspection helps you spot warning signs, but it does not prove that the circuit is code-compliant. For installation, breaker, grounding, hardwired, or capacity concerns, use a licensed electrical contractor.
How Often Should You Inspect an EV Charger?
A simple schedule keeps the task manageable.
- Monthly: Quick cable, connector, holster, and status-light check for outdoor chargers, daily-use chargers, shared chargers, or busy garages.
- Every 3 months: Full visual inspection of the housing, cable, connector, plug or hardwired entry point, mount, app alerts, and surrounding wall area.
- After severe weather: Check outdoor units after heavy rain, flooding, snow, ice, hail, or high wind.
- After an impact: Inspect immediately if the charger, cable, connector, or pedestal is bumped by a vehicle, tool, bike, or garage door.
- Annually: Consider a professional inspection for Level 2, hardwired, high-use, rental, multifamily, or older installations.
What to Do When You Find Issues
If you find charger casing damage, cable damage, exposed wiring, overheating signs, repeated fault lights, or a burning smell, stop using the charger. Do not “try one more charge” to see if the issue clears.
If the charger will not power on, check only the user-accessible items your manual allows, such as the charger display, app status, vehicle charging settings, or a user-testable GFCI/reset button if your setup has one. If the breaker trips again after reset, or if you see heat marks, call a licensed electrician.
For irregular charging behavior, start with the low-risk items: confirm the vehicle is plugged in fully, review the app, check your charging schedule, look for firmware updates, and read the fault code in the manual. If the problem repeats, contact the charger manufacturer or a qualified technician.
| Issue | Immediate Action | Follow-Up |
|---|---|---|
| Charger casing damage | Stop use and photograph the damage | Contact the manufacturer, installer, or electrician |
| Heat marks, melted plug, or burning smell | Stop use immediately | Have the outlet, plug, circuit, and charger inspected by a licensed electrician |
| Cable fraying or exposed conductor | Do not touch the damaged area or charge the vehicle | Replace or repair only through approved service channels |
| Repeated breaker trips or GFCI trips | Do not keep resetting it | Schedule electrical diagnosis |
| Irregular charging or app faults | Check app, schedule, firmware, vehicle settings, and manual fault code | Call support or a technician if faults repeat |
Warranty and Maintenance Records
Keep a simple charger maintenance log. Include the inspection date, photos, fault codes, app screenshots, cleaning notes, electrician visits, repairs, and warranty claims. This record helps you track repeat problems and may help if the charger, plug, cable, or installation needs warranty review.
When buying or replacing equipment, look for safety-certified chargers. ENERGY STAR explains that certified EV chargers are tested for safety by a nationally recognized testing laboratory and can use less standby energy than non-certified products.
Frequently Asked Questions
How often should I inspect my EV charger?
Inspect a typical indoor home EV charger every three months. Check it monthly if it is outdoors, used daily, shared by multiple drivers, or exposed to garage traffic. Also inspect it after storms, flooding, impact, repeated faults, or any unusual heat or smell.
Can I perform the inspection myself?
Yes, you can perform a visual inspection yourself. Check the housing, cable, connector, mounting, lights, app alerts, and nearby outlet area. Do not open the charger, outlet, junction box, or breaker panel unless you are qualified to work on electrical equipment.
What tools do I need for an EV charger inspection?
For a homeowner visual inspection, you usually need only a flashlight, dry microfiber cloth, phone camera, charger app, and the charger manual. A multimeter is not needed for a basic visual check and should be used only by someone qualified to test electrical equipment safely.
Is warranty coverage affected by inspections?
Regular visual inspections usually help warranty claims because they create a record of when a problem appeared. Warranty coverage can vary by brand, installer, and damage type, so keep photos, fault codes, service records, and receipts. Always follow the manufacturer’s maintenance and use instructions.
Are professional EV charger inspection services available?
Yes. Licensed electricians and EV charger installers can inspect the circuit, breaker, receptacle, hardwired connection, grounding, load capacity, and installation quality. Use a professional if you have a Level 2 charger, repeated breaker trips, heat marks, outdoor damage, or any wiring concern.
Should I keep using my charger if only the cable jacket looks slightly worn?
No. Stop using the charger until the cable is checked. Minor-looking cable wear can hide deeper insulation damage, especially if the cable was crushed, pinched, chewed, overheated, or run over. Ask the manufacturer, installer, or electrician whether repair or replacement is required.
Conclusion
Regular EV charger inspections help you catch cable damage, connector wear, loose mounting, water exposure, heat marks, and fault alerts before they become bigger problems. Keep your checks visual, keep the connector and cable clean and supported, and keep a record of anything unusual. If you see damage, overheating, repeated trips, exposed wiring, or a burning smell, stop using the charger and call a licensed electrician.
Sources
- U.S. Department of Energy Alternative Fuels Data Center: Charging Electric Vehicles at Home — home charging equipment, outdoor-rated equipment, code compliance, and electrician guidance
- U.S. Department of Energy Alternative Fuels Data Center: Operation and Maintenance for EV Charging Infrastructure — cable storage, periodic checks, cleaning, troubleshooting, and maintenance planning
- U.S. Department of Energy Alternative Fuels Data Center: Procurement and Installation for EV Charging Infrastructure — permitting, licensed electrical contractors, compliance, and installation inspection considerations
- ENERGY STAR: Electric Vehicle Chargers — safety-certified chargers, standby energy savings, and professional installation guidance
- Electrical Safety Foundation International: Extension Cord Safety Tips — damaged cord, hot cord, overload, and electrical fire prevention principles

