
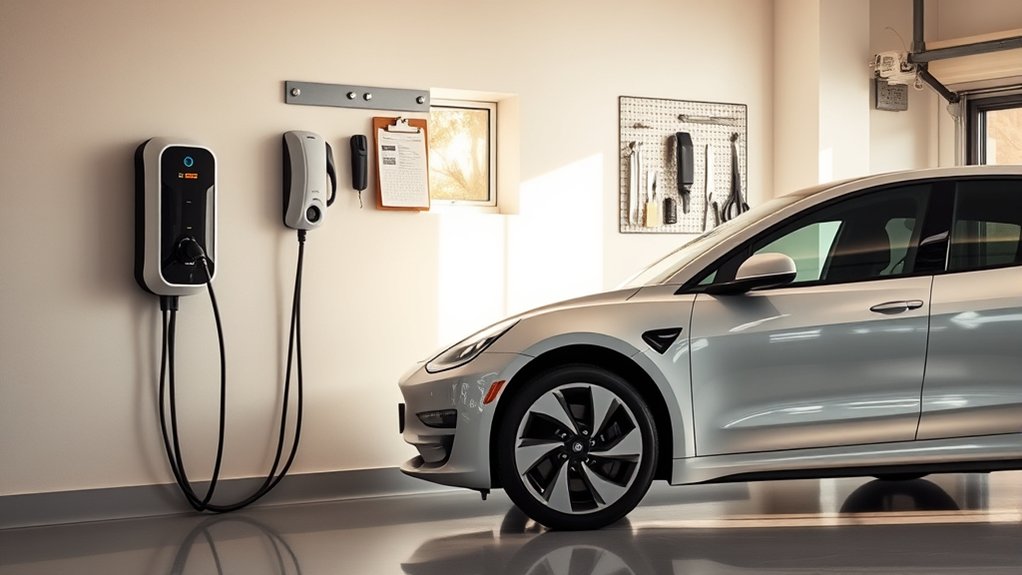
Keeping a home EV charger in good shape is mostly about simple, consistent checks: look for heat damage, keep the cable and connector clean, store the cord correctly, and call a licensed electrician when you see electrical warning signs. A Level 1 or Level 2 charger does not need much day-to-day work, but small problems like a loose plug, cracked connector, or repeated breaker trip should never be ignored.
Quick Answer
Inspect your home EV charger monthly for cable damage, cracked connectors, loose mounting, heat marks, corrosion, and unusual charging errors. Keep the unit dry, clean, and properly mounted. Call a licensed electrician right away for burning smells, melted plastic, buzzing, hot outlets, repeated breaker trips, or any exposed wiring.
Key Takeaways
- Check the cable, connector, wall mount, outlet, breaker, and charging status lights at least once a month.
- Keep the charger clean with a dry or lightly damp cloth, but never spray water, use solvents, or insert tools into the connector.
- Budgeting up to $400 per year is a safe planning number for service, inspection, or out-of-warranty repairs, though many home chargers cost less to maintain.
- Electrical symptoms such as heat, buzzing, scorch marks, exposed wire, or repeated trips are not DIY repairs.
- Smart chargers also need app, Wi-Fi, firmware, warranty, and manufacturer-support checks.
At a Glance
| Time Required | 5 minutes before charging; 15–30 minutes monthly; longer if a professional inspection is needed |
| Difficulty | Easy for visual checks and cleaning; professional-only for wiring, breaker, outlet, or internal charger repairs |
| Tools Needed | Soft dry cloth, mild soap for exterior surfaces, flashlight, phone camera, charger app, owner’s manual, and maintenance log |
| Cost | Usually $0 for DIY checks; plan up to $400 yearly for service, inspection, troubleshooting, or out-of-warranty repair needs |
Why Regular Maintenance Matters for Your EV Charger
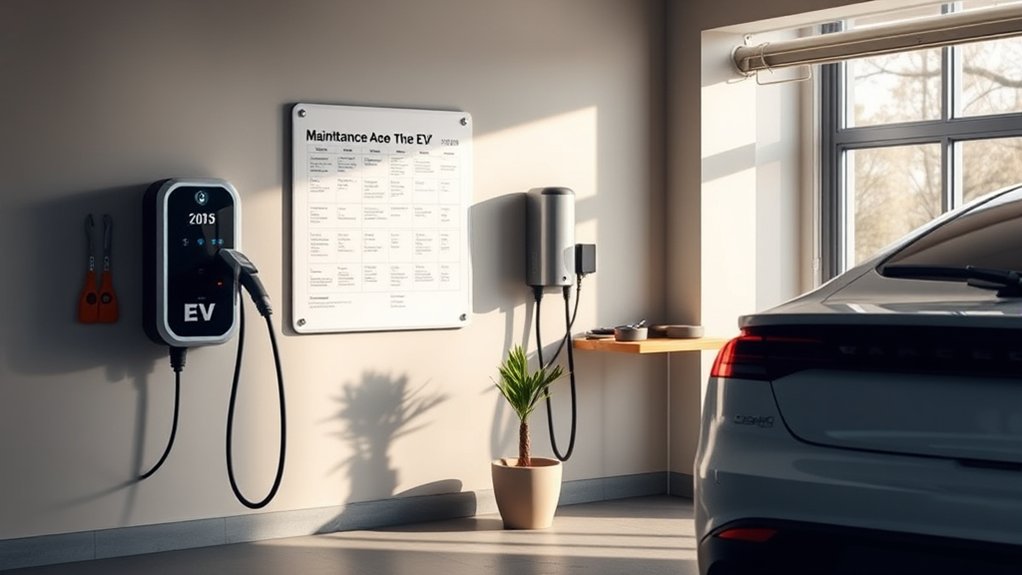
Maintaining your EV charger helps protect charging speed, cable life, and electrical safety. The U.S. Department of Energy’s Alternative Fuels Data Center notes that charging infrastructure maintenance includes storing charging cables securely, checking parts periodically, and keeping the equipment clean. General maintenance can be minimal, but broken chargers can become expensive to repair once they are out of warranty.
Most home charging happens with AC Level 1 or AC Level 2 equipment. Level 1 uses a standard 120-volt outlet, while Level 2 usually uses 240 volts in residential settings and can charge many EVs overnight. Outdoor home charging can be safe when the charger and installation are outdoor-rated.
A good maintenance routine also helps you notice changes early. If a charger that used to work normally starts charging slowly, dropping sessions, tripping a breaker, or showing frequent fault messages, the problem may be the charger, the circuit, the outlet, the adapter, the vehicle, or the app. Treat that as a signal to inspect, document, and escalate when needed.
Warning: Do not open the charger cabinet, bypass a breaker, tape a damaged cable, replace a high-voltage outlet yourself, or keep charging through heat marks, buzzing, burning smells, or exposed wiring. Stop using the charger and call a licensed electrician.
Home EV Charger Maintenance Schedule
A simple schedule is easier to follow than a long checklist. Use this routine for most home Level 1 and Level 2 chargers, then adjust it to your charger manual, climate, warranty terms, and local electrical code.
| Frequency | What to Check | Action |
|---|---|---|
| Before each charge | Cable, connector, plug, adapter, and vehicle inlet | Look for cracks, dirt, moisture, fraying, bent pins, or a loose fit before plugging in. |
| Monthly | Wall mount, strain relief, outlet, breaker area, status lights, and app alerts | Clean the exterior, confirm the mount is tight, review charging history, and save photos of anything unusual. |
| Seasonally | Outdoor enclosure, cable stiffness, weather seals, drainage, snow, direct sun, and pests | Clear debris, check for water entry, and make sure the cable does not sit in standing water. |
| After severe weather | Flooding, lightning, wind damage, water intrusion, and breaker trips | Do not use the charger if it was submerged, struck, opened, or damaged. Have it inspected first. |
| Annually or as needed | Hardwired connections, breaker sizing, outlet wear, warranty, firmware, and service history | Consider a professional inspection for older, outdoor, high-use, or problem installations. |
Monthly Visual Maintenance Checks: Key Areas to Inspect
Monthly visual maintenance checks catch many problems before they become charger failures. You do not need to disassemble anything. Stay on the outside of the unit and look for warning signs.
Charging Cable and Connector
Inspect the full charging cable from the charger body to the connector. Look for cuts, flattened spots, cracking, stiffness, exposed conductors, melted areas, or areas where the cable jacket has pulled away from the connector.
Check the connector face for dirt, moisture, corrosion, broken plastic, bent pins, or a latch that no longer holds firmly. The connector should fit snugly into your vehicle’s charge port. A loose connection can cause interrupted sessions, heat buildup, or slower charging.
Wall Mount, Strain Relief, and Cable Storage
Confirm the charger is still firmly mounted and that the cable is not pulling hard on the unit. The strain relief should not look twisted, stretched, or separated. Store the cable in wide loops on the holster or hanger so it does not kink, drag, or sit under a tire.
Pro Tip: Take one clear photo of the charger, outlet, cable, and connector after each monthly check. If a problem develops, you will have a simple record for the electrician, warranty team, or manufacturer support.
Outlet, Plug, Breaker, and Heat Marks
If your charger plugs into a receptacle, inspect the outlet face and plug blades for discoloration, looseness, scorch marks, buzzing, heat, or a melted-plastic smell. If the plug no longer sits firmly in the outlet, stop using it until an electrician checks the receptacle.
For hardwired chargers, do not open the unit. Instead, look for external warning signs: loose wall mounting, damaged conduit, water entry, tripped breakers, error lights, and charger body damage.
Outdoor Charger Checks
Outdoor chargers need extra attention because sunlight, rain, ice, road salt, pests, and temperature swings can wear down cables and enclosures. Confirm that the charger is rated for outdoor use, the cover closes properly, water drains away, and the cable is not lying in mud, snow, or standing water.
Simple DIY Maintenance Tips for Your EV Charger
Homeowners can safely handle basic exterior care. Electrical repairs are different. EV charging equipment is treated as a continuous load under the National Electrical Code, and NEC Article 625 and local permitting rules may apply to installation and electrical work.
Clean the Exterior Safely
Turn charging off and unplug from the vehicle before cleaning. Wipe the charger body, cable jacket, and handle exterior with a soft dry cloth. If needed, use a lightly damp cloth with mild soap on the outside surfaces only, then dry the area completely.
Do not spray the charger with a hose, pressure washer, solvent, degreaser, or harsh cleaner. Do not insert cotton swabs, screwdrivers, compressed air, or metal tools into the connector or vehicle charge port unless your manufacturer manual specifically instructs you to do so.
Check the App and Firmware
For smart chargers, open the app monthly and confirm the charger is online, charging sessions are logging correctly, scheduled charging still works, and firmware is current. If your charger depends on cloud service, account login, or a mobile app, keep your owner records and warranty details handy.
Brand support matters. If the manufacturer stops supporting the app or replacement parts, the charger may still deliver power but lose smart features such as scheduling, energy reports, or remote troubleshooting.
Keep a Maintenance Log
Save the charger model, serial number, purchase date, installer invoice, permit or inspection paperwork, warranty term, breaker size, circuit amperage, and any support case numbers. This record makes repairs faster and helps prove warranty compliance.
What You Can DIY vs. When to Call a Licensed Electrician
Some charger maintenance is safe for a homeowner. Other tasks involve electrical shock, fire, or code risk. Use this simple boundary.
| Safe DIY Task | Professional-Only Task |
|---|---|
| Wipe the charger exterior and cable jacket. | Open the charger, panel, outlet box, or junction box. |
| Inspect for cracks, corrosion, heat marks, and loose mounting. | Replace a breaker, receptacle, wiring, conduit, plug, or hardwired connection. |
| Update the charger app and firmware. | Change charger amperage settings that are tied to circuit capacity unless your installer confirms the proper setting. |
| Test a user-resettable GFCI outlet or breaker if your manual tells you to. | Diagnose repeated GFCI trips, hot outlets, burning smells, or nuisance breaker trips. |
Consequences of Poor Maintenance
Neglecting proper maintenance can lead to slower charging, dropped sessions, connector wear, nuisance trips, or more serious electrical hazards. Dirt, moisture, loose plugs, and damaged cables can all reduce charging reliability.
Poor maintenance can also affect your warranty. Many warranties require the charger to be installed and used according to the manufacturer’s instructions. If the unit is hardwired, installed outdoors, or exposed to heavy use, periodic professional checks can help catch loose connections, water entry, or heat stress early.
After extreme weather events, check the charger before the next session. Do not use it if you see cracked housing, water inside the unit, damaged conduit, missing covers, or a tripped breaker that immediately trips again.
How to Know When to Call in the Pros
Call a licensed electrician or qualified charger technician if you see visible damage such as frayed cords, exposed wiring, cracked connectors, melted plastic, scorch marks, corrosion inside the connector, or a charger that has pulled loose from the wall.
You should also get professional help for reduced performance that does not have an obvious cause. Longer charging times can come from the vehicle settings, battery temperature, utility rate schedule, app limits, adapter limits, or the charger itself. A professional can help separate a charger issue from a circuit or vehicle issue.
Electrical concerns need immediate attention. Stop using the charger if you notice low-voltage warnings, repeated breaker trips, GFCI trips, buzzing, heat at the plug or outlet, burning smells, or a breaker that will not reset normally.
For smart chargers, persistent software issues can also justify support. If scheduling, Wi-Fi, load management, access control, or firmware updates fail repeatedly, contact the manufacturer before the warranty expires.
Signs It’s Time for a Charger Replacement
Replacement is not based on age alone. A charger that is older but clean, supported, undamaged, and working normally may keep serving you. A newer charger with heat damage or unsupported software may need replacement sooner.
Consider replacing your home EV charger when you see repeated faults after professional diagnosis, unavailable replacement parts, a damaged cable assembly, unsupported app or cloud features you rely on, or safety issues that cost nearly as much to repair as a new unit.
A charger that shows heat damage, repeated electrical faults, or lost manufacturer support should be treated as a safety and reliability problem, not just an inconvenience.
When replacing a charger, choose equipment that matches your vehicle connector, circuit capacity, mounting location, and charging needs. The DOE recommends safety-certified equipment, and the ENERGY STAR certified EV charger product finder can help you compare certified AC chargers.
Budgeting for Your Charger’s Maintenance Needs
Routine home charger care may cost nothing beyond a few minutes of inspection and cleaning. Still, it is smart to set aside money for service calls, repairs, or replacement parts. The AFDC notes that actual maintenance costs vary by charging level and whether the station is networked, but station owners should estimate average maintenance costs of up to $400 annually per charger.
| Maintenance Item | Typical Planning Range | Notes |
|---|---|---|
| DIY visual checks and exterior cleaning | $0–$20 | Usually only requires a cloth, mild soap, and time. |
| Professional inspection | Varies by local labor rate | Most useful for hardwired, older, outdoor, high-use, or problem installations. |
| Out-of-warranty troubleshooting | Plan within the yearly reserve | May involve charger support, electrician diagnosis, or part replacement. |
| Maintenance or extended warranty plan | Varies by brand and charger type | Check response time, labor coverage, parts coverage, and whether cable replacement is included. |
| Replacement charger | Varies widely | Confirm connector type, amperage, circuit capacity, outdoor rating, and safety certification before buying. |
Planning for Long-Term Charger Care
Long-term charger care starts before anything breaks. Keep your manual, installer information, warranty, photos, and app login details in one place. If you sell your home or change vehicles, this record helps the next owner or installer understand the circuit and charger setup.
Review your charging routine once or twice a year. A new EV, longer commute, different utility rate, or new adapter may change how your charger is used. Make sure the charger amperage setting still matches the circuit your electrician installed.
If you use scheduled charging, confirm the schedule still matches your utility rate plan and vehicle settings. If both the car and charger have schedules, avoid conflicting settings that can cause missed sessions.
Note: Charging speed is not controlled by the wall unit alone. Vehicle onboard charger limits, battery temperature, state of charge, adapters, circuit amperage, and software settings can all affect how fast your EV charges.
Frequently Asked Questions
Do home EV chargers need servicing?
Yes, home EV chargers need basic upkeep. For most homeowners, that means visual inspections, safe exterior cleaning, proper cable storage, app or firmware checks, and prompt professional help for electrical warning signs. Hardwired, outdoor, older, or high-use chargers may benefit from periodic professional inspection.
What is the best EV charging routine?
The best routine is to charge during off-peak hours when possible, keep enough range for your daily driving, and follow your vehicle manufacturer’s battery guidance. Many drivers schedule charging overnight at home because Level 2 equipment can often restore daily range while the vehicle is parked.
What is the 80/20 rule for EV charging?
For many EVs, the 80/20 rule means keeping the battery roughly between 20% and 80% for normal daily use instead of frequently running it very low or charging to 100%. It is a battery-care guideline, not a strict law. Some vehicles, especially some LFP-battery models, may recommend different habits, so follow your owner’s manual.
Should I charge my EV to 80% every night?
Charging to 80% overnight is a good daily target for many EV owners because it usually provides enough range while reducing time spent at a very high state of charge. Charge higher when you need extra range for a trip, winter driving, towing, or your manufacturer recommends it.
Why does my EV charger keep tripping the breaker?
Repeated breaker trips can point to an overloaded circuit, wrong amperage setting, heat-damaged receptacle, ground fault, moisture, loose wiring, or a failing charger. Stop resetting it over and over. Unplug safely if you can and call a licensed electrician.
Can I pressure wash my outdoor EV charger?
No. Do not pressure wash a charger, connector, outlet, or vehicle charge port. Even outdoor-rated equipment should be cleaned gently according to the manufacturer’s manual. Use a dry or lightly damp cloth on exterior surfaces and avoid spraying water into seams or connectors.
Conclusion
Home EV charger maintenance is simple when you treat it as a monthly safety habit instead of a repair project. Check the cable, connector, wall mount, outlet, breaker area, app status, and charging behavior. Keep the unit clean, dry, supported, and properly documented. Most importantly, stop using the charger and call a licensed electrician when you see heat damage, exposed wiring, burning smells, buzzing, repeated trips, or any sign that the electrical system is not operating normally.
Sources
- U.S. DOE Alternative Fuels Data Center: Operation and Maintenance for EV Charging Infrastructure — supports general maintenance tasks, warranty considerations, and annual cost planning.
- U.S. DOE Alternative Fuels Data Center: Charging Electric Vehicles at Home — supports Level 1/Level 2 home charging, outdoor-rated equipment, safety-certified chargers, permits, and NEC Article 625 guidance.
- U.S. DOE Alternative Fuels Data Center: Electric Vehicle Charging Stations — supports charging level terminology, charging-speed context, and connector basics.
- ENERGY STAR Certified Electric Vehicle Chargers Product Finder — supports using certified AC EV charger listings when comparing replacement equipment.

