
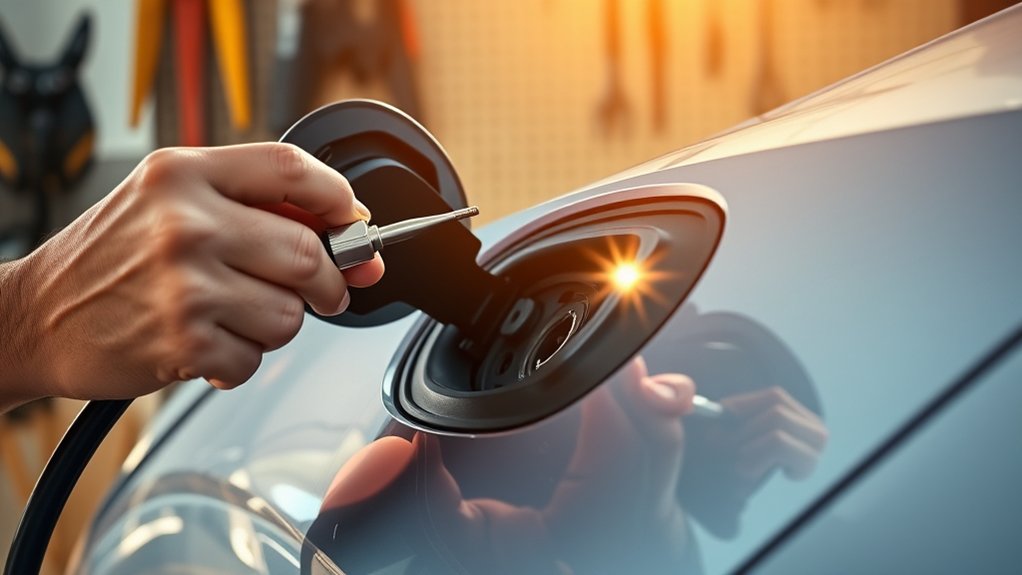
A loose or damaged EV charging port is not something to ignore. A little dirt or a poor cable fit may be easy to fix, but cracks, corrosion, bent pins, scorch marks, heat, or repeated charging errors can point to a safety problem that needs professional service. Start with safe visual checks, clean only the outside of the port, and stop charging if anything looks burned, melted, broken, or unusually hot.
Quick Answer
To fix a loose EV charging port, first stop charging, inspect the port and cable for debris, cracks, corrosion, heat damage, or bent pins, then clean only the outer area with a dry lint-free cloth. If the connector still fits loosely, charging stops, or the port gets hot, have an EV-qualified technician inspect it.
Key Takeaways
- You can safely check for dirt, moisture, loose fit, damaged cable ends, and obvious port damage without taking anything apart.
- Do not charge if you see melted plastic, scorch marks, exposed wiring, bent pins, corrosion, smoke, sparks, or repeated overheating.
- Test with a known-good charger or cable when there is no visible damage, because the problem may be the EVSE, adapter, outlet, or public charger.
- Leave charge-inlet replacement, pin repair, latch repair, wiring repair, and high-voltage diagnosis to a trained EV technician.
At a Glance
| Time Required | 5 to 15 minutes for safe inspection and exterior cleaning; longer if professional diagnosis is needed |
| Difficulty | Easy for visual checks and dry cleaning; advanced and professional-only for internal port or wiring repair |
| Tools Needed | Dry lint-free cloth, flashlight, owner’s manual, vehicle app, and a known-good charging cable or charging station for testing |
| Cost | Exterior cleaning is usually free. Professional diagnosis or charge-inlet replacement varies by model, parts, labor, and warranty status. |
Warning: Do not use a damaged charging cable, adapter, or vehicle charge port. Stop charging if you see cracked plastic, melted areas, scorch marks, exposed wiring, bent pins, smoke, sparks, a burning smell, or unusual heat. EV charging equipment can carry high voltage, so do not open the charge port assembly or probe the contacts with tools.
Quick Signs of a Damaged Charging Port
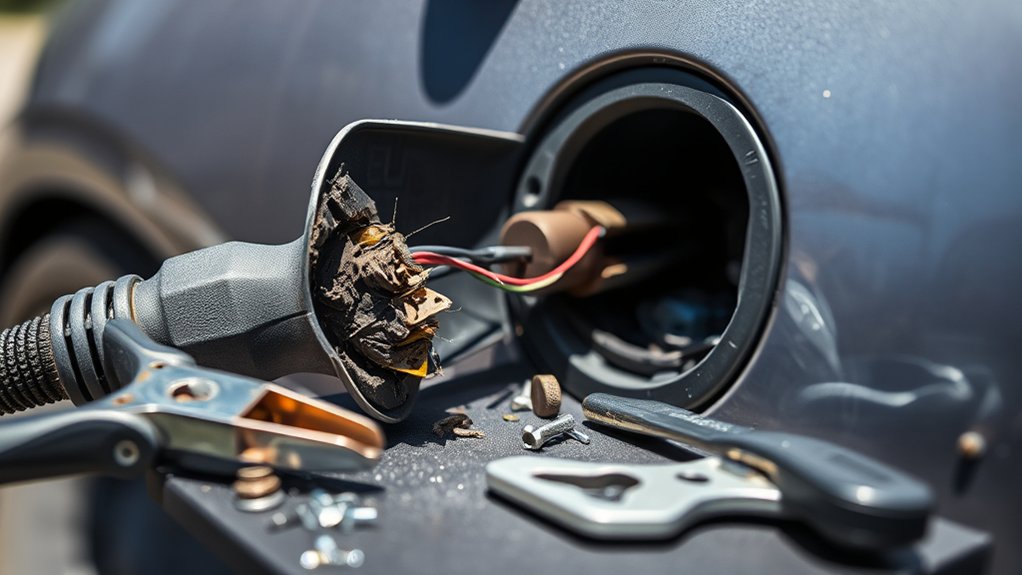
You can often spot an EV charging port problem before the car completely stops charging. The most common warning sign is a connector that no longer seats firmly in the inlet. If the plug wiggles more than usual, drops out, or will not lock, stop and inspect both the vehicle port and the charging connector.
Look for visible cracks, corrosion, bent pins, missing plastic guides, dirt, moisture, or melted areas. Also check the charging cable end. A damaged cable can feel like a bad vehicle port because both parts must fit together cleanly.
Pay attention to charging behavior. Intermittent charging, repeated dashboard errors, charging that starts and stops, unusually slow charging, a failed lock, or a stuck connector can all point to a port, cable, adapter, or charger issue.
A loose fit is not just an inconvenience. Poor contact can create heat, failed communication, charging interruptions, and possible component damage.
Safe Checks Before You Try a Fix
Before touching the port, stop the charging session from the charger, vehicle screen, key fob, or vehicle app. Unplug only after charging has stopped and the connector has unlocked. If the connector is stuck, follow your owner’s manual for the approved release method instead of forcing it.
Once the connector is out, use a flashlight to inspect the port from the outside. Do not insert screwdrivers, metal picks, paper clips, knives, or sharp objects into the inlet. Do not spray water, cleaners, lubricants, or compressed air into the port unless your vehicle manufacturer gives that exact instruction.
Note: Most owner checks are external only. If the port shell, pins, latch, wiring, or charge-port door mechanism is damaged, schedule service with the automaker, dealer, or an EV-qualified repair shop.
How to Clean and Secure Your Charging Port
If the port looks intact and only has light dust or dry debris around it, clean the outer area with a dry lint-free cloth. Wipe around the charge door, outer rim, and plastic guide surfaces. Keep the cloth out of deep electrical contacts.
If you see loose leaves, sand, or grit around the outside of the opening, remove it gently by hand or with the cloth. Do not scrape the pins. If moisture is present, let the area dry fully before charging again. If you see corrosion, green or white residue, or water trapped inside the inlet, do not charge until it has been inspected.
After cleaning, plug in the connector with normal hand pressure. The cable should seat evenly and lock the way it normally does. Do not lift the cable upward to “make it work,” wedge anything under the connector, or pull the cable sideways while charging. Cable strain can make a loose port worse.
Pro Tip: Support heavy DC fast-charging cables while plugging in. A cable hanging at an angle can make a good inlet feel loose and can stress the latch or plastic guides over time.
How to Tell If It Is the Port, Cable, Adapter, or Charger
A charging problem does not always mean the vehicle port is bad. Public chargers, home EVSE units, adapters, software locks, and damaged cable ends can cause the same symptoms. Use this safe checklist only if there is no visible damage, heat, smoke, sparking, or burning smell.
| What You Notice | Likely Cause | Safe Next Step |
| One charger fails, but another charger works normally | Bad EVSE, cable, payment/session error, or public charger fault | Report the charger and use another station. Inspect your vehicle port again after charging. |
| Every charger feels loose in the vehicle port | Worn inlet, damaged guide, latch issue, or broken charge-port housing | Stop using the port and schedule professional inspection. |
| The connector fits, but charging starts and stops | Communication fault, heat issue, adapter issue, EVSE fault, or vehicle charging fault | Try a known-good charger once. If it repeats, save the error message and call service. |
| Adapter feels loose or gets warm | Worn, damaged, recalled, or incompatible adapter | Stop using the adapter. Check the automaker’s adapter guidance and recall notices. |
| Home charging trips a breaker or GFCI repeatedly | EVSE, circuit, outlet, grounding, moisture, or vehicle fault | Do not reset it repeatedly. Contact a licensed electrician or EV service technician. |
When to Replace Your Charging Port
A charge port may need replacement when the inlet no longer holds the connector securely, the latch fails, the connector gets stuck, charging stops repeatedly on known-good chargers, or the port shows physical or heat damage. Cracks, corrosion, melted plastic, bent pins, scorch marks, and a burning smell are strong reasons to stop charging and book service.
Replacement is also likely if the charge-port door, latch, temperature sensor, or inlet housing is broken. Many modern EV charge ports are not just simple sockets. Depending on the vehicle, the assembly may include sensors, lock hardware, communication wiring, and high-voltage connections.
Do not assume the port must be replaced just because one public charger fails. First, confirm the issue on a known-good charger if it is safe to do so. If the problem follows the vehicle across several chargers, the vehicle port or charging system needs diagnosis.
Signs of EV Charging Port Issues and Solutions
If you notice intermittent charging or dashboard error messages, write down the exact warning or take a photo of it. Error wording helps a technician separate a lock problem, communication fault, battery charging limit, charger fault, or vehicle hardware issue.
For a clean and undamaged port, try these safe steps:
- Stop the charging session: End charging before unplugging.
- Inspect the cable and port: Look for cracks, corrosion, bent pins, debris, moisture, or heat marks.
- Clean only the outside: Use a dry lint-free cloth around the port opening and charge door.
- Try a known-good charger: If one charger fails but another works, the first charger or cable may be the issue.
- Check the app and manual: Make sure charge limits, schedules, port locks, and connector-release settings are not stopping the session.
- Check warranty and recalls: Search your VIN through the automaker, dealer, or the NHTSA recall lookup before paying for repairs.
If the port is wet, dirty, or blocked by light debris, cleaning and drying may solve the problem. If the connector remains loose, charging still fails, or the area becomes warm again, stop using that port until it is inspected.
Connector Type and Adapter Checks
The right fix depends partly on the connector type. Many EVs use J1772 for Level 1 or Level 2 AC charging, CCS for DC fast charging, CHAdeMO on some older models, or Tesla/NACS-style hardware. In North America, SAE J3400 now covers the NACS-style coupler’s physical, electrical, functional, safety, and performance requirements.
If you use an adapter, inspect both ends. A worn or poorly seated adapter can mimic a loose vehicle port. Stop using any adapter that feels sloppy, runs hot, shows damage, or has been named in an automaker service notice. Use only the adapter type approved by your vehicle manufacturer.
Note: A connector should slide in firmly without forcing. If you need to shove, twist, lift, or hold the plug in place, something is wrong with the connector, adapter, cable angle, latch, or vehicle inlet.
How to Maintain Your Charging Port After Cleaning
Maintaining your EV’s charging port after cleaning helps prevent poor contact and repeat charging errors. Keep the charge door closed when the port is not in use, and use the factory cap or cover if your vehicle has one.
- Inspect regularly: Check the port, charge door, and cable end for dirt, dust, moisture, cracks, and heat marks.
- Use a lint-free cloth: Gently clean the outer rim and nearby surfaces with a dry cloth. Avoid liquids and sharp objects.
- Confirm dryness: Before charging, make sure the port area is dry and free of loose debris.
- Avoid cable strain: Do not let a heavy cable hang sideways from the inlet. Park close enough so the cable reaches without pulling.
- Watch adapter condition: If you use a CCS-to-NACS, NACS-to-CCS, J1772, or other adapter, inspect it before each use.
- Act early: Stop using the port and book service if looseness, heat, errors, or locking problems return.
For home charging, follow the EVSE manufacturer’s instructions. The NFPA safe charging guidance advises checking chargers and cords for damage before use, not using damaged equipment, and avoiding extension cords with EV chargers.
How Much Does EV Charging Port Repair Cost?
EV charging port repair cost depends on the vehicle, warranty, connector type, parts availability, labor rate, and whether the problem is the inlet, latch, port door, cable, adapter, onboard charger, or home EVSE. A simple cleaning or software setting check may cost nothing. A diagnostic visit may cost a shop fee. A full charge-inlet replacement can cost much more because it may involve body trim, wiring, sensors, calibration, or high-voltage safety steps.
Before approving repair, ask for a written estimate that separates diagnosis, parts, labor, and taxes. Also ask whether the repair is covered by the basic vehicle warranty, EV component warranty, certified used warranty, service campaign, or recall.
Frequently Asked Questions
Can a loose EV charging port be fixed?
Yes, but the safe fix depends on the cause. If the looseness comes from dirt, cable strain, or a bad public charger, cleaning the outside of the port or using another charger may solve it. If the inlet, latch, pins, housing, or wiring are worn or damaged, the repair should be handled by an EV-qualified technician.
How much does it cost to fix an EV charging port?
The cost varies widely by model and repair type. Exterior cleaning may be free, while professional diagnosis, latch repair, port-door repair, or full charge-inlet replacement can cost much more. Get a VIN-based estimate from the dealer or an EV-qualified shop, and check warranty or recall coverage before paying out of pocket.
Is it worth fixing a damaged EV charging port?
Yes. A damaged charge port can interrupt charging, leave you stranded, damage the connector, or create heat-related safety risks. If the port is cracked, corroded, loose, melted, or unreliable, repair is usually worth it because the port is essential to everyday charging and battery usability.
What causes an EV charging port to become loose?
Common causes include repeated plugging and unplugging, heavy cable strain, forcing the connector, worn plastic guides, a damaged latch, debris in the inlet, impact damage, corrosion, adapter wear, or a manufacturing defect. Parking close enough to the charger and supporting heavy cables can reduce stress on the port.
Can I clean an EV charging port with contact cleaner?
Do not spray contact cleaner, lubricant, water, or household cleaner into the port unless your vehicle manufacturer specifically approves it. For owner-level cleaning, use a dry lint-free cloth on the outside surfaces only. Corrosion or residue inside the electrical contacts should be inspected by a technician.
What should I do if the charging connector is stuck?
Stop the charging session first, then use the normal release method from the vehicle screen, app, key fob, or charger button. If it stays locked, follow the manual release steps in your owner’s manual. Do not yank the connector, because that can damage the latch, inlet, cable, or charge-port door.
Conclusion
A loose or damaged EV charging port can be a simple cleaning issue, but it can also point to worn hardware, poor connector contact, adapter trouble, or a high-voltage charging fault. Start with safe exterior checks, use a dry lint-free cloth only where you can reach safely, and test with a known-good charger if there is no visible damage. If the port is hot, cracked, corroded, melted, stuck, or unreliable, stop charging and schedule professional EV service.
Sources
- NFPA Electric Vehicles: Safe Charging at Home Tip Sheet — supports checking chargers and cords for damage and avoiding damaged equipment.
- Chevrolet Dual Level Charge Cord Supplement — supports not using cracked, broken, frayed, or damaged EV charging equipment.
- NHTSA-hosted HV/EV System Electrical Safety Precautions — supports high-voltage EV safety warnings and professional-service guidance.
- SAE J3400 North American Charging System Standard — supports current NACS/J3400 connector context.
- Joint Office of Energy and Transportation Charging Standards and Reliability — supports charging reliability and standards context.

