
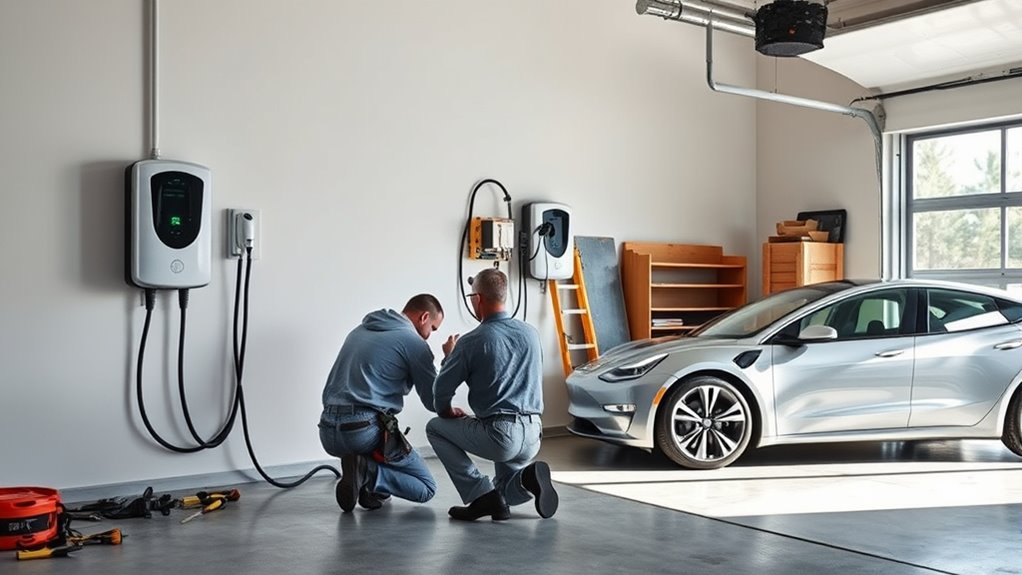
Installing an EV charger in your garage is mostly about matching the charger to your vehicle, confirming your home can safely handle the load, and getting the electrical work permitted and inspected. A Level 2 home charger is the best fit for many EV owners, but the right setup depends on your daily driving, panel capacity, connector type, and whether you choose a plug-in or hardwired unit.
Quick Answer
To install an EV charger in your garage, choose a Level 2 charger that matches your EV connector, have a licensed electrician perform a load calculation, obtain any required permit, install a dedicated 240-volt circuit, pass inspection, then configure smart charging and amperage limits.
Key Takeaways
- Level 2 charging is the practical home upgrade for most full EV owners because it uses 240V power and can usually refill daily driving range overnight.
- Do not size the project by panel rating alone. A licensed electrician should calculate the load, check available capacity, and size the breaker and wiring for the charger output.
- Plug-in chargers add flexibility, but hardwired chargers are often cleaner, more secure, and better for higher-amperage installations.
- Permits, inspection, listed equipment, and local electrical code matter because EV charging is a continuous electrical load.
- Smart charging can lower operating costs by scheduling charging during off-peak utility rates when your rate plan supports it.
At a Glance
| Time Required | A simple Level 2 install may take part of a day after approval. Permits, inspection, panel work, trenching, or a service upgrade can extend the project. |
| Difficulty | Advanced electrical work. Homeowners can usually configure the charger app, but new circuits, breakers, receptacles, and hardwired EVSE should be handled by a licensed electrician. |
| Tools Needed | Listed EV charger, dedicated 240V circuit, properly sized breaker, approved wiring or conduit, mounting hardware, permit paperwork, Wi-Fi access for smart models, and electrician-grade test equipment. |
| Cost | Common projects often fall around $1,000–$3,000 before rebates, but charger model, labor rates, panel capacity, permit fees, wiring distance, and service upgrades can move the price lower or much higher. |
Choose the Best EV Charger for Your Home
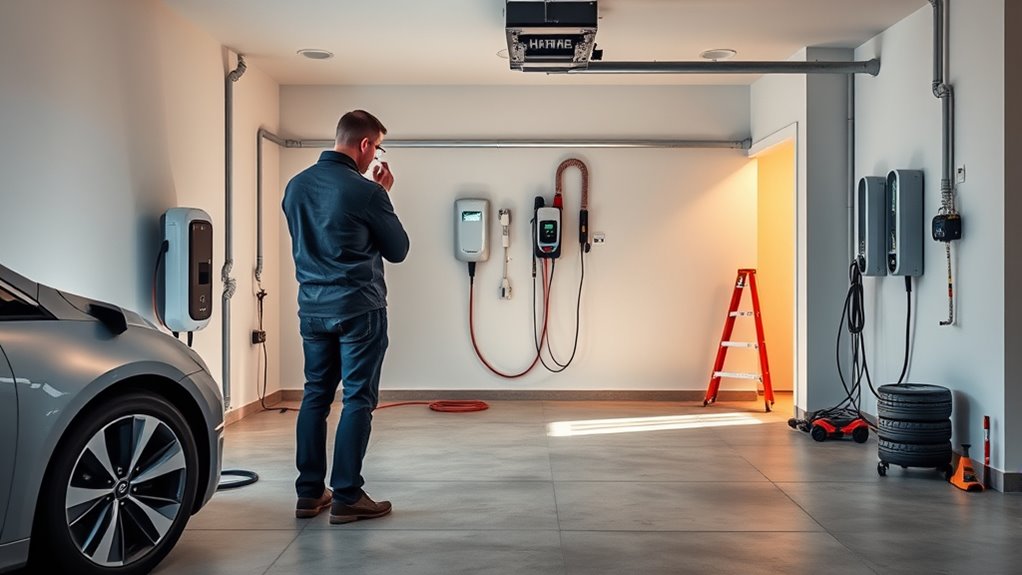
Start by deciding whether Level 1 charging is enough or whether a Level 2 unit is worth the upgrade. Level 1 charging uses a standard 120V outlet and may work if you drive short distances or own a plug-in hybrid. Level 2 charging uses 240V power and is usually the better choice for a full EV, a long commute, or a larger battery.
A typical Level 1 setup may add only a few miles of range per hour. A Level 2 charger usually adds range several times faster, with the exact speed depending on the charger output, your EV’s onboard charger, temperature, and battery state of charge.
Next, match the connector to your vehicle. Many older and current non-Tesla EVs in North America use SAE J1772 for AC Level 1 and Level 2 charging. Tesla vehicles and many newer North American models use or are moving toward SAE J3400/NACS. During this transition, you may need a manufacturer-approved adapter, but you should not rely on random low-cost adapters for a permanent daily setup.
Look for a safety-listed charger from a known brand. ENERGY STAR-certified EV chargers are tested for safety by a nationally recognized testing laboratory and can reduce standby energy use compared with non-certified models. Smart models may also include scheduling, charging history, power monitoring, remote alerts, and utility demand-response support.
Note: The wall unit is technically electric vehicle supply equipment, or EVSE. Your vehicle’s onboard charger converts AC power from the home circuit into DC power for the battery.
Check Your Electrical Panel Capacity
Before you buy the charger, check whether your electrical panel and service can support the added continuous load. Do not assume you need a 200-amp panel in every case. A 200-amp service often gives more room, but the real answer comes from a load calculation that accounts for your HVAC, range, dryer, water heater, other large appliances, and the EV charger output.
EV charging is treated as a continuous electrical load under the National Electrical Code guidance summarized by the U.S. Department of Energy. That means the circuit must be sized for sustained charging, not just the charger’s advertised amperage.
| Charger Output | Typical Circuit Size | Best Use |
|---|---|---|
| 24 amps | 30-amp circuit | Tighter panels or moderate driving |
| 32 amps | 40-amp circuit | Common home Level 2 setup |
| 40 amps | 50-amp circuit | NEMA 14-50 plug-in or hardwired units when allowed |
| 48 amps | 60-amp circuit | Higher-speed home charging, usually hardwired |
A licensed electrician can check spare breaker space, service capacity, wire path, grounding, local GFCI requirements, and whether your utility must be involved. If your panel is close to full, you may still have options, such as a lower-amperage charger setting, a smart load-management device, a panel upgrade, or a service upgrade.
Pro Tip: If your panel is tight, ask about an adjustable-amperage charger. A 24A or 32A Level 2 setup may still charge overnight for many drivers and can cost less than a full service upgrade.
Decide on Plug-In or Hardwired Installation
Next, decide whether you want a plug-in EV charger or a hardwired unit. Both can work well, but each installation method affects flexibility, code requirements, cost, weather protection, and maximum charging output.
A plug-in charger usually uses a dedicated 240V receptacle, often a NEMA 14-50 outlet or sometimes a NEMA 6-50 outlet. This setup lets you unplug and replace the charger more easily. It can also be useful if you move, rent with approval, or want a portable charger that can travel with the vehicle.
A plug-in charger is flexible, but the receptacle still needs a dedicated, properly sized, code-compliant circuit.
A hardwired charger connects directly to the electrical circuit. It often looks cleaner, avoids wear on a receptacle, reduces the chance of accidental unplugging, and is commonly required or preferred for higher-output units. If you want 48A charging, a hardwired charger is usually the better path.
| Option | Pros | Watchouts |
|---|---|---|
| Plug-in | Easy charger replacement, portable option, good for many 32A–40A setups | Receptacle quality, GFCI rules, weather rating, and plug wear matter |
| Hardwired | Clean look, secure connection, often better for higher amperage | Less portable and requires electrician work to replace or relocate |
Plan the Best Charger Location in Your Garage
Place the charger where the cable can reach your EV’s charge port without stretching across a walkway or creating a trip hazard. The best wall is usually near the vehicle’s normal parking position and as close to the electrical panel as practical, because long wire runs can raise labor and material costs.
Before installation, check these placement details:
- Vehicle charge-port location on the driver side, passenger side, front, or rear quarter panel
- Charger cord length and how the cable will hang when not in use
- Garage door clearance and vehicle parking position
- Wi-Fi signal strength for smart chargers
- Indoor or outdoor rating if the charger may be exposed to weather
- Space around the charger for safe access, service, and cable storage
- Distance from the panel, finished walls, attic, crawlspace, or conduit path
If you have two EVs or plan to buy another one, ask your electrician whether to install a larger conduit path, a subpanel, or a load-sharing charger now. Future-proofing during the first installation can cost less than opening walls again later.
Hire an Electrician for the Installation
Hire a licensed electrician to install the dedicated 240V circuit, breaker, wiring, receptacle, or hardwired EVSE. Level 2 charger installation must follow local electrical code, the adopted NEC edition in your area, manufacturer instructions, and permit requirements.
Warning: Do not open your electrical panel or add a 240V EV charging circuit unless you are properly licensed and qualified. Incorrect breaker sizing, loose terminations, undersized wire, or an unpermitted installation can create fire and shock hazards.
A good electrician will complete or coordinate these steps:
- Review your EV model, charger output, connector type, parking location, and daily charging needs.
- Perform a load calculation to confirm available electrical capacity.
- Check whether your utility, city, county, or homeowners association has charger rules.
- Apply for the required electrical permit before the work begins.
- Install the properly sized breaker, wiring, conduit, receptacle, or hardwired connection.
- Mount the charger at a safe height with secure cable storage.
- Label the circuit and set the charger’s maximum amperage to match the approved circuit.
- Schedule inspection if your local authority requires it.
- Test charging operation before regular use.
If the panel cannot support your preferred charger size, ask about load management. Some systems can reduce or pause EV charging when the home’s total demand is high. That may let you install Level 2 charging without a major service upgrade, but it must still be approved for your local code and utility conditions.
Understand Costs, Permits, and Rebates
Home EV charger costs vary because every garage is different. A charger on the same wall as the panel is usually cheaper than one across a finished garage, through a crawlspace, or outdoors. Panel upgrades, trenching, long conduit runs, utility work, and permit fees can raise the total price.
As a broad planning range, expect many Level 2 home charger projects to land around $1,000 to $3,000 before rebates. Simple jobs can cost less, while panel upgrades or service upgrades can push the total much higher. Get an itemized quote that separates the charger, permit, materials, labor, panel work, and inspection fees.
Check current utility, city, county, and state rebates before work starts because some programs require pre-approval or specific charger models. The federal Alternative Fuel Vehicle Refueling Property Credit applied to eligible home charging property placed in service from January 1, 2023, through June 30, 2026, and required an eligible location. For new projects after that date, verify current federal law and local programs before assuming a credit is available.
Set Up Smart Charging Features
After your charger is installed and inspected, connect it to Wi-Fi and configure the smart features. Use the app to monitor energy use, review charging history, receive fault alerts, and schedule charging during lower-cost hours if your utility offers time-of-use rates.
| Setting | Action |
|---|---|
| Scheduling | Shift charging to off-peak hours if your electric rate rewards it |
| Amps | Set the maximum output to the electrician-approved circuit rating |
| Connectivity | Keep Wi-Fi connected for alerts, software updates, and session tracking |
| Notifications | Enable alerts for charging complete, interrupted charging, faults, or overheating warnings |
| Integration | Connect supported chargers to solar, home energy systems, or utility demand-response programs when useful |
Do one test session while you are nearby. Confirm that the charger starts normally, the vehicle shows the expected charge rate, the cable does not heat abnormally, and the app records the session. If the breaker trips, charging stops unexpectedly, or you see a fault message, stop using the charger and contact the installer.
Maintain Your Home EV Charger
Home EV chargers need little routine maintenance, but you should still inspect the setup regularly. Keep the cable off the floor, store the connector in its holster, wipe dust from the unit, and check for cracked housing, bent pins, loose mounting screws, discoloration, water intrusion, or unusual heat.
Once or twice a year, review your charging history and utility rate plan. If your driving changes, you may be able to lower the charger’s amp setting, shift more charging to off-peak hours, or adjust the vehicle’s charge limit for a cleaner routine.
Frequently Asked Questions
Can I install an EV charger inside my garage?
Yes. A garage is one of the most common places to install a home EV charger. The charger should be mounted where the cable reaches the vehicle safely, the circuit can be installed to code, and the unit is protected from impact, water, and cable damage.
How much does it cost to install an electric vehicle charger in a garage?
Many Level 2 garage installations cost about $1,000–$3,000 before rebates, but the final price depends on the charger, wiring distance, permit fees, labor, panel capacity, and whether a panel or utility service upgrade is needed. Always get an itemized quote before work starts.
What charger does the Hyundai Kona use?
Most North American Hyundai Kona Electric models use a J1772 connector for Level 1 and Level 2 AC charging and a CCS1 connector for DC fast charging. Check your exact model year and owner’s manual before buying a wall charger or adapter.
Can I install an EV home charger myself?
You can usually mount and plug in a listed plug-in charger if a code-compliant dedicated receptacle already exists and the charger instructions allow it. You should not install a new 240V circuit, breaker, receptacle, or hardwired charger yourself unless you are licensed and qualified to do that electrical work.
Is a hardwired EV charger better than a NEMA 14-50 plug-in charger?
Hardwired is often better for a permanent, higher-amperage, cleaner installation. A NEMA 14-50 plug-in charger is more flexible and easier to replace. The safer choice depends on the charger output, local code, receptacle quality, panel capacity, and whether you need portability.
Do I need a 200-amp panel for a Level 2 EV charger?
Not always. A 200-amp panel can make installation easier, but many homes can support a lower-amperage Level 2 charger after a proper load calculation. If capacity is tight, your electrician may recommend load management, a lower charger setting, a panel upgrade, or a service upgrade.
Conclusion
To install an EV charger in your garage, start with the vehicle connector and daily driving range, then choose a safe Level 2 charger that fits your needs. Have a licensed electrician calculate the load, size the dedicated circuit, pull the permit, and install either a plug-in receptacle or hardwired EVSE. After inspection, configure the charger’s amperage, schedule, Wi-Fi alerts, and charging limits so your home setup stays safe, efficient, and easy to use.
Sources
- U.S. Department of Energy Alternative Fuels Data Center: Charging Electric Vehicles at Home — Level 1 vs Level 2 home charging, electrical capacity, permits, NEC continuous-load guidance, and smart charger features.
- U.S. Department of Energy Alternative Fuels Data Center: Electric Vehicle Charging Stations — charging levels, J1772, J3400/NACS, Level 2 output, and connector terminology.
- U.S. Department of Energy Alternative Fuels Data Center: Procurement and Installation for EV Charging Infrastructure — planning, permitting, installation, cost factors, certified contractors, and compliance considerations.
- ENERGY STAR: Electric Vehicle Chargers — safety-certified chargers, Level 1 and Level 2 charging rates, standby efficiency, and smart charger guidance.
- Internal Revenue Service: Alternative Fuel Vehicle Refueling Property Credit — federal charger credit timing, eligibility limits, and qualified-location requirements.

