To install a Level 2 EV charger at home, start by confirming your electrical panel can handle at least 100 amps. Choose a location near your vehicle’s parking area and your electrical panel for easy access. You’ll need to secure local permits, which may require hiring a licensed electrician. After evaluating your home’s capacity, they’ll provide cost estimates and guarantee compliance with codes. Follow these steps, and you’ll set yourself up for efficient charging while discovering further essential details.
What Is a Level 2 EV Charger and Why You Need One
A Level 2 EV charger, which operates on a 240-volt outlet, is essential for efficient electric vehicle charging at home.
This type of charger greatly reduces charging time to just 4-8 hours, compared to over 20 hours with a Level 1 charger. With a charging speed capable of delivering approximately 30 miles of range per hour at 40 amps, it’s ideal for daily home charging needs.
To install a Level 2 charger, you’ll need dedicated electrical infrastructure, often requiring professional installation to guarantee safety and compliance with local codes. Additionally, you may need to secure permits and inspections, which can influence the total cost, typically ranging from $500 to $2,500.
Installing a Level 2 charger requires professional help, dedicated infrastructure, and permits, with costs typically between $500 and $2,500.
Ultimately, having a Level 2 EV charger enhances convenience by allowing for overnight charging, freeing you from long waits at public stations and empowering you to embrace your electric vehicle fully.
How to Evaluate Your Home’s Electrical Capacity for a Level 2 Charger
Evaluating your home’s electrical capacity is essential before installing a Level 2 EV charger. Start by examining your electrical panel to confirm it has a minimum capacity of 100 amps, as a Level 2 charger typically requires 40-50 amps.
Here are key steps to follow:
- Analyze Existing Loads: Review the current load on your panel from appliances and HVAC systems to gauge available capacity for charging.
- Consult a Licensed Electrician: Engage a professional to perform load calculations and determine if an upgrade is necessary.
- Consider Distance from Panel: Measure the distance from your electrical panel to the charger location, as longer runs may increase installation costs.
Don’t forget to check local regulations for any required permits.
This thorough evaluation will confirm your home can support a Level 2 charger safely and efficiently, paving the way for your electric vehicle journey.
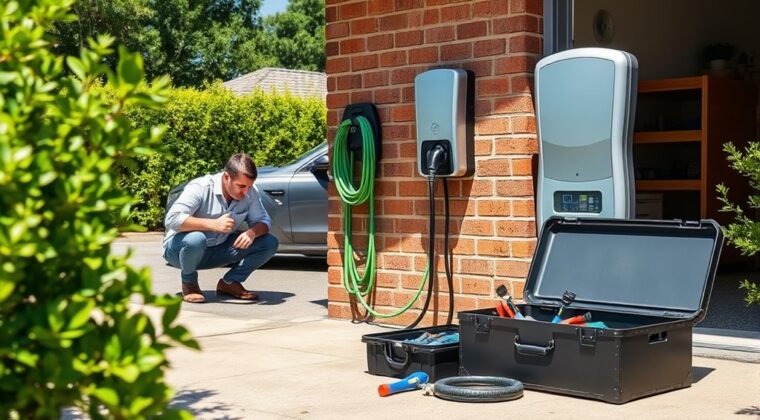
Choosing the Best Location for Your EV Charger
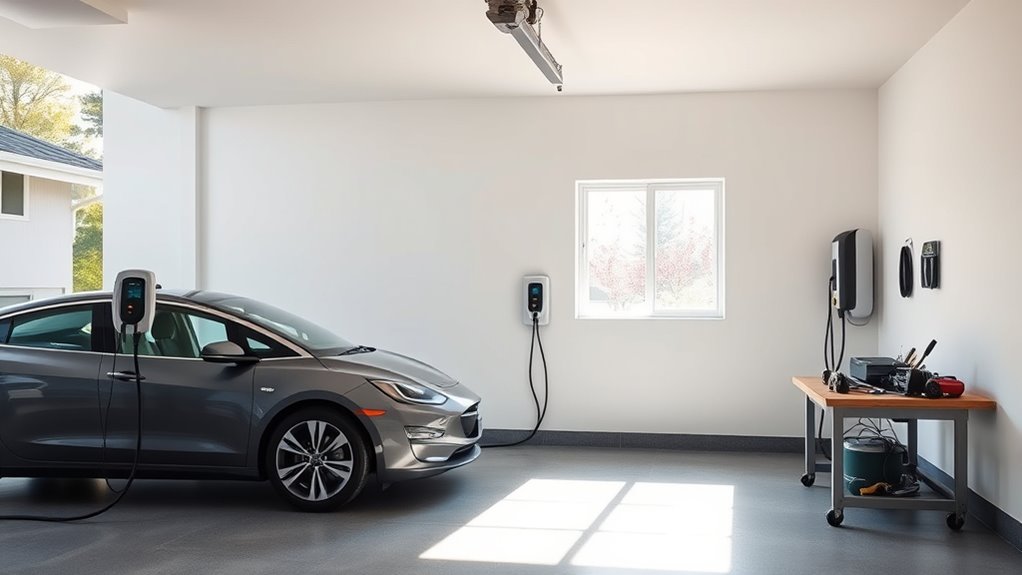
Where’s the best spot to install your Level 2 EV charger? Choose a charger location close to your vehicle’s parking spot to guarantee convenient charging and minimize installation costs.
Make sure the area has easy access to your home’s electrical panel; this will simplify wiring and cut down on costs. If you’re considering outdoor installations, pick a spot that offers weather protection, and confirm the charger has the appropriate NEMA or IP rating for outdoor use.
Ensure easy access to your electrical panel for simpler wiring and cost efficiency, especially when installing outdoors with proper weather protection.
Think about the distance from the electrical panel to the charger location, as longer distances may require additional conduit and wiring, increasing overall installation costs.
Finally, verify your chosen location allows for proper cable management; this helps prevent wear on charging cables and keeps everything looking tidy.
Get Permits Before Installation
Before you install your Level 2 EV charger, it’s crucial to navigate the maze of local regulations, as many areas require electrical permits for such work.
Getting permits isn’t just a formality; it guarantees compliance with safety standards and local building codes, preventing potential fines or issues during inspections.
Here are three key steps to follow:
- Research Local Regulations: Check what electrical permits are required in your area to avoid complications later.
- Budget for Permits: Remember, the cost of permits can add several hundred dollars to your installation budget.
- Hire a Licensed Electrician: A professional can help you secure the necessary permits and guarantee all work adheres to local electrical codes.
Failing to obtain the required permits can lead to complications when selling your home or facing inspections.
Prioritize this step for a smooth, compliant installation.
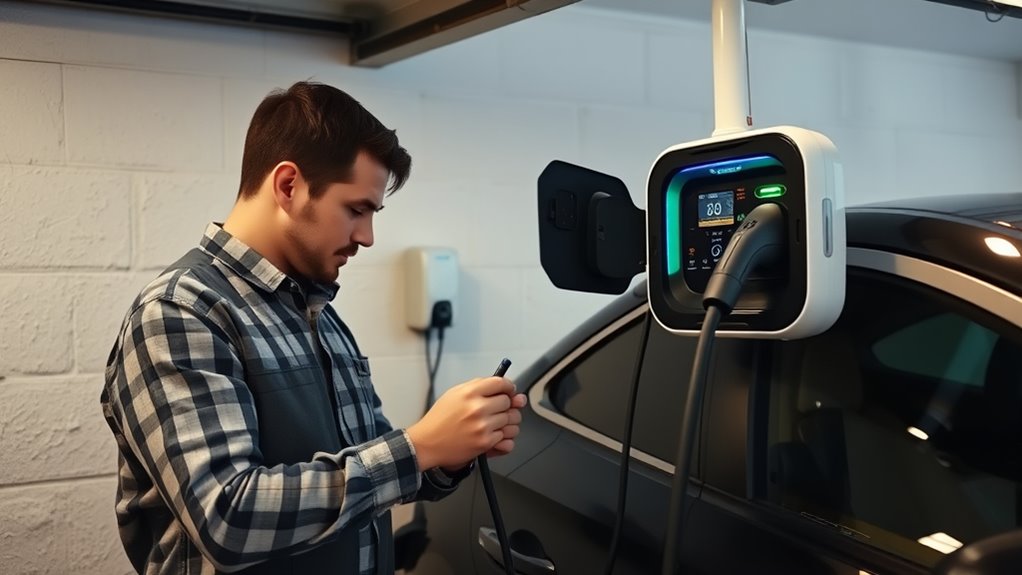
What to Expect When Hiring an Electrician for Your Charger?

Once you’ve secured the necessary permits, hiring a qualified electrician is the next step in installing your Level 2 EV charger.
Expect your licensed electrician to assess your home’s electrical panel capacity, making certain it can support a 240-volt circuit, usually requiring 40-50 amps. They’ll determine the best installation location, considering the distance from the electrical panel and any weatherproofing for outdoor setups.
Your electrician will provide a detailed cost estimate, covering labor, materials, and any potential expenses for panel upgrades or rewiring.
They’ll also make sure that the installation complies with local electrical codes and safety standards by securing necessary permits and performing inspections.
After the EV Charger installation, your electrician will conduct a thorough testing setup to confirm peak performance and make sure your charger functions correctly.
This professional guidance not only facilitates smooth installation but also guarantees safety and efficiency for your new charging system.
Step-by-Step Guide to Installing Your Level 2 EV Charger
Installing a Level 2 EV charger involves several essential steps to guarantee a safe and efficient setup. Follow this step-by-step guide to verify your installation is successful:
1. Assess Your Home’s Needs: Check your electrical capacity to confirm it can support a 240-volt circuit, typically requiring 40-50 amps.
Verify you have a dedicated electrical infrastructure and circuit breaker ready.
2. Choose a Convenient Location: Select a spot close to your EV parking area, factoring in weather protection if the charger is outdoors.
This will optimize charging time and accessibility.
3. Obtain Electrical Permits: Before installation, secure the necessary electrical permits, as local regulations often mandate compliance for safety.
If you’re opting for hardwired installation, hire a licensed electrician to perform the work.
After installation, test the setup to confirm the charger operates efficiently.
Benefits of Installing a Level 2 EV Charger at Home
Having a Level 2 EV charger installed at home offers numerous advantages that enhance your electric vehicle experience.
With a Level 2 charger installation, you can reduce charging time to just 4-8 hours compared to over 20 hours with a Level 1 charger. This makes home charging a game changer, allowing for convenient charging overnight so your vehicle’s ready each morning.
Enjoy faster charging rates, providing approximately 30-37 miles of range per hour, ideal for long-distance drivers.
Additionally, a Level 2 charger can enhance your home value by integrating modern EV infrastructure, appealing to future buyers.
Many utility companies also offer incentives or rebates to help offset the estimated installation costs, which typically range from $500 to $2,500.
Investing in a dedicated electrical infrastructure not only supports your electric vehicle lifestyle but also expands your charging options, making it a practical choice for any EV owner.
Frequently Asked Questions
Can I Install a Level 2 EV Charger Myself?
You can attempt a DIY installation of a Level 2 EV charger, but guarantee you understand wiring requirements, obtain electrical permits, follow safety precautions, check charger compatibility, and consider professional help for a proper home assessment.
How Much Does It Cost to Put in a Level 2 Charger at Home?
Installing a Level 2 charger at home typically costs between $500 to $2,500, factoring in installation costs, electrical requirements, permit necessities, charger brands, and potential government incentives for energy efficiency and charging speed improvements.
What EV Charger Does Volvo Recommend?
Volvo recommends the ChargePoint Home Flex for its compatibility with all Volvo models, high charging efficiency, adjustable power requirements, and safety standards. User reviews praise its installation ease and charging speed, enhancing your home charging experience.
What Charger Does Equinox EV Use?
The Equinox EV uses the J1772 connector, like a universal key accessing efficient charging. For ideal battery management, verify your home installation meets electrical requirements. User reviews praise its charging speed and compatibility for seamless EV charging.
Conclusion
Installing a Level 2 EV charger at home not only boosts your vehicle’s charging speed but can also enhance your property’s value. Did you know that homeowners with EV chargers can see a 5% increase in resale value? By following the outlined steps, you guarantee a safe, efficient installation that meets local codes. Embrace the convenience of home charging, and enjoy the benefits of sustainable driving while preparing your home for the future of electric vehicles.