EV charging cable repair starts with one rule: do not keep using a cable that is hot, cracked, melted, frayed, or showing exposed wire. At home, you can inspect the cable, clean the connector, protect a very light outer-jacket scuff, and confirm whether the problem is the cord, outlet, charger, or vehicle. If the conductors, pins, plug, or connector shell are damaged, the safe fix is usually replacement or service by the charger manufacturer or a qualified electrician.
Quick Answer
You should not splice, tape, or live-test a damaged EV charging cable at home. Inspect it while fully unplugged, clean dry connector surfaces, and stop using it if you see exposed copper, melted insulation, scorching, bent pins, loose connectors, overheating, or repeated breaker trips. Replace the cable or call a qualified professional.
Key Takeaways
- Safe at-home work is limited to inspection, dry cleaning, careful storage, and minor surface protection on the outer jacket only.
- Do not cut, strip, splice, solder, crimp, or tape exposed EV charging conductors unless the manufacturer specifically allows that repair and the work is done by a qualified person.
- Stop using the cable immediately if it gets hot, smells burnt, trips a breaker or GFCI, shows exposed wire, or has damaged connector pins.
- A slow charge is not always a cable problem. Charging speed can change with battery state of charge, temperature, vehicle limits, and charger output.
At a Glance
| Time Required | 10 to 20 minutes for inspection and dry cleaning; replacement or electrical repair depends on parts and service availability. |
| Difficulty | Basic for inspection; professional-only for internal conductor, plug, breaker, outlet, or EVSE repair. |
| Tools Needed | Flashlight, dry microfiber cloth, phone camera, owner’s manual, and an optional multimeter for de-energized continuity checks only. |
| Cost | $0 to $30 for inspection and cleaning supplies; cable, connector, EVSE, or electrician replacement costs vary by model and damage. |
Warning: Do not use electrical tape as a permanent repair for exposed wire, melted insulation, a cracked plug, loose pins, or a hot EV charging cable. A damaged charging cord can create shock, burn, and fire hazards. If you are not trained to work on energized electrical equipment, do not perform live voltage tests.
Identify Common Issues With Your EV Charging Cable
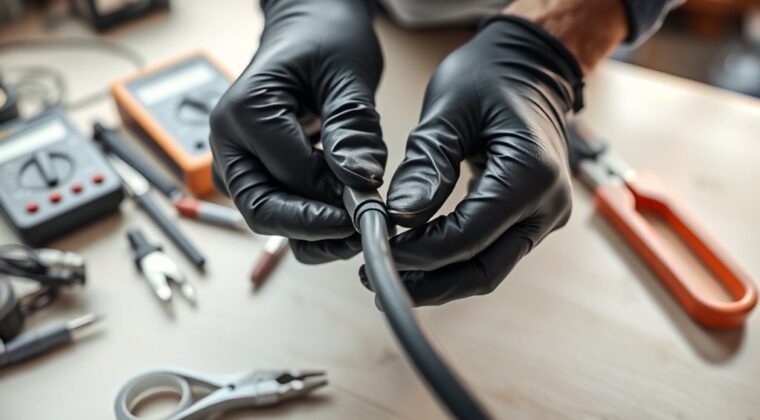
Start with a full visual inspection while the cable is disconnected from the vehicle and unplugged from the wall or charging station. Look along the entire cable length, especially near the plug, connector handle, strain reliefs, tight bends, and any section that touches the garage floor or driveway.
Common problems include cuts, crushed insulation, fraying, corrosion, loose connector shells, bent pins, melted plastic, burn marks, and hot spots. These are not cosmetic issues. They can affect grounding, insulation, weather resistance, and the safe flow of current.
Also pay attention to symptoms during charging. Intermittent charging, repeated breaker or GFCI trips, a burnt smell, error lights, unusual buzzing, or a connector that no longer clicks firmly into the vehicle can point to a cable, EVSE, outlet, adapter, or vehicle charge-port problem.
Slow charging alone does not prove the cable is damaged. According to the U.S. Department of Energy’s Alternative Fuels Data Center, charging time depends on battery state of charge, battery capacity, charger output, electrical service, and the vehicle’s onboard charger. Many EVs also reduce charging speed near a higher state of charge.
Can You Repair an EV Charging Cable Yourself?
You can handle basic inspection, dry cleaning, storage correction, and documentation at home. You should not repair the current-carrying conductors yourself unless the charger manufacturer provides an approved repair procedure and you are qualified to perform it.
That means you should avoid cutting out a damaged section, stripping wire, adding household connectors, soldering, crimping, or wrapping exposed conductors with tape. EV charging equipment is designed around proper insulation, strain relief, grounding, temperature control, and connector fit. A homemade splice can compromise those protections.
The Electrical Safety Foundation International warns that damaged cords can create electric shock and fire hazards. EV charging cables carry sustained loads for long periods, so treat visible damage more seriously than you would a low-power household cord.
Note: If your charger is under warranty, cutting or opening the cable can void coverage and may affect the equipment’s safety listing. Contact the manufacturer first and ask whether the cable, connector handle, plug, or full EVSE should be replaced.
Evaluate Damage to Choose Repair or Replacement
Use the type of damage to decide your next step. A dirty connector or light surface scuff is very different from exposed copper, melted insulation, or a loose pin.
| Damage or Symptom | Safe Action |
| Dust, dry dirt, or light debris on the connector shell | Unplug everything and wipe with a dry cloth. Do not spray liquid cleaner into the connector. |
| Very light outer-jacket scuff with no cracking, swelling, heat, or exposed inner layer | Monitor it and protect the cable from further abrasion. Use manufacturer-approved outer-jacket protection only if the manual allows it. |
| Exposed copper, deep cut, crushed cable, melted insulation, burn mark, or burnt smell | Stop using the cable. Replace it or have the EVSE serviced by the manufacturer or a qualified electrician. |
| Loose connector, bent pin, cracked handle, broken latch, or poor click into the vehicle | Do not force the connector. Replace the handle or cable assembly if the manufacturer offers one, or replace the EVSE. |
| Repeated breaker trips, GFCI trips, overheating, or charging faults | Stop charging and call a qualified electrician or EVSE technician. The problem may be the circuit, outlet, plug, charger, cable, or vehicle inlet. |
Essential Tools for EV Charging Cable Inspection
You do not need cutting tools for safe homeowner inspection. Instead, use tools that help you identify the problem without opening the cable.
- Flashlight: Helps you see cracks, discoloration, bent pins, dirt, moisture, and heat marks.
- Dry microfiber cloth: Use it to clean the connector shell and cable jacket after everything is unplugged.
- Phone camera: Take clear photos of damage, error lights, plug shape, rating labels, and model numbers before contacting the manufacturer.
- Owner’s manual or charger manual: Check approved cleaning, storage, troubleshooting, and replacement instructions.
- Multimeter, optional: Use only for de-energized continuity checks if you know how to use it safely. Do not probe live EVSE contacts unless you are qualified.
- Safety gloves and eye protection: Useful for handling a dirty or damaged cable, but they do not make live electrical work safe.
Pro Tip: Before calling support, photograph the charger label, plug type, connector face, damage location, breaker rating, error code, and vehicle charging screen. Clear photos often speed up warranty or replacement decisions.
Step-by-Step Guide for Safe Cable Inspection
Follow these steps before deciding whether the cable can stay in service. If any step reveals heat damage, exposed wire, a damaged connector, or repeated electrical faults, stop and replace the cable or call a professional.
| Step | Action | Stop If You See |
| 1 | End the charging session, unplug from the vehicle, and unplug the EVSE from the wall if it is portable. | Heat, smoke, burnt smell, arcing, or a plug that is too hot to touch. |
| 2 | Inspect the cable from end to end, bending it gently only enough to view the jacket. | Cuts, swelling, cracking, crushed sections, exposed inner layers, or copper strands. |
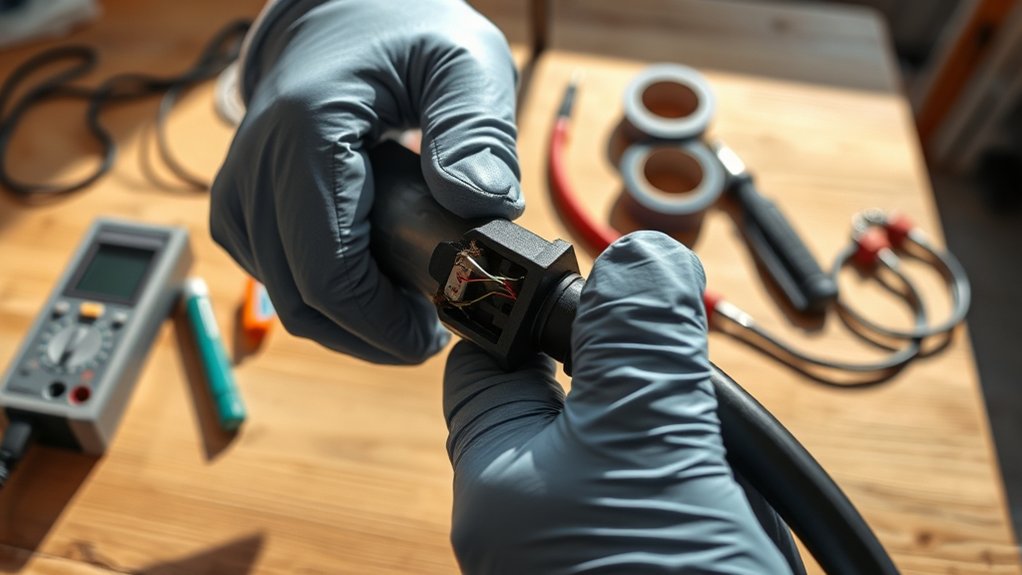
| 3 | Check the plug, connector handle, latch, strain relief, and pins without forcing anything. | Bent pins, corrosion, loose parts, cracked plastic, damaged latch, or melted areas. |
| 4 | Wipe dry dirt from the outside of the cable and connector shell with a dry cloth. | Moisture inside the connector, green corrosion, sticky residue, or damaged contacts. |
| 5 | Compare the problem with the charger manual and contact the manufacturer for approved replacement parts. | Any instruction that would require opening the EVSE, cutting the cord, or testing live voltage. |
Test Your Cable for Safety and Functionality
Testing should prove the cable is safe to use, not push it past a warning sign. If you are unsure, do not test further. Remove the cable from service and get professional help.
Visual Inspection Techniques
Look closely at high-stress points: the connector handle, wall plug, strain reliefs, the section that hangs from the charger, and any section that crosses the floor. A safe cable jacket should be smooth, flexible, and intact, with no exposed inner layers.
Check connector pins and sockets for straight alignment, clean surfaces, and a secure fit. Do not scrape pins with metal tools. Do not spray water, contact cleaner, lubricant, or solvent into the connector unless the manufacturer specifically allows it.
After charging, the plug or connector may feel slightly warm, but it should not be hot, soft, discolored, or smell burnt. If heat is concentrated at the plug, outlet, connector, or a damaged cable section, stop using the equipment.
Multimeter Testing Steps for a De-Energized Cable
A multimeter can help only when used correctly. For most homeowners, it is safest to limit testing to a fully disconnected cable or to skip meter testing and contact the manufacturer.
- Confirm the cable is unplugged from the vehicle and power source.
- Do not insert probes into a live 120 V or 240 V EVSE connector unless you are qualified and trained to do so.
- If the cable is detachable and the manual allows testing, use continuity mode only on the unpowered cable.
- Compare any readings with the manufacturer’s service instructions, not a generic internet value.
- If you get inconsistent readings, a short, no continuity where continuity should exist, or any sign of heat damage, replace the cable or have it serviced.
OSHA’s electrical work-practice rules state that live parts should be deenergized before work unless specific exceptions apply, and energized electrical work requires qualified persons using appropriate precautions. The OSHA 1910.333 standard is a useful safety reference for understanding why live testing is not a casual DIY step.
Functional Charging Check
If the cable passes visual inspection and has no red flags, perform a cautious charging check. Plug the EVSE into the correct outlet, connect the vehicle, and watch the first few minutes of charging.
Stop immediately if you notice a burnt smell, abnormal heat, clicking that repeats, visible arcing, a loose connector, a breaker or GFCI trip, or an error code that returns. Do not reset a tripping breaker again and again. Repeated trips mean something needs diagnosis.
If charging starts normally, check the vehicle screen or app to confirm the expected charging rate for your charger and vehicle. Remember that charging speed can vary. A Level 1 cord, Level 2 EVSE, DC fast charger, battery temperature, battery state of charge, and vehicle onboard charger all affect charge rate. The DOE AFDC charging guide explains these charging levels and connector types in more detail.
When to Call a Professional for Help?
Call the charger manufacturer, a qualified electrician, or an EVSE service technician when the issue goes beyond cleaning and inspection. Do not keep using a questionable cable while waiting for help.
- Exposed copper or inner conductors: Stop using the cable and replace it.
- Burn marks, melting, or burnt smell: Treat it as a serious electrical fault.
- Loose, bent, or corroded connector pins: Replace the connector assembly or cable if the manufacturer provides an approved part.
- Repeated breaker or GFCI trips: Have the circuit, outlet, plug, EVSE, and vehicle inlet checked.
- Hardwired charger cable damage: Turn off the breaker only if you can do so safely, then call a qualified electrician or EVSE technician.
- Water inside the connector or EVSE: Do not plug it in. Let a qualified person inspect it.
- Warranty or safety listing concerns: Contact the manufacturer before modifying any part.
Prevent Future EV Charging Cable Damage
Most cable damage comes from strain, heat, abrasion, moisture, poor storage, or vehicles driving over the cord. A few habits can extend cable life and reduce charging faults.
- Store the cable in loose loops instead of sharp bends.
- Keep the connector off the ground when it is not in use.
- Avoid closing doors, garage doors, or trunk lids on the cable.
- Do not run the cable through standing water, snow buildup, or sharp gravel.
- Do not drive over the cable.
- Keep the cable away from heaters, sharp tools, chemicals, and oil.
- Use only adapters approved by the vehicle or charger manufacturer.
- Check the wall outlet or receptacle for looseness, discoloration, heat, or buzzing.
The SAE J1772 standard covers the conductive charge coupler used for many North American AC charging setups. If your vehicle or charger uses J3400/NACS, CCS, CHAdeMO, or a regional connector, follow the manual for that exact connector type.
Frequently Asked Questions
What type of charger cable does a Nissan Leaf use?
Most 2011 to 2025 North American Nissan Leaf models use a J1772 connector for Level 1 and Level 2 AC charging and CHAdeMO for DC fast charging. Newer redesigned Leaf models are changing DC fast-charging hardware, so check your exact model year, owner’s manual, and charge-port labels before buying a replacement cable or adapter.
Can a charging cord be repaired?
A dirty connector or very light outer-jacket scuff may be handled at home, but exposed conductors, melted insulation, damaged pins, cracked plugs, overheating, or repeated fault trips should not be repaired with tape or a homemade splice. Replace the cable or contact the charger manufacturer, a qualified electrician, or an EVSE technician.
How much does it cost to fix an electric car charger at home?
Inspection and dry cleaning may cost little or nothing. Replacement cost depends on whether you need a new portable cordset, connector handle, plug, hardwired EVSE cable, outlet, breaker, or full charger. Because prices vary by brand, amperage, warranty, and labor rates, get a quote from the manufacturer or a qualified electrician instead of guessing.
Can I tape my charger cord?
Do not use tape as a permanent repair for an EV charging cable with exposed wire, deep cuts, cracked insulation, melted areas, or heat damage. Tape may hide the problem without restoring the cable’s insulation, strain relief, waterproofing, or current rating. Stop using the cable and replace it if the damage reaches beyond a superficial outer scuff.
Is it safe to use an EV charging cable if it still works?
Not always. A damaged cable can still deliver power while overheating, arcing, or creating a shock risk. If the cable has exposed wire, melted insulation, scorching, a loose connector, a hot plug, or repeated errors, stop using it even if the vehicle still charges.
Should I test a Level 2 charger with a multimeter?
Do not perform live 240 V testing unless you are qualified and trained to work on energized electrical equipment. Homeowners can inspect the cable while unplugged and may perform only de-energized checks if the manual allows it. For live voltage, grounding, breaker, GFCI, or outlet problems, call a qualified electrician.
Conclusion
Repairing an EV charging cable safely at home usually means knowing when not to repair it. You can inspect the cable, clean dry exterior surfaces, check for obvious connector problems, and gather details for warranty support. But if the cable has exposed conductors, heat damage, cracked insulation, bent pins, loose connectors, or repeated charging faults, stop using it. The safest repair is a manufacturer-approved replacement part, a new EVSE, or service from a qualified electrician.
Sources
- U.S. Department of Energy Alternative Fuels Data Center: Electric Vehicle Charging Stations — supports charging levels, connector types, charge-rate factors, and EVSE terminology.
- OSHA 1910.333: Selection and Use of Work Practices — supports deenergizing and qualified-person boundaries for electrical work.
- Electrical Safety Foundation International: Extension Cord Safety Tips — supports damaged-cord shock and fire hazard warnings.
- SAE J1772 Conductive Charge Coupler Standard — supports J1772 connector and conductive charging reference.
