
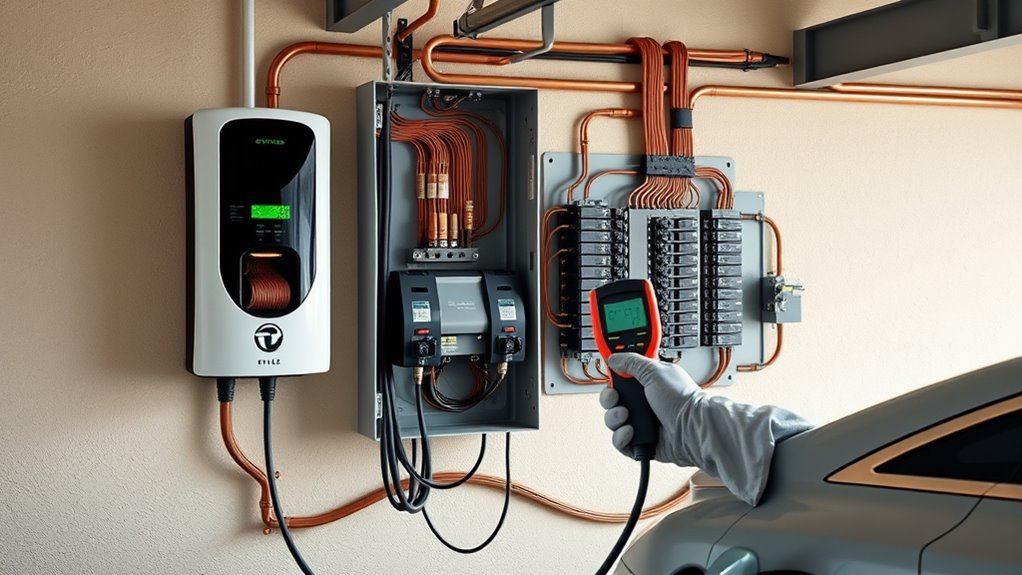
To size a home EV charger circuit, start with the charger’s maximum continuous amperage, then size the circuit and breaker at 125% of that load. In plain terms, a 32A charger usually needs a 40A circuit, a 40A charger usually needs a 50A circuit, and a 48A charger usually needs a 60A circuit. Before anything is installed, confirm panel capacity, conductor size, charger listing, permit rules, and local code with a licensed electrician.
Quick Answer
Most Level 2 home EV chargers need a dedicated 240-volt circuit sized at 125% of the charger’s continuous output. Use this common sizing rule: 16A charger to 20A circuit, 24A to 30A, 32A to 40A, 40A to 50A, and 48A to 60A.
Key Takeaways
- Size the EV charger circuit from the charger’s continuous output, not only from the plug or receptacle label.
- Multiply charger amps by 1.25 to find the minimum circuit size, then use the proper standard breaker size.
- A dedicated 240V circuit is standard for Level 2 charging, but your panel still needs a proper load calculation.
- Wire size depends on conductor type, wiring method, temperature rating, distance, derating, and local code.
- Use listed EV charging equipment and have permits, inspection, and final settings verified by a licensed electrician.
At a Glance
| Time Required | 15 to 30 minutes for basic planning; licensed installation and inspection time varies by panel, wire run, permit process, and charger type. |
| Difficulty | Planning is moderate; installation is advanced electrical work that should be handled by a licensed electrician. |
| Tools Needed | Charger installation manual, panel schedule, utility bill or service information, load calculation, permit application if required, and electrician’s code-approved tools. |
| Cost | Planning can be free; installed cost depends on charger price, permit fees, panel condition, wire length, breaker type, trenching or conduit, and whether a service upgrade is needed. |
Warning: A Level 2 EV charger uses high-voltage electrical work. This guide helps you understand the sizing logic, but it is not a substitute for the NEC, local code, permits, inspection, or a licensed electrician. Do not open a live panel or energize a new circuit unless you are legally qualified to do that work.
What Size Circuit Does Your EV Charger Need?
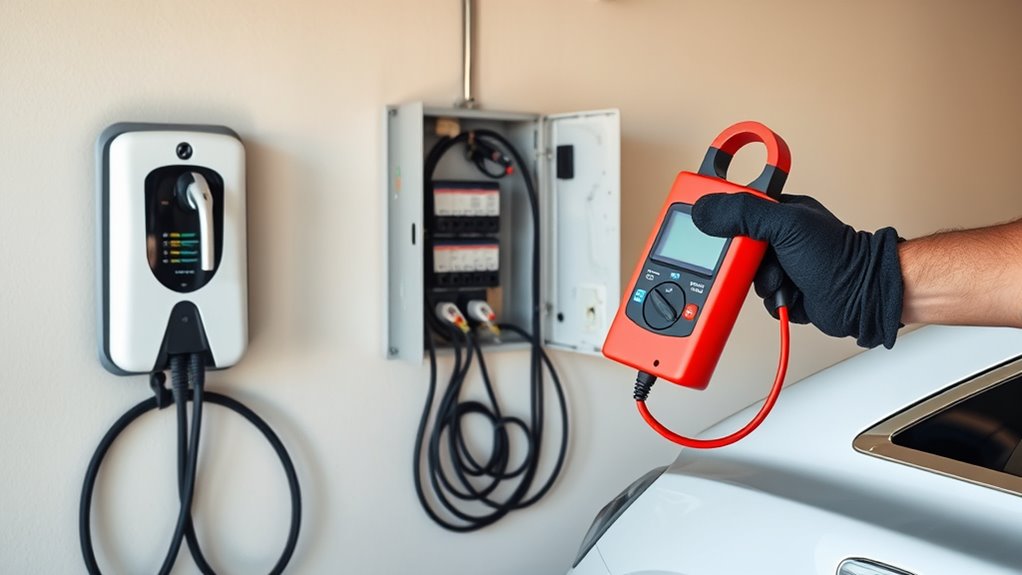
Your EV charger needs a dedicated 240-volt circuit sized to the charger’s continuous charging output and your home’s available electrical capacity. For most home Level 2 chargers, the key number is the charger’s amp setting, such as 16A, 24A, 32A, 40A, or 48A.
The safest planning rule is simple: multiply the charger’s continuous amperage by 1.25. That gives the minimum circuit rating needed for long charging sessions. A 40A charger, for example, needs at least a 50A circuit because 40 x 1.25 = 50.
The U.S. Department of Energy’s Alternative Fuels Data Center explains that Level 2 home charging uses 240V equipment and that EV charging infrastructure is considered a continuous load under the National Electrical Code. You can review its home charging guidance here: DOE AFDC home EV charging guidance.
You also need to confirm that your electrical panel can support the new load. That is not only a breaker-size question. A licensed electrician should perform a load calculation, check your service rating, inspect available breaker spaces, confirm conductor size, and verify local permit requirements before the charger is installed.
EV Charger Breaker Size Chart
Use this chart for early planning. Always follow the charger manufacturer’s installation manual and local code, because some chargers can be set lower than their maximum output.
| EV Charger Output | Minimum Circuit / Breaker | Typical Use |
|---|---|---|
| 12A | 15A circuit | Low-power charging or limited electrical capacity |
| 16A | 20A circuit | Small homes, older panels, overnight top-offs |
| 24A | 30A circuit | Good compromise when panel capacity is tight |
| 32A | 40A circuit | Common home Level 2 setup |
| 40A | 50A circuit | Fast home charging for many EVs |
| 48A | 60A circuit | High-output hardwired home charging |
Tesla’s official Wall Connector support table uses the same common pairings: 60A breaker with 48A output, 50A breaker with 40A output, 40A breaker with 32A output, 30A breaker with 24A output, and 20A breaker with 16A output. You can confirm the current Tesla table here: Tesla Wall Connector support.
Match Breaker Size to EV Charger Amps
Match the breaker to the EV charger’s continuous output setting. Do not size the circuit only from the plug shape, old receptacle label, or the biggest number printed on the box. Many modern chargers can be configured at several amp levels, and the final setting must match the installed circuit.
Use this formula:
Charger amps x 1.25 = minimum circuit size.
Here are three common examples:
- 32A charger: 32 x 1.25 = 40A circuit
- 40A charger: 40 x 1.25 = 50A circuit
- 48A charger: 48 x 1.25 = 60A circuit
If the math lands between standard breaker sizes, your electrician will choose the next code-approved standard size and confirm that the wire, terminals, charger, and panel are rated for it.
Correct sizing reduces heat, helps prevent nuisance tripping, and supports steady charging during long overnight sessions.
Why the NEC 80% Rule Matters
The NEC 80% rule is another way to explain the same continuous-load safety margin. For a continuous load, the charger should normally draw no more than 80% of the circuit rating. That is why a 50A circuit supports a 40A EV charger output.
EV charging matters because it can run for hours. A circuit that may handle a short burst of current is not automatically safe for a long, steady charging load. The 125% rule gives the breaker and wiring more margin so heat does not build up during long sessions.
Think of it this way:
- A 20A circuit can support up to 16A of continuous EV charging.
- A 30A circuit can support up to 24A of continuous EV charging.
- A 40A circuit can support up to 32A of continuous EV charging.
- A 50A circuit can support up to 40A of continuous EV charging.
- A 60A circuit can support up to 48A of continuous EV charging.
This rule applies to the branch circuit serving the EV charger. Your main service and panel capacity still need a full load calculation, not a simple 80% shortcut.
Pro Tip: If your charger can be adjusted, set it to the highest output your home can safely support after the load calculation. A 24A or 32A setting may be safer and more practical than forcing a 48A installation into a tight panel.
How Much Panel Capacity Do You Have?
Start by checking your main breaker rating, often 100A, 150A, or 200A in many homes. That number gives you a rough idea of the service size, but it does not tell the whole story.
Your electrician needs to compare the EV charger load with your existing household loads, such as HVAC equipment, electric range, dryer, water heater, heat pump, hot tub, shop tools, and other large circuits. This is done with a residential load calculation based on the code adopted in your area.
If the calculation shows enough spare capacity, you may be able to install the charger at the output you want. If the margin is tight, you may need a lower-amp setting, load management, a subpanel, or a service upgrade.
Main Breaker Rating
Your main breaker rating sets the upper limit for the electrical service feeding the home. A 200A service usually gives more room for EV charging than a 100A service, but a 200A panel can still be crowded if the house has several large electric loads.
Keep these points in mind:
- 100A service: May support a lower-amp charger after a load calculation, but panel capacity can be tight.
- 150A service: May support a moderate Level 2 charger, depending on the home’s existing loads.
- 200A service: Often gives better room for a 40A or 48A charger, but it still needs verification.
- Full panel: Open physical slots do not always mean there is enough electrical capacity.
If the main panel has no safe headroom, do not force the circuit. Use a lower charger setting or ask about a code-approved load management system.
Household Load Demand
Household load demand is the real test. A home with gas heat, gas cooking, and a gas water heater may have more spare electrical capacity than a home with electric heat, electric cooking, a heat pump water heater, and a hot tub.
| Load to Check | Why It Matters |
|---|---|
| HVAC or heat pump | Often one of the largest electrical loads in the home |
| Electric range or oven | Adds major demand during cooking hours |
| Electric dryer | Can overlap with evening charging |
| Electric water heater | Large load that can cycle while the EV is charging |
| EV charger | Continuous load that may run for hours |
The best answer is not “every home needs 200A.” The best answer is “the charger output must fit the home’s calculated load.”
Make Sure You Have Two Open Slots
Most Level 2 EV chargers use a double-pole breaker, which usually takes two adjacent spaces in the electrical panel. Check the panel schedule and the physical breaker layout before planning the charger location.
You need to confirm:
- Two suitable breaker spaces are available.
- The panel accepts the required breaker type.
- The panel is not already overloaded.
- The charger circuit can be dedicated to the EVSE.
- The wiring path from panel to charger is practical and protected.
Do not assume tandem or quad breakers are allowed just because they fit. Some panels allow them only in certain positions, and some do not allow them at all. A licensed electrician should check the panel label and local code.
If the panel is full, the solution may be a proper subpanel, a service upgrade, or a load management device. Cramming a high-output charger into a crowded panel can create safety and inspection problems.
Calculate Your EV Charger Load
To calculate your EV charger load, identify the charger’s maximum output setting, multiply by 1.25, then confirm the panel and wire can support that circuit.
Charger Amperage Basics
The charger’s amperage controls both charging speed and circuit size. Higher amperage can charge faster, but only if your vehicle, charger, panel, breaker, wiring, and local code all support it.
Many home EV chargers can be configured at different outputs. For example, a charger rated up to 48A may also be set to 40A, 32A, 24A, or 16A. The final setting should match the installed breaker and conductor size.
Before buying a charger, check:
- Your vehicle’s maximum AC charging rate
- The charger’s adjustable amp settings
- Whether the charger must be hardwired for higher output
- Your panel’s available capacity
- Permit and inspection requirements in your area
Continuous Load Formula
Use this formula for planning:
EVSE continuous output x 1.25 = minimum circuit rating.
Example: A 40A charger needs at least a 50A circuit.
That does not mean every 50A circuit is automatically ready. The conductor, breaker, panel, charger, receptacle if used, and installation method must all be rated correctly.
If you want an easier version, divide the circuit rating by 1.25:
- 20A circuit ÷ 1.25 = 16A maximum continuous charger output
- 40A circuit ÷ 1.25 = 32A maximum continuous charger output
- 50A circuit ÷ 1.25 = 40A maximum continuous charger output
- 60A circuit ÷ 1.25 = 48A maximum continuous charger output
Panel Capacity Check
After you size the charger circuit, check whether the home’s electrical service can handle it. This is where a licensed electrician’s load calculation matters.
The electrician should verify:
- Service ampacity
- Existing major loads
- Panel condition and breaker compatibility
- Available spaces for a double-pole breaker
- Grounding and bonding condition
- Whether load management is needed
- Whether the utility must be involved for a service upgrade
If the calculation does not support the charger at full power, choose a lower charger setting instead of overloading the panel.
Hardwired vs Plug-In EV Chargers
Home EV chargers are usually installed in one of two ways: hardwired directly to the circuit or plugged into a 240V receptacle such as a NEMA 14-50. Both can work, but they are not the same.
Hardwired EV Chargers
A hardwired charger is permanently connected to the branch circuit. This is common for higher-output chargers, outdoor installations, and clean wall-mounted setups.
Hardwired installations can reduce wear points because there is no plug and receptacle connection carrying high current for hours. Many 48A chargers require hardwiring because 48A continuous output usually needs a 60A circuit.
Plug-In EV Chargers
A plug-in charger uses a matching 240V receptacle. This can be convenient if you want to move the charger, but the receptacle must be high quality, correctly rated, properly installed, and protected as local code requires.
Do not use an old dryer outlet, loose receptacle, adapter, extension cord, or shared appliance circuit for EV charging. EV charging is a long continuous load, and weak connections can overheat.
Note: Many local codes require GFCI protection for receptacles used for EV charging. Some plug-in chargers may nuisance-trip on certain GFCI breakers. Ask your electrician whether a hardwired charger is the better option for your installation.
What If Your Panel Is Too Small?
If your panel does not have enough spare capacity for the charger you want, you still have safe options.
Start with a lower charger output. A 24A charger on a 30A circuit can still add a useful amount of range overnight and may be easier to fit into an older electrical system than a 48A charger.
You can also ask about load management. Some chargers and energy management systems can reduce charging current when the home is using heavy loads, then increase current again when capacity is available. This can avoid a costly service upgrade in some homes.
Your main options are:
- Lower the charger setting: Good when you can charge overnight and do not need maximum speed.
- Use load management: Good when the panel is tight but the charger can be controlled safely.
- Add a subpanel: Useful for space and organization, but it does not create more service capacity by itself.
- Upgrade the service: Best when the home needs more total capacity for EV charging and future electric loads.
Do not treat a subpanel as a magic fix. It can give you more breaker spaces, but the main service still has to support the total load.
Choose the Right EV Charger Wire
Once the breaker and charger output are selected, the conductor must be sized for the circuit. This is where many DIY mistakes happen.
Wire size depends on more than the breaker number. Your electrician must consider conductor material, insulation type, wiring method, conduit fill, ambient temperature, terminal ratings, distance, voltage drop, and local code amendments.
Common planning examples include:
- Smaller Level 2 circuits may use smaller conductors when code allows.
- Many 40A charger installations use a 50A circuit with conductors selected for that circuit.
- Many 48A charger installations use a 60A circuit and often require hardwiring.
- Long wire runs may need larger conductors to reduce voltage drop.
Avoid universal claims like “one wire size always works for 60A.” For example, 6 AWG copper conductors are common in some 60A EV charger installations, but the correct answer depends on the exact wiring method and code rules for the job.
Also make sure the charger is listed by a recognized testing organization, such as UL, ETL, or CSA. OSHA explains that a Nationally Recognized Testing Laboratory certification mark shows the product was tested and certified to applicable safety standards. You can review the OSHA NRTL program here: OSHA NRTL program.
Handle Permits and Inspections
Before installing a home EV charger, check your local building or electrical authority. Many areas require an electrical permit for a new 240V EV charger circuit.
Permit requirements vary, but the application may ask for:
- Charger model and installation manual
- Breaker size and circuit rating
- Load calculation
- Panel information
- Site plan or charger location
- Contractor license information
After installation, an inspector may check conductor size, breaker type, grounding, bonding, charger mounting, receptacle type if used, GFCI protection if required, and whether the charger output setting matches the circuit.
Permit Requirements
Permit rules are local, so do not rely on a national article alone. Some cities allow simple online permits for standard Level 2 installations, while others require plan review for larger services, multifamily buildings, or complex wiring routes.
Seattle’s Department of Construction and Inspections, for example, says electrical permits are required for electric vehicle charger installations and recommends using a state licensed and bonded electrical contractor. Your own city or county may have different rules, so always check locally. You can review Seattle’s public EV charger permitting tip here: Seattle SDCI EV charger permit tip.
Inspection Process
The inspection protects you, the installer, the next homeowner, and your insurance position. If the inspector finds a problem, correct it before the charger is used.
Keep these records:
- Permit approval
- Inspection approval
- Charger installation manual
- Panel load calculation
- Final charger amperage setting
- Warranty and product listing information
Those records are useful if you sell the home, file a warranty claim, change chargers, or add another large electrical load later.
When to Call a Licensed Electrician
You should call a licensed electrician before installing a Level 2 EV charger, especially if the circuit is new, the panel is older, the charger is hardwired, or the home has limited service capacity.
Call a professional right away if:
- Your panel is rated 100A or less.
- The panel is full or uses older breaker types.
- You want a 40A or 48A charger output.
- The charger will be outdoors.
- The wire run is long or needs conduit.
- You plan to use an existing 240V receptacle.
- You have aluminum branch wiring or old equipment.
- Your local authority requires a permit and inspection.
A licensed electrician can also help you compare the cost of a lower-amp charger, a smart load-managed charger, a subpanel, or a full service upgrade.
Frequently Asked Questions
What size circuit do I need for a home EV charger?
Most Level 2 home EV chargers need a dedicated 240V circuit. Common pairings are 20A circuit for 16A charging, 30A for 24A, 40A for 32A, 50A for 40A, and 60A for 48A. The final size must match the charger manual, panel capacity, conductor size, and local code.
What is the 80/20 rule for EV charging?
For EV charging, people usually mean the 80% continuous-load rule. A charger should normally draw no more than 80% of the circuit rating during long charging sessions. That is why a 50A circuit supports 40A charging and a 60A circuit supports 48A charging.
Can I use a 60 amp breaker for a Tesla Wall Connector?
Yes, a Tesla Wall Connector can use a 60A breaker when it is installed, wired, configured, and inspected for 48A maximum output. The charger setting must match the breaker and conductor size. If the home cannot support that load, the Wall Connector can be configured for a lower breaker size and output.
Is 200 amps enough for a house with an EV charger?
A 200A service is often enough for one home EV charger, but it is not automatic. The answer depends on your existing loads, charger output, utility service, panel condition, and local code. A licensed electrician should perform a load calculation before installation.
Can I plug an EV charger into my dryer outlet?
Do not assume a dryer outlet is safe for EV charging. Dryer circuits are often shared with the dryer, may use older receptacle types, may not have the right conductor arrangement, and may not be rated for long EV charging sessions. Have an electrician inspect the circuit before using it.
Is a hardwired EV charger better than a plug-in charger?
Hardwired is often better for high-output, outdoor, or permanent installations because it removes the plug and receptacle connection from the charging path. Plug-in chargers can be convenient, but the receptacle, breaker, GFCI protection, and charger setting must be correct.
What wire size do I need for an EV charger?
Wire size depends on breaker size, conductor material, insulation, wiring method, terminal ratings, derating, run length, and local code. A 60A EV charger circuit often uses larger conductors than a 40A circuit, but the installer must size the conductors for the exact job.
Do I need a permit for a home EV charger?
Many areas require an electrical permit for a new Level 2 EV charger circuit. Permit rules vary by city, county, and state, so check with your local building or electrical authority before work starts.
Conclusion
Sizing a home EV charger circuit starts with the charger’s continuous output. Multiply that output by 1.25, match it to the correct breaker, then confirm the panel, conductor, wiring method, charger listing, permit, and inspection requirements. A 32A charger usually needs a 40A circuit, a 40A charger usually needs a 50A circuit, and a 48A charger usually needs a 60A circuit. If your panel is tight, choose a lower charger setting or ask about load management instead of forcing an unsafe upgrade.
The safest plan is simple: pick the charger you want, check the installation manual, have a licensed electrician run the load calculation, and install the circuit only after the sizing and permit details are confirmed.
Sources
- U.S. Department of Energy Alternative Fuels Data Center — home EV charging, Level 2 equipment, permits, capacity checks, and NEC continuous-load context.
- Tesla Wall Connector Support — official breaker-size and maximum-output examples for Tesla Wall Connector installations.
- OSHA Nationally Recognized Testing Laboratory Program — product safety certification and NRTL marks.
- Seattle Department of Construction and Inspections EV Charger Tip — example of local permit, contractor, and inspection guidance.
- NFPA 70 National Electrical Code — primary electrical code reference used by many jurisdictions, subject to local adoption and amendments.

