
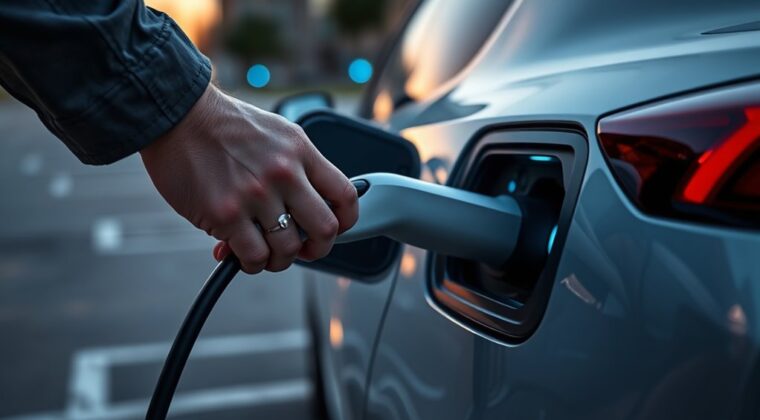
Download the Blink app, create your account, and add a payment method. Use the map to find an available Blink charger, confirm the unit number, and plug in your EV. Start the session in the app, with your Blink RFID card, or with a credit or debit card, depending on the station. Watch the LED indicators for status, then end the session in the app or by tapping your RFID card. More details can clarify each step.
Download the Blink App
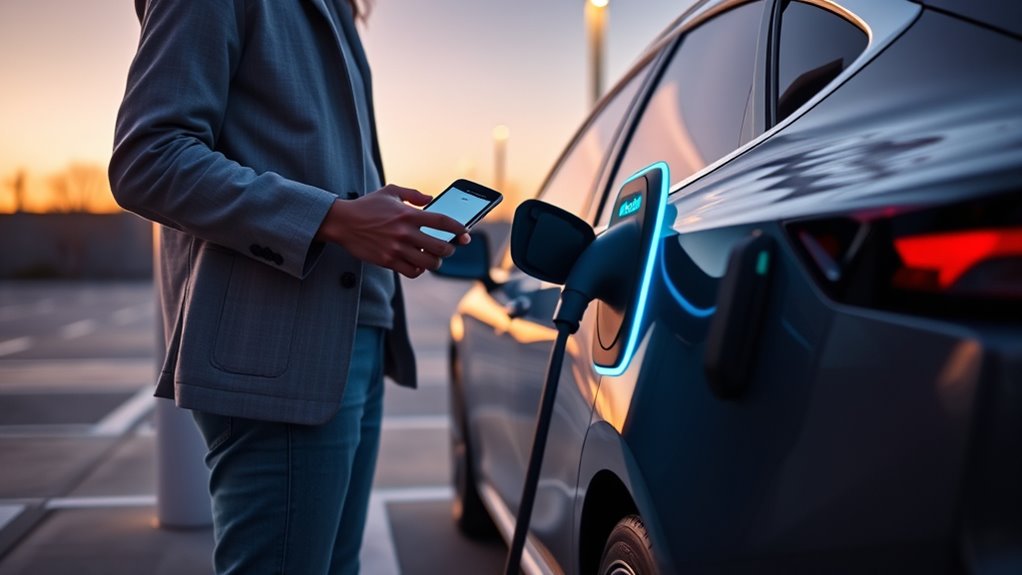
Start by downloading the Blink Charging App from the Google Play Store or Apple App Store so you can access Blink EV charging stations quickly and efficiently.
You should install the Blink Charging App, then open it and complete the setup with your account details. This app gives you a direct control layer for your charging sessions, so you can start and stop energy transfer without unnecessary delay.
Its interface is user-friendly, letting you manage stations, payments, and status data from one secure dashboard. You can add a credit card, debit card, or membership card to streamline transactions and reduce friction.
Enable notifications so you receive precise alerts about charging progress and completion. By downloading the Blink Charging App, you remove barriers, reclaim time, and support a more autonomous charging routine.
With the app configured, you’re ready to act efficiently when you reach a station.
Locate a Blink Charging Station
To locate a Blink Charging Station, open the Blink Charging App and use its map feature to find nearby chargers by address, city, state, or business category. The app marks each charging station with green dots, so you can assess availability fast and choose with intent.
Open the Blink Charging App’s map to find nearby chargers by address, city, state, or category.
- Filter results for Blink Level 2 chargers.
- Match charger type to your EV’s compatibility.
- Check station LED lights on arrival.
- Green LEDs indicate availability.
- Red LEDs signal a fault.
You can also confirm the unit number in the app or on the hardware for precise reference. That detail helps you move independently through the network without guesswork.
Start a Blink Charge Session
First, select the correct charger in the Blink Charging app or enter the charger unit number at the station.
Then choose your payment method, including the app, Blink RFID card, or credit/debit card, and follow the prompts to begin the session.
Once the system confirms authorization, the station starts charging and the app displays the live status.
Select Charger
Open the Blink Charging app and use the map to identify available chargers, shown as green dots, while your location appears as a grey dot.
Tap a green dot or open the drop-down to select a charger, and record the unit number before you proceed. Verify compatibility with your EV first; it keeps your charging path efficient and autonomous.
- Select the charger in the app.
- Confirm the displayed unit number.
- Match charger specs to your vehicle.
- If you’re a member, prepare to start charge.
- If you’re not, choose Charge as Guest.
For members, the charging session begins after you plug in and tap Start Charge.
Non-members can enter the required details, then follow the same charging flow.
Begin Charge Session
Begin your Blink charge session by parking your EV close to the station and plugging the connector into the vehicle’s charging port.
At a public Blink charging station, you can begin charge session through the app, a Blink membership card, or a payment card. Open the Blink Charging app, enter the unit number, and tap Check In to confirm preferences and payment.
If you’re using a Blink membership card, hold it against the reader when the system prompts you. For credit or debit cards, plug in first, then tap or insert your card at the terminal and follow the screen.
Once power flows, monitor the session in real time through the app or the charger’s blue LED indicators.
Charge With RFID or a Payment Card
To start a charging session with an RFID card, make sure the card is activated and linked to your account before you plug the connector into your EV’s charging port.
After connection, you can charge by holding the RFID near the reader when the station prompts you. This keeps your access direct and controlled, without extra friction.
If you prefer a payment card, connect first, then tap or insert your credit or debit card at the terminal. Follow the display exactly; it guides each step and confirms session status.
- Plug the connector into the vehicle
- Wait for the charger prompt
- Present your RFID card or payment card
- Verify the on-screen confirmation
- Monitor the charging session
When the session ends, unplug the connector from both the vehicle and the station, then return it to the charger.
That final action preserves equipment readiness and keeps your process efficient, autonomous, and clean.
Charge as a Guest
When you need temporary access, you can use the Blink Charging App to charge as a guest by selecting Charge as Guest, creating an account with your email, and agreeing to the Terms of Service.
Open the Blink Charging App, enter your billing country, address, and credit card information, and verify that payment details are accurate.
Open the Blink Charging App, enter your billing country, address, and credit card information, and verify your payment details.
Then use the Blink Map screen to locate nearby stations marked with green dots, which indicate availability. Tap a green dot or choose a site from the drop-down list to inspect location details and the charger unit number before you begin.
Once you plug in your EV, charging starts automatically within 3 to 20 seconds. You can monitor the session status in the app while maintaining control over your access and payment.
This guest flow keeps you autonomous: you can initiate charging without a permanent account relationship, yet still secure reliable session authorization and transparent billing.
Understand Blink Charger Lights
Blink charger lights give you a quick status check before and during a session. You read the charging station state instantly, so you can act with confidence and keep control of the process.
- Green light: the charger’s open and ready.
- Light blue light: your vehicle’s charging now.
- Red light: the station has a fault.
- Flashing lights: the unit’s processing or waiting.
- Solid blue light: charging’s complete; battery full.
Watch Blink charger lights as direct diagnostics, not decoration. Green means you can initiate a session. Light blue confirms current flow and active energy transfer.
Red requires you to stop and verify the site’s status, because the charging station can’t deliver service in that condition. Flashing patterns usually mean the system still needs a transaction to finish or input from you.
When you see a solid blue light, the session has ended electrically and the battery’s reached full charge. By reading these signals precisely, you protect your time, reduce uncertainty, and move through public charging with more freedom.
End the Session and Unplug
To stop the charge, hold your RFID card in front of the reader until the LED turns green and the cable disengages.
Once the session ends, unplug the connector from both your vehicle and the station.
Return the cable to the holder so the station’s hardware is secured for the next use.
Stop The Charge
End the charging session by holding your Blink RFID card against the station reader until the system confirms completion. To stop the charge, you trigger a controlled shutdown, then the station signals that you can proceed with release.
- Verify the screen or app confirms finalization.
- Watch the LED shift to green.
- Prepare to disconnect the charging cable.
- Remove the connector from your vehicle and station.
- Return the connector to its holder.
This sequence gives you clean control over the charging session and preserves equipment integrity.
Don’t force any component; let the station state guide your actions. When you disconnect the charging cable only after confirmation, you reduce error and keep the site ready for the next driver.
Unlock The Connector
Hold your Blink RFID card in front of the station’s RFID reader to end the session and release the connector. This action lets the system disengage the connector and terminates your charging session with a verified command.
When the station’s LED indicators turn green, you know the cable is no longer secured and can be removed safely. Detach the plug from your EV first, then from the station, using a controlled motion to avoid strain.
Check your app or the charger display to confirm the transaction has completed. Keep your Blink RFID card accessible; you’ll need it for future access to public charging infrastructure.
This process gives you direct control, clear status feedback, and a clean exit from the charging point.
Return The Cable
When the station’s LED lights turn light blue, your EV is fully charged and you can end the session by holding your Blink RFID card in front of the RFID reader until the indicator changes to green and the cable releases.
Then you can act with precision and freedom:
- verify the charging session ended in the app
- disconnect the charging cable from the EV and station
- return the connector to its holder
- inspect the cable for proper seating and cleanliness
- confirm the transaction status on the display
This sequence prevents faults, protects equipment, and keeps the site orderly.
Frequently Asked Questions
How Do I Use a Blink EV Charging Station?
You use it by finding station locations, plugging in your compatible connector, starting the charging process in the Blink app or with RFID/card, monitoring status, then stopping session and unplugging for a streamlined user experience.
How to Pay at Blink Charging Station?
You can pay at Blink with app, RFID, or card; choose your payment methods, then optimize user experience with troubleshooting tips—like a locksmith freeing power—so you don’t stall at the terminal.
How to Use an EV Charging Station for the First Time?
You’ll start by checking EV compatibility, choosing the right station types, and following charging etiquette. Then park, plug in, authenticate with the app or card, monitor progress, and end the session cleanly.
Do I Need an App to Use Blink Charging Station?
No, you don’t need an app to use a Blink charging station; you can start charging with RFID or card payment. The app adds Blink features, charging station benefits, and improves your user experience.
Conclusion
By now, you can move through a Blink EV charge session with the calm precision of a seasoned navigator. Whether you use the app, RFID, or a payment card, each step works like a well-marked route, guiding you from plug-in to unplug. Watch the charger lights, confirm your session, and end cleanly when you’re done. In this small ritual of modern travel, you’ve got the key to reliable power—your own electric odyssey, one charge at a time.