
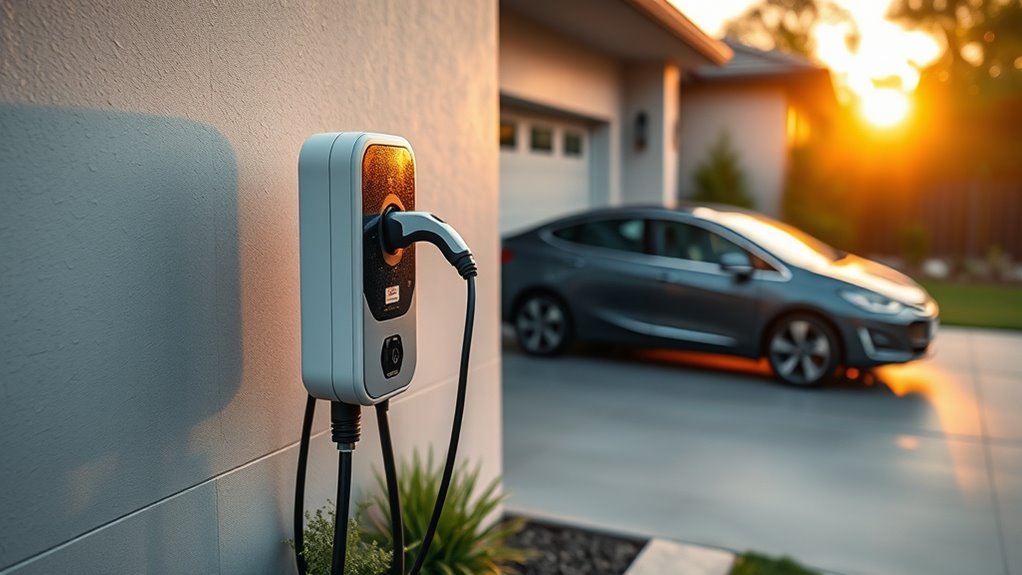
When you plan an outdoor EV charger installation, the goal is simple: safe charging that works in rain, heat, cold, and daily use. Choose an outdoor-rated Level 2 charger, confirm your home’s electrical capacity, check permit rules, and have a licensed electrician size the circuit, breaker, conductors, conduit, and protection correctly. The best setup puts the charger close to your parking spot, keeps the cable off walkways, and protects the unit from direct weather when possible.
Quick Answer
For an outdoor EV charger, use a safety-certified, outdoor-rated Level 2 charger on a dedicated 240-volt circuit, installed by a licensed electrician. Pick a protected location near your parking spot, verify permits and GFCI requirements, and choose NEMA 4 or 4X protection for harsh rain, dust, salt air, or exposed conditions.
Key Takeaways
- Choose a charger listed for outdoor use; NEMA 4 or 4X is best for harsher exposure, while protected locations may allow other outdoor-rated enclosures.
- Most home Level 2 chargers need a dedicated 240-volt circuit, correct breaker sizing, proper grounding, and code-compliant GFCI protection.
- Mount the charger where the cable reaches the charge port without stretching, crossing walkways, or sitting in puddles.
- Expect costs to vary widely based on panel capacity, wiring distance, trenching, conduit, permits, and local labor.
- Do not treat this as a shortcut DIY job; outdoor electrical work should be permitted, inspected, and handled by a qualified electrician.
At a Glance
| Time Required | A few hours for a simple wall-mounted install; longer if trenching, panel work, conduit runs, or inspections are involved. |
| Difficulty | High for electrical work; homeowner planning is simple, but installation should be done by a licensed electrician. |
| Tools Needed | Homeowner: tape measure, photos of panel and parking area, charger manual. Electrician: code-approved wiring, conduit, breaker, tester, mounting hardware, and permit documents. |
| Cost | Often several hundred to several thousand dollars, depending on charger price, wiring distance, permits, panel capacity, trenching, and local labor. |
Outdoor EV Charger Installation Basics
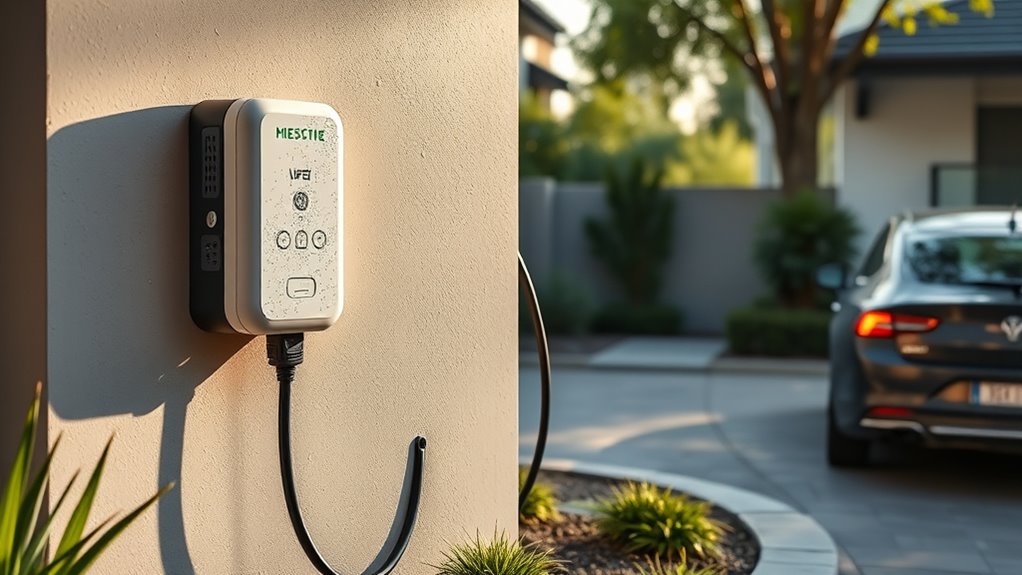
An outdoor EV charger is usually a Level 2 home charging station that uses 240-volt power for faster charging than a standard 120-volt outlet. The U.S. Department of Energy notes that residential equipment is often installed in garages, but outdoor installation and use can be safe when the equipment is rated for outdoor conditions.
Outdoor charging is safe only when the charger, wiring method, receptacle or hardwired connection, and protection devices are selected for the location and installed to code.
Start by checking three things: where your vehicle parks, where its charging port sits, and where your electrical panel is located. A charger near the panel usually costs less to install because the wiring run is shorter. A charger near the vehicle’s charge port is easier to use because the cable does not need to stretch, drag, or cross a walking path.
You should also choose a charger with a safety certification from a recognized testing lab. ENERGY STAR explains that certified EV chargers are tested for safety by a nationally recognized testing laboratory, and Level 2 chargers can provide much faster charging than Level 1 units.
Warning: Do not open your electrical panel, run new outdoor wiring, trench electrical conduit, or energize a charger circuit unless you are licensed and permitted to do that work. Outdoor EV charging circuits carry high continuous loads and must be installed correctly to reduce fire, shock, and water-intrusion risk.
Outdoor EV Charger Pre-Install Checklist
Before you buy a charger, gather the details your electrician needs. This prevents delays, surprise costs, and a charger that does not fit your daily routine.
- Vehicle charging need: Estimate your daily miles and how much range you need to recover overnight.
- Connector type: Confirm whether your EV uses J1772, J3400/NACS, or an adapter for Level 2 charging.
- Charging speed: Check the vehicle’s maximum AC charging rate so you do not pay for more charger output than the car can use.
- Parking position: Measure from the planned charger location to the vehicle’s charge port.
- Electrical panel: Take a clear photo of the panel label, main breaker, and open breaker spaces for your electrician.
- Outdoor exposure: Note whether the charger will sit under a roof, on an open wall, on a post, near sprinklers, or near salt air.
- Permit rules: Contact your local building department or ask your electrician whether a permit and inspection are required.
- Utility rebates: Check federal, state, local, and utility incentives before buying equipment.
Pro Tip: Ask for two quotes: one for the shortest practical wiring route and one for the best parking convenience. The cheapest location is not always the easiest one to use every night.
Outdoor Vs Indoor EV Charger Installation
Outdoor EV charger installation usually needs more planning than indoor installation because the equipment faces rain, wind, dust, sun, heat, freezing temperatures, insects, and physical impact. Indoor chargers often sit in a garage near the panel, where weather exposure and conduit runs may be simpler.
For an outdoor install, the charger must be listed for outdoor use, and the wiring method must match the location. A charger mounted under a carport, porch, or eave may see less direct rain than one on an open post. A charger near the coast may need better corrosion resistance than one in a dry inland climate.
Indoor installations can still require permits, a dedicated circuit, load calculations, and professional electrical work. The key difference is exposure. Outdoor equipment must keep water and debris away from live electrical parts while remaining easy to access and safe to use.
| Install type | Main concern | Best practice |
|---|---|---|
| Indoor garage | Panel capacity and cable reach | Keep the charger close to the vehicle port and panel when possible. |
| Outdoor wall | Rain, sun, cable storage, and impact | Use outdoor-rated equipment and mount where the cable stays off the ground. |
| Post or pedestal | Trenching, conduit, and vehicle impact | Use protective bollards or placement that keeps the charger out of tire paths. |
Best Places to Mount an Outdoor Charger
The best mounting place is close enough to the vehicle’s charge port for easy use, protected enough to limit weather damage, and positioned so the cable does not create a trip hazard. Good locations include a garage exterior wall, side wall near the driveway, carport post, or a dedicated pedestal near a parking pad.
Protected Mounting Spots
Choose a protected spot when you can. Under eaves, under a carport, beside a garage wall, or inside a covered driveway area can reduce direct rain, snow, ice, and UV exposure. Protection does not replace outdoor-rated equipment, but it can help the charger, connector, and cable last longer.
Avoid low areas where water collects. Mount the charger on a stable wall, post, or pedestal above splash zones and away from sprinklers. If your driveway gets snow buildup, leave enough height and side clearance so the unit is not buried, scraped, or hit by snow removal equipment.
Easy Cable Reach
Cable reach should be based on your real parking position. Park the vehicle the way you normally do, locate the charge port, and measure the path from the charger location to the inlet. The cable should reach without pulling tight, running under a garage door, lying across a sidewalk, or crossing the main walking path.
Many home chargers come with cables around 18 to 25 feet, but the right length depends on your driveway, vehicle size, and port location. If you own more than one EV, check whether the charger can reach both vehicles without moving them into awkward positions.
Safe Traffic Clearance
Keep the charger out of bumper paths, tight turns, trash-bin areas, and places where bikes, lawn equipment, or pedestrians regularly pass. A wall-mounted unit should not stick into a narrow walkway. A post-mounted unit may need a bollard, curb stop, or careful placement so a vehicle cannot strike it.
Also plan cable storage. A hook, holster, or built-in cable wrap keeps the connector off the ground and reduces water, dirt, and trip hazards.
Note: The “best” location is not always the closest wall. The right location balances charger reach, panel distance, safe walking paths, weather exposure, and your normal parking habits.
What Your Electrician Needs for the Install
Your electrician needs the charger model, the manufacturer’s installation manual, the vehicle’s charging capability, the desired charger output, and access to your electrical panel. They will confirm whether the panel can handle the added continuous load and whether your home needs a new circuit, load management device, service upgrade, or panel upgrade.
| Install need | Why it matters |
|---|---|
| Dedicated 240-volt circuit | Supports faster Level 2 charging and keeps the charger on a properly sized circuit. |
| Load calculation | Confirms whether your panel and service can handle the added continuous load. |
| GFCI and grounding protection | Reduces shock risk and helps meet local electrical requirements. |
| Correct conductor and conduit sizing | Prevents overheating, voltage drop, abrasion, and water-entry problems. |
| Permit and inspection | Keeps the install legal, documented, and safer for resale or insurance review. |
The DOE Alternative Fuels Data Center explains that EV charging equipment installations must comply with local and state codes, permits may be required, and NEC Article 625 contains much of the information that applies to charging equipment. Your electrician should use the code edition adopted in your local area, not a generic online rule of thumb.
Outdoor EV Charger Weatherproof Ratings
Weatherproof ratings tell you what kind of exposure the charger enclosure is designed to handle. For outdoor EV chargers, look for language such as “outdoor rated,” “wet location rated,” “NEMA 3R,” “NEMA 4,” “NEMA 4X,” or an equivalent rating in the manufacturer’s documentation.
A NEMA enclosure rating is not just a marketing phrase. It describes the level of protection an enclosure provides against environmental conditions such as rain, dust, hose-directed water, and corrosion.
- NEMA 3R: Often used for outdoor rain protection in more protected locations, but it is not the same as full dust-tight or hose-directed water protection.
- NEMA 4: A stronger choice for exposed outdoor locations with windblown dust, rain, sleet, snow, or hose-directed water.
- NEMA 4X: Adds corrosion resistance, which matters near salt air, industrial contaminants, or harsh weather.
Also check the operating temperature range. Many chargers are designed for wide temperature ranges, but performance can still vary because the vehicle’s battery and charging system also react to weather.
Hardwired Vs Plug-In Outdoor Chargers
Outdoor EV chargers are usually installed in one of two ways: hardwired directly to the circuit or plugged into a dedicated outdoor-rated receptacle. Both can work when installed correctly, but they have different strengths.
| Type | Best for | Watch-outs |
|---|---|---|
| Hardwired | Permanent outdoor installs, higher-output chargers, exposed locations, and fewer plug/receptacle wear points. | Less portable and must be disconnected by a qualified person if moved. |
| Plug-in | People who may move the charger or want easier replacement later. | Outdoor receptacles need correct rating, cover, GFCI protection, and weather-resistant installation. |
Hardwired installations are often cleaner for outdoor use because there is no exposed plug connection under daily load. Plug-in units can still be useful, but the receptacle and cover must be suitable for the outdoor location, and the charger manufacturer’s instructions must allow that setup.
How Much Outdoor EV Charger Installation Costs
Outdoor EV charger installation cost depends on the charger, electrical work, permit fees, and site conditions. A simple install near the panel may cost far less than a charger installed across a driveway or at a detached parking pad that needs trenching.
Installation Cost Factors
The biggest cost factors are usually wiring distance, panel capacity, amperage, trenching, conduit, wall or pedestal mounting, and permit requirements. If your electrical panel has enough capacity and the charger sits close to it, the job is simpler. If your panel is full, undersized, far away, or needs a service upgrade, the cost can rise quickly.
Before you approve the job, ask the electrician whether the quote includes permit fees, inspection coordination, outdoor-rated conduit, breaker type, GFCI protection, weatherproof fittings, mounting hardware, and cleanup.
Equipment And Labor Fees
The charger itself may cost a few hundred dollars to well over a thousand dollars depending on output, cable length, smart features, enclosure rating, and brand. Labor varies by region and difficulty. Outdoor runs often cost more than garage installs because they may require conduit, exterior wall penetrations, trenching, pedestal mounting, or longer cable routes.
Check utility and government incentives before purchase. Some programs require approved charger models, ENERGY STAR certification, separate metering, or proof of professional installation.
Permits and Safety Rules for Installation
Before installation starts, confirm whether your city, county, or utility requires a permit. Many jurisdictions require a permit for a new 240-volt EV charging circuit, especially outdoors. Some also require a final inspection before the circuit is used.
EV charging is treated as a continuous load, so circuit sizing is not the same as plugging in a short-use appliance. Your electrician must size the breaker, conductors, conduit, and protection based on the charger’s maximum continuous output and the code adopted in your area. The National Electrical Code is the main U.S. electrical safety standard, but local adoption and amendments control what your installer must follow.
Warning: Never use an extension cord, indoor outlet, non-weatherproof receptacle, damaged connector, or undersized circuit for outdoor EV charging. If a breaker trips, a plug feels hot, or the charger shows a fault, stop using it and call a qualified electrician.
How Weather Affects Charging Speed
Weather can affect both the charger and the vehicle. The charger must survive outdoor exposure, but the vehicle battery also has an ideal temperature range. Cold batteries accept energy more slowly, and the vehicle may use power to warm the pack before charging at full speed. Hot weather can also cause the vehicle or charger to limit power to protect electronics and battery cells.
| Condition | Possible effect | What helps |
|---|---|---|
| Freezing weather | Slower battery acceptance and longer charging sessions. | Precondition the battery when your vehicle supports it and keep the car plugged in before departure. |
| High heat | Vehicle or charger may reduce power to manage temperature. | Use shade when possible and charge during cooler evening or overnight hours. |
| Heavy rain or snow | Outdoor-rated equipment should operate, but damaged seals, plugs, or covers can create hazards. | Inspect cable, connector, cover, and mounting area regularly. |
Outdoor placement can reduce weather problems. A shaded or covered location helps protect the charger from direct sun and precipitation. Good cable storage keeps the connector clean and reduces ice, mud, and water exposure.
Common Outdoor Charging Mistakes
A safe outdoor EV charger install depends on avoiding mistakes that can cause nuisance faults, slow charging, water intrusion, or electrical hazards.
- Buying an indoor-only charger: Always verify that the charger is listed for outdoor installation.
- Skipping the load calculation: A spare breaker space does not automatically mean the panel can support a high-output charger.
- Using the wrong receptacle setup: Outdoor plug-in chargers need a code-compliant receptacle, cover, GFCI protection, and manufacturer-approved configuration.
- Letting the cable cross walkways: A cable across a sidewalk or driveway can become a trip hazard or get crushed.
- Mounting too low: Low mounting can expose the charger to puddles, snow buildup, string trimmers, and impact.
- Ignoring permits: Unpermitted work may create safety, insurance, and resale problems.
- Chasing maximum amperage only: Your vehicle may not use the charger’s full output, and your panel may not support it without upgrades.
Annual Maintenance for an Outdoor EV Charger
An outdoor charger does not need much routine work, but it should not be ignored. Once or twice a year, inspect the visible parts and call a qualified electrician if you see damage, heat marks, looseness, water intrusion, or repeated faults.
- Check the cable jacket for cuts, cracking, swelling, or crushed spots.
- Inspect the connector for bent pins, corrosion, dirt, or burn marks.
- Make sure the holster and cable hook still hold the connector off the ground.
- Look for loose mounting screws, cracked conduit, or gaps around exterior penetrations.
- Test GFCI protection as recommended by the installer or manufacturer.
- Clear leaves, snow, mud, and debris from around the unit.
- Update charger firmware if your smart charger requires app-based updates.
Frequently Asked Questions
Can my solar system directly power an outdoor EV charger?
Yes, but most homes do not send solar power directly from panels to the car. The solar array usually feeds an inverter and your home electrical system, then the charger draws power from that system. You may need battery storage, load management, or utility interconnection settings if you want more control over when solar energy charges the EV.
How do I prevent cable theft at an outdoor charger?
Use a charger with a locking holster or app-based connector lock, add motion lighting, mount the unit in a visible area, and consider a camera or tamper-resistant enclosure. Good cable storage also helps because a loose cable is easier to grab and damage.
Can I add load sharing with multiple outdoor chargers?
Yes, many smart chargers support load sharing, but the system must be designed correctly. Your electrician needs to confirm panel capacity, charger compatibility, circuit layout, and local code requirements before installing multiple chargers.
What maintenance does an outdoor EV charger need annually?
Inspect the cable, connector, holster, mounting hardware, conduit, seals, and visible wiring path. Clean debris from the area, test GFCI protection as recommended, and check the app or manufacturer portal for firmware updates if the charger is networked.
Will an outdoor charger work during a power outage?
No. A standard outdoor EV charger depends on your home’s electrical service, so it will not charge during a grid outage. Backup charging requires a compatible generator, home battery, bidirectional charging setup, or other backup system designed for EV loads.
Conclusion
A good outdoor EV charger installation starts before the electrician arrives. Pick an outdoor-rated, safety-certified charger, measure the cable path, choose a protected mounting spot, check incentives and permits, and confirm your panel can support the load. Then let a licensed electrician handle the circuit, protection, conduit, inspection, and final testing. Done correctly, your outdoor charger can give you reliable home charging through daily weather, seasonal temperature swings, and years of use.
Sources
- U.S. Department of Energy AFDC: Charging Electric Vehicles at Home — outdoor-rated equipment, Level 2 home charging, permits, continuous load, and NEC Article 625 guidance.
- U.S. Department of Energy AFDC: Electric Vehicle Charging Stations — Level 1, Level 2, connector, and charging-rate background.
- ENERGY STAR: Electric Vehicle Chargers — safety-certified charger guidance, Level 1 vs Level 2 charging rates, efficiency, and installation considerations.
- U.S. Department of Energy AFDC: Federal and State Laws and Incentives — federal, state, local, and utility incentive lookup guidance.
- NFPA 70: National Electrical Code — electrical code reference for EV charging circuit compliance.
- NEMA / IEC Enclosure Rating Reference — enclosure rating context for outdoor weather and ingress protection.

