
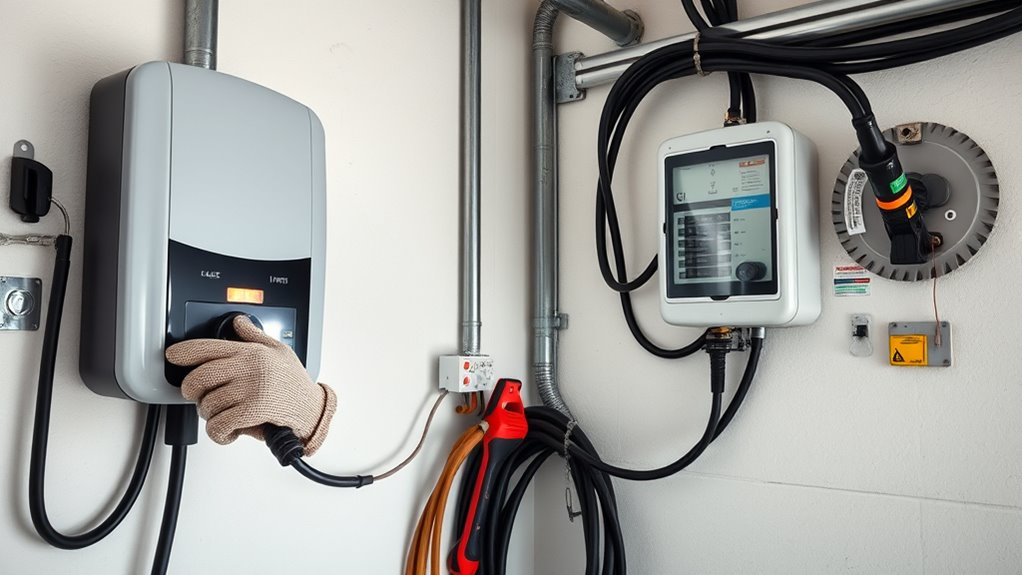
Wiring an EV charger is a high-load electrical project, not a simple accessory install. A home Level 2 charger may run for hours at a time, so the circuit must be sized for continuous use, protected by the correct breaker, grounded properly, and installed under the electrical code used in your area.
Quick Answer
To wire an EV charger safely, use a dedicated circuit sized to the charger’s maximum output, your panel capacity, wire type, run length, and local code. Most homeowners should have a licensed electrician perform the load calculation, pull permits, install the breaker and conductors, torque all terminals, test voltage, and schedule inspection.
Key Takeaways
- A Level 2 EV charger normally needs a dedicated 240 V branch circuit, not a shared garage outlet.
- The breaker, wire size, conduit, grounding, and charger output must all match. Do not size the wire from amperage alone.
- EV charging is treated as a continuous load, so the circuit must be planned with extra capacity and code-compliant protection.
- Hardwired chargers often support higher output and cleaner installations, while plug-in units may be easier to replace but still need the correct receptacle circuit.
- Permits, inspection, and a licensed electrician are strongly recommended because mistakes can cause overheating, nuisance trips, shock, or fire.
At a Glance
| Time Required | About 2 to 6 hours for a straightforward licensed installation; longer if the panel needs upgrades, trenching, drywall repair, or utility work. |
| Difficulty | Advanced electrical work. Safe only for qualified installers who understand local electrical code and EVSE instructions. |
| Tools Needed | EVSE installation manual, permit documents, load calculation, listed breaker, copper conductors, conduit or approved cable, torque driver, multimeter, PPE, and inspection checklist. |
| Cost | Often several hundred to several thousand dollars, depending on charger amperage, circuit length, wall access, permits, panel capacity, and whether upgrades are needed. |
Warning: EV charger wiring can expose you to lethal voltage and fire risk. Treat this guide as planning information. Have a licensed electrician verify panel capacity, install the circuit, follow the charger manual, pull required permits, and arrange inspection.
Why EV Charger Wiring Matters
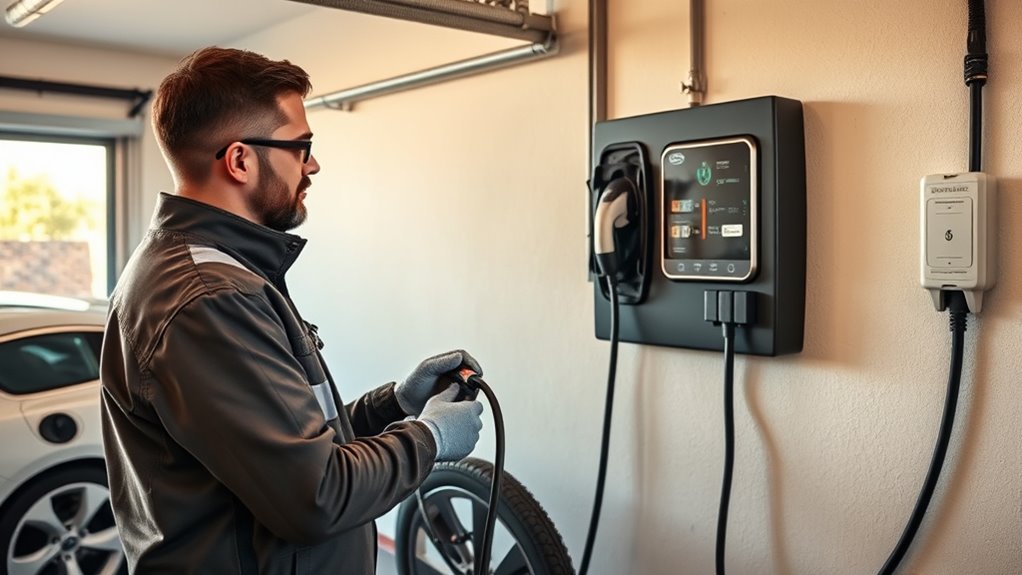
Getting EV charger wiring right matters because a Level 2 charger can draw a heavy load for several hours. Undersized conductors, loose terminals, poor grounding, or the wrong breaker can overheat the circuit and shorten equipment life.
Technically, the wall unit is usually called electric vehicle supply equipment, or EVSE. The vehicle’s onboard charger converts AC power to DC for the battery. Most people still say “EV charger,” so this guide uses both terms.
A home EV charger is a continuous high-load appliance. The safest installation starts with load calculation, proper circuit sizing, listed equipment, and inspection.
The U.S. Department of Energy’s Alternative Fuels Data Center notes that Level 2 home charging uses 240 V equipment and that charging installations must comply with local and state codes. It also points readers to NEC Article 625 and local permitting rules for charging equipment.
That is why the right wiring plan should answer four questions before any breaker is installed:
- Can the panel and service handle the charger load?
- What output amperage do you actually need for your driving?
- What breaker, conductor size, insulation, conduit, and grounding does the charger manual require?
- Does your local authority require a permit, inspection, load management, or a service upgrade?
Check Your Home’s Electrical Capacity
Before you install an EV charger, confirm that your home’s electrical system can handle the added load. Do not rely only on the number printed on the main breaker. A 200 A panel can still be crowded, and a 100 A service may still work with a lower-output charger or approved load-management equipment.
A qualified electrician should perform a load calculation. This is more accurate than simply adding every breaker handle in the panel, because not every appliance runs at full load at the same time.
The electrician will usually review:
- Main service rating and panel condition.
- Available breaker spaces and bus rating.
- Existing loads such as HVAC, electric range, dryer, water heater, pool equipment, and workshop tools.
- Whether the charger will be hardwired or plug-in.
- Whether the charger can be set to a lower current.
- Whether smart load management can prevent overloads.
Note: If your panel cannot support a 48 A charger, you may not need a full service upgrade. Many drivers do well with 16 A, 24 A, 32 A, or 40 A Level 2 charging if the charger and circuit are configured correctly.
Choose the Right Charger Amperage
Bigger is not always better. The best charger size depends on your EV’s onboard charging limit, your daily mileage, your parking time, and your home’s electrical capacity.
A charger’s maximum output must be lower than the circuit rating because EV charging is a continuous load. As a common North American example, Tesla’s Universal Wall Connector manual lists a 60 A circuit breaker for 48 A maximum output, 50 A for 40 A output, 40 A for 32 A output, 30 A for 24 A output, 20 A for 16 A output, and 15 A for 12 A output. Always follow your own charger manual and local code.
| EVSE Output Setting | Common Breaker Example | Best For |
| 12 A to 16 A | 15 A to 20 A circuit | Short commutes, plug-in hybrids, limited panel capacity. |
| 24 A | 30 A circuit | Moderate daily driving without a large service load. |
| 32 A | 40 A circuit | Common home Level 2 setup for many EV owners. |
| 40 A | 50 A circuit | Larger batteries and faster overnight charging. |
| 48 A | 60 A circuit | Maximum output on many hardwired residential EVSE units, if the panel and wiring support it. |
Pick the Right Wire Size
Choosing the correct wire size is essential because it controls how much current the circuit can carry without excessive heat. The final conductor size is not based on charger amperage alone. It also depends on insulation rating, copper or aluminum conductor type, terminal temperature rating, conduit fill, ambient temperature, circuit length, and local code.
For many residential EV charger circuits, copper conductors are preferred because many EVSE terminals are copper-only. For example, Tesla’s Universal Wall Connector manual states that its wirebox terminals accept copper conductors and that maximum-power conductor sizing depends on breaker temperature rating.
Note: The table below is a planning guide, not a final wiring design. Your electrician must size conductors from the adopted electrical code, the EVSE manual, and the actual installation conditions.
| Circuit Example | Common Copper Starting Point | Important Caution |
| 20 A circuit / 16 A EVSE | Often 12 AWG copper | Must match receptacle or hardwired EVSE rating. |
| 30 A circuit / 24 A EVSE | Often 10 AWG copper | Verify insulation, terminals, and voltage drop. |
| 40 A circuit / 32 A EVSE | Often 8 AWG copper | Long runs may need upsizing to reduce voltage drop. |
| 50 A circuit / 40 A EVSE | Often 6 AWG copper | Receptacle circuits and hardwired circuits may have different requirements. |
| 60 A circuit / 48 A EVSE | Often 6 AWG or 4 AWG copper, depending on equipment and temperature rating | Do not assume 6 AWG is always enough. Follow the charger manual and code. |
For longer runs, the electrician may increase conductor size to reduce voltage drop. A circuit that works well at 20 feet may not be ideal at 100 feet, especially if the charger will run near its limit for hours.
Hardwired vs Plug-In EV Charger Wiring
You can install some EV chargers as either hardwired units or plug-in units, but the circuit still has to be dedicated and correctly protected.
Hardwired chargers are permanently connected to the branch circuit. They are often preferred for higher-output setups, outdoor installations, and cleaner wall mounting. Some manufacturers require hardwiring for maximum output.
Plug-in chargers use a receptacle such as a NEMA 14-50, when allowed by the charger and local code. They can be easier to replace, but the receptacle, box, cover, breaker, GFCI protection, and conductor size all must match the load. Cheap or poorly installed receptacles can overheat under long EV charging sessions.
Pro Tip: Before buying a charger, choose the parking location first. Measure the distance from the panel to the charger, the distance from the charger to the vehicle charge port, and whether the cord can reach without crossing a walkway.
Plan the Location and Cable Route
The charger location affects cost, wire size, weather protection, and daily convenience. A short, simple run from the panel is usually less expensive than a long route through finished walls, attic spaces, crawlspaces, or underground conduit.
For outdoor installations, use equipment rated for outdoor use. DOE AFDC notes that residential charging equipment can be installed outdoors if outdoor-rated equipment is used. The electrician should also use fittings, conduit, and boxes approved for the environment.
Good placement should provide:
- A cord path that reaches the vehicle without strain.
- Clearance around the EVSE for ventilation and service access.
- Protection from impact, standing water, and snow buildup.
- A cable holster or dock so the connector does not sit on the ground.
- Wi-Fi signal if the charger needs an app, updates, scheduling, or load management.
Install the Safety Devices
Once the circuit size and route are planned, the installation needs the correct safety devices. In North America, that usually means a listed two-pole breaker sized to the EVSE output, an equipment grounding conductor, proper enclosure bonding, and any GFCI or surge protection required by code and the charger manual.
Use safety-certified equipment. OSHA explains that a Nationally Recognized Testing Laboratory, or NRTL, tests and certifies products and authorizes certification marks showing compliance with product safety standards. For an EV charger, look for a recognized mark such as UL, ETL, CSA, or another accepted NRTL mark on the unit.
- Breaker: Must match the circuit and charger output setting.
- Grounding: The equipment grounding conductor must be continuous and connected as the manufacturer requires.
- GFCI or ground-fault protection: Many EVSE units include internal ground-fault protection, but local code may also require specific breaker or receptacle protection.
- Surge protection: A whole-home or panel surge protector can help protect electronics, and some jurisdictions require surge protection for dwelling services.
- Disconnect: Follow local code and the EVSE manual. Some hardwired units rely on the branch-circuit breaker as the disconnect.
Some manufacturer manuals include built-in safety features. For example, Tesla’s Universal Wall Connector manual describes integrated ground-fault circuit interruption and ground assurance features, but those features do not replace code-compliant installation.
Connect and Test the EV Charger
The actual connection should be performed by a qualified installer with the circuit de-energized, locked out where appropriate, and verified with a meter before work begins.
For a hardwired EVSE, the installer will usually route the conductors into the wirebox or enclosure, land each conductor on the correct terminal, connect the equipment grounding conductor, and torque every terminal to the manufacturer’s specification. Torque matters because loose lugs can heat under continuous load.
For example, Tesla’s Universal Wall Connector manual gives a terminal torque value of 50 in lb for its terminal screws. Your charger may use a different value, so the correct torque is always the one printed in your own installation manual.
After the wiring is complete, the electrician should test and commission the charger before daily use.
- Confirm correct line-to-line voltage at the EVSE.
- Confirm proper grounding and bonding.
- Confirm the breaker size matches the programmed charger output.
- Set the charger’s maximum current in the app or commissioning tool if required.
- Check for fault lights or app alerts.
- Start a short charging session and confirm stable operation.
- Label the breaker and keep the manual for future service.
Warning: Never “test” an EV charger by increasing the current above the installed circuit rating. The breaker size, wire size, and charger output setting must stay matched.
Troubleshooting After Installation
If the charger does not work correctly after installation, stop using it until the issue is identified. A repeated trip, heat smell, buzzing sound, melted plug, or hot receptacle is a warning sign.
Common problems include:
- Breaker trips immediately: Possible wiring fault, ground fault, incorrect breaker, or internal EVSE problem.
- Breaker trips after charging for a while: Possible overload, heat buildup, loose connection, or incorrect current setting.
- Charger shows a ground fault: Possible moisture, damaged cord, grounding issue, or internal fault detection.
- Charging is slower than expected: Vehicle onboard charger limit, app setting, charger current limit, load management, or utility program restriction.
- Plug or receptacle feels hot: Stop charging and have the receptacle, terminals, and breaker inspected.
Do not keep resetting a tripping breaker. Breakers trip for a reason, and repeated resets can hide a dangerous problem.
Frequently Asked Questions
What is the 80/20 rule for EV charging?
The 80/20 rule means charging to about 80% for normal daily use and avoiding frequent deep discharge below about 20%, unless you need extra range. It is a battery-care and charging-time habit, not a wiring rule. Your home charger circuit must still be sized for the charger’s maximum output.
What type of charger cable does a Nissan LEAF use?
It depends on model year and market. Many 2011–2025 Nissan LEAF models in North America use J1772 for Level 1 and Level 2 AC charging and CHAdeMO for DC fast charging. The redesigned 2026 LEAF uses J1772 for AC charging and NACS for DC fast charging in North America, so check your owner’s manual and charging-port labels before buying adapters.
What kind of charger does the Hyundai Kona Electric use?
Most recent Hyundai Kona Electric models sold in North America use J1772 for Level 1 and Level 2 AC charging and CCS Combo 1 for DC fast charging. Hyundai’s wider NACS transition is model-year dependent, so verify your exact Kona Electric year, market, and owner’s manual before choosing a home charger or adapter.
What stops someone from unplugging your electric car?
Many EVs lock the connector while the car is locked or actively charging. Some chargers also offer app alerts, access control, RFID, PIN settings, or scheduled charging. At home, place the charger in a visible location, use the vehicle’s connector lock, and keep the cable stored neatly when not in use.
Can I wire an EV charger myself?
Only do it if you are legally allowed, qualified, and familiar with your local electrical code. For most homeowners, the safer choice is to hire a licensed electrician because the work involves panel capacity, permits, conductor sizing, breaker selection, grounding, torque specs, and inspection.
Does every Level 2 charger need a 60 amp breaker?
No. A 60 A breaker is common for a hardwired charger set to 48 A output, but many chargers can be set lower. A 32 A charger may use a 40 A circuit, and a 24 A charger may use a 30 A circuit. The charger output, breaker, conductor size, and app setting must match.
Is a hardwired EV charger better than a plug-in charger?
Hardwired chargers are often better for high-output, outdoor, or permanent installations because there is no receptacle to loosen or overheat. Plug-in chargers can be convenient, but the receptacle circuit must still be dedicated, correctly protected, and approved for continuous EV charging.
Why is my EV charging slower than the charger rating?
The final charging rate is limited by the lowest-rated part of the system: the circuit, charger setting, vehicle onboard charger, battery temperature, state of charge, and any load-management feature. A 48 A charger will not make a vehicle charge at 48 A if the vehicle’s onboard charger accepts less.
Conclusion
Safe EV charger wiring starts before the charger is mounted. Confirm your panel capacity, choose a realistic charging amperage, size the dedicated circuit correctly, use listed equipment, protect the circuit, and have the installation tested and inspected. A well-planned Level 2 setup gives you reliable daily charging without overheating, nuisance trips, or guesswork.
The simplest rule is also the safest: match the charger output to the breaker, conductors, grounding, manufacturer manual, and local code. When in doubt, lower the charger output or ask a licensed electrician to verify the design before you charge.
Sources
- U.S. Department of Energy Alternative Fuels Data Center: Charging Electric Vehicles at Home — supports Level 1/Level 2 home charging, outdoor-rated equipment, safety-certified equipment, electrician guidance, permits, and NEC Article 625 context.
- OSHA Nationally Recognized Testing Laboratory Program — supports NRTL/listed equipment guidance and product safety certification language.
- Tesla Universal Wall Connector Manual: Circuit Breaker Rating / Maximum Output — supports breaker/output examples, conductor cautions, copper-only terminations, and grounding requirements for one common EVSE.
- Tesla Universal Wall Connector Manual: Torque Specifications — supports terminal torque guidance as a manufacturer-specific example.
- SAE J3400 North American Charging System — supports current NACS terminology and connector-standard context.

