

What’s in This Article
- Check Your EV Charger Firmware Version
- Before You Begin: What You Need
- Open VictronConnect, VRM, or the Web Interface
- Find the Firmware Update Option in Your Charger Portal
- Start the Firmware Update
- What to Do While Firmware Installs
- Update Firmware Manually
- Verify the New Firmware Version
- Fix EV Charger Firmware Update Problems
- Stay on Top of Firmware Updates
- Frequently Asked Questions
- Conclusion
An EV charger firmware update can fix bugs, patch security holes, and add features, but a rushed update can also leave the charger stuck mid-install. You need the right firmware file, a stable connection, and a clear recovery path before you start. This guide covers how to check your current firmware version, update it through your charger’s app, portal, or web interface — including brand-specific steps for Victron, CTEK, and Eaton chargers — and how to verify and troubleshoot the install.
Last updated: June 14, 2026
Quick Answer
Check your EV charger firmware version in the app, touchscreen, web portal, or product information page. Back up your settings, confirm the correct charger model, then update through the manufacturer’s app, portal, VRM, or web interface. Keep power and network access stable until the charger restarts, then confirm the new version.
Key Takeaways
- Check the firmware version before you download or install anything.
- Use the update method your charger maker recommends for your exact model.
- Back up custom settings before an update, especially schedules and network settings.
- Keep the charger powered and idle until the update and restart finish.
- Verify the installed version and run a short test charge after the update.
Check Your EV Charger Firmware Version
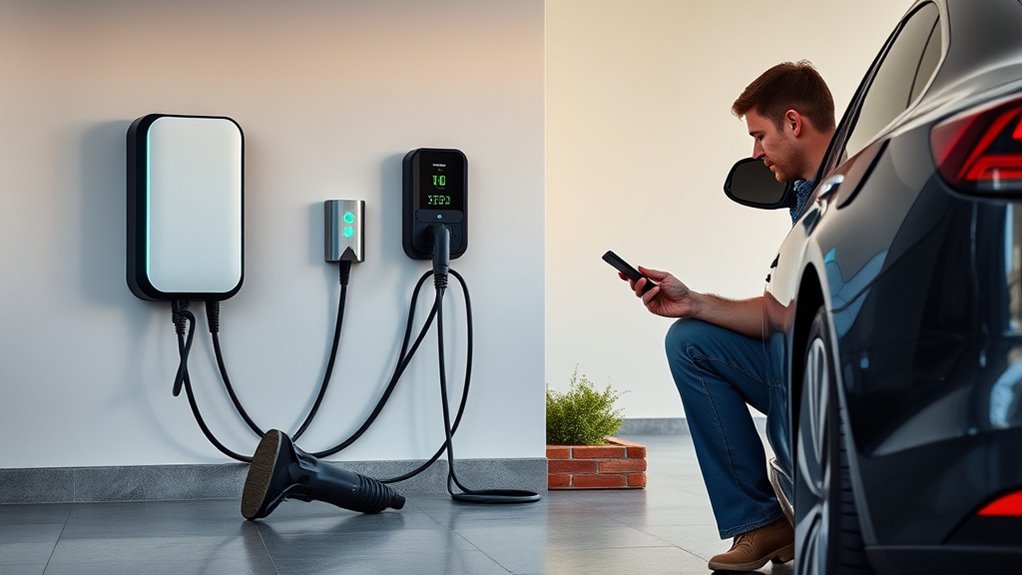
To check your EV charger firmware version, open the charger’s app, touchscreen, web portal, or local web interface. Look for a settings, device information, product information, or about section.
Open your charger’s app or touchscreen, then navigate to settings to view the firmware version.
Many chargers show the firmware version near the model number, serial number, and network details. Victron’s EV Charging Station, for example, shows the firmware version in the Product info page in VictronConnect.
If your charger supports remote access, use the online portal to check the same details without standing beside the unit. Keep the charger online so the portal can show accurate device data.
Record the current firmware version before you update it. That simple note helps you confirm whether the install worked later.
Before You Begin: What You Need
Estimated total time: 15 to 45 minutes, depending on your charger, file size, network speed, and restart time.
Before you update, confirm the charger model, firmware version, network connection, and access credentials. Gather any laptop, phone, cable, or manufacturer-approved firmware file your update path requires.
Note: Some chargers update through an app, while others use a web interface, a cloud portal, or a manual firmware file.
Back up custom settings before you proceed. Save schedules, network settings, access rules, charging limits, and any load-balancing settings you may need to restore.
Read the manufacturer’s release notes and installation instructions before you tap update. Model-specific details matter because the wrong firmware file can delay the update or stop the charger from restarting correctly.
Open VictronConnect, VRM, or the Web Interface
Your exact update path depends on your charger brand. Victron EV Charging Station owners use VictronConnect or the VRM portal, covered in detail below. Other brands follow a similar pattern with their own tools: CTEK chargers update through the unit’s own local web interface after you connect over USB or the charger’s provisioning Wi-Fi, and Eaton Green Motion chargers surface an available firmware update directly in the charger’s companion app, accessed from the three-dot menu next to the charger’s name on the charging-stations list screen. Check your charger’s own app or manufacturer support page if your model isn’t one of these.
Open VictronConnect if you use a Victron EV Charging Station and want to check product details. For a local web setup, connect to the charger’s Wi-Fi access point and open http://192.168.0.1 in a browser.
Use the app, VRM, or the local web interface that matches your charger and update method.
For Victron EV Charging Station setup, the default web username is admin. The default password appears on the sticker inside the unit, and Victron recommends changing the default credentials.
Victron EVCS firmware can update manually through the web interface or remotely through VRM. The remote VRM method requires a GX device connected to the VRM portal, and its two-way communication setting typically needs to be enabled before the Firmware Update button appears in VRM. [VERIFY: confirm current menu wording in your GX device firmware version]
Confirm you have selected the correct charger before you continue. If you manage more than one unit, check the serial number or custom name before starting the update.
Find the Firmware Update Option in Your Charger Portal
After you log in, open the Settings, Product info, Backup & FW, Maintenance, or Firmware Update section. The exact label depends on the charger brand and software platform.
Review the release notes before you install the package. Look for changes to charging behavior, network settings, security, compatibility, and known issues.
If the portal does not show an update, confirm the charger has a working network connection. If you use a manual file, confirm that the file name and model match the charger.
Start the Firmware Update
Use this basic sequence unless your manufacturer gives different steps:
- Log in to the charger app, web portal, VRM portal, or local web interface.
- Open the firmware or device update section.
- Review the release notes and model requirements.
- Back up settings if the platform provides that option.
- Select the correct update package or upload the correct firmware file.
- Start the update and keep the charger powered, online, and idle.
- Allow the charger to restart when the interface prompts you.
- Confirm the installed firmware version after the restart.
Access Update Menu
Once you sign in, navigate to the update controls and confirm the current version. This step helps you avoid updating the wrong device.
| Action | Purpose |
|---|---|
| Log in | Verify authorized access |
| Open settings | Reach update controls |
| Select firmware update | Find update packages |
| Download, install, or upload | Start the update |
Keep the charger powered and connected until the interface confirms completion. Do not start a charging session during the update.
Review Release Notes
Before you start the firmware update, read the release notes. They explain bug fixes, security changes, feature changes, and model limits.
Check whether the update affects charging behavior, app access, network settings, or compatibility with your electric vehicle. If the update fixes a critical security or stability issue, schedule it sooner.
If the release notes mention known issues, decide whether the update fits your setup. When in doubt, ask the manufacturer or installer before you proceed.
Download and Install the Update
After you confirm the update applies to your charger model, start the download, install, or firmware upload process. Follow the labels in your charger’s own interface.
Keep the charger online and powered. A lost connection or power cut can interrupt the update and force a recovery step.
If the charger asks for a restart, approve it and let the charger finish. After it comes back online, reopen the device information page and confirm the installed version.
What to Do While Firmware Installs
During installation, monitor progress in the app, portal, display, or web interface. Do not disconnect the cable, close the update page, power off the charger, or start charging unless the manufacturer tells you to do so.
Some chargers may restart, drop offline, or stop showing live data for a short time. Wait for the app or portal to report that the update finished.
Monitor Installation Progress
Watch the progress message and charger status indicators. Use your model’s manual to interpret lights, icons, or error codes.
If the charger reports a restart, wait until it returns to normal operation. Then check the installed firmware version and network status.
Handle Update Interruptions
If the update appears stuck, leave the charger powered and check your app, portal, and charger display. Do not press random controls while the charger may still be writing firmware.
If the interface shows an error code, write it down before you retry. Then follow the manufacturer’s recovery steps or contact support with the code, model, and old firmware version.
Never unplug the charger during an update. If the app, portal, or status light shows the update as stuck for an extended period — some manufacturers cite around 30 minutes — power-cycling the charger at the breaker will usually let it either finish installing or roll back to the prior firmware version. [VERIFY: confirm the stuck-update threshold and recovery behavior for your exact charger model] On Victron EV Charging Station units specifically, a firmware push installs the main board first and the display second; restarting before the display finishes can leave a stuck loading screen or a “system data error.” Push the same firmware file again and let both stages complete before restarting. [VERIFY: confirm this remains the recommended fix in Victron's current support documentation]
Update Firmware Manually
Manual firmware updates vary by charger. Some platforms use a local web interface, some use a USB cable or provisioning Wi-Fi, and some use manufacturer-approved media.
For Victron EV Charging Station models, download the correct firmware from Victron Professional and upload it through the web interface. Victron identifies the display model with firmware files containing C025, and the EVCS NS model with files containing C026.
Warning: Do not open a powered charger or use internal reset buttons unless the manufacturer says qualified personnel should do that work.
Use this manual update sequence when your manufacturer supports it:
- Download the firmware file from the manufacturer’s official support site.
- Confirm the file matches your charger model and hardware version.
- Open the charger’s local web interface or approved update tool.
- Choose the firmware file and start the update.
- Keep power and network access stable until the charger restarts.
Document the file name, old version, new version, and update date. That record helps you troubleshoot future problems.
Verify the New Firmware Version
Once the update finishes, reopen the app, management portal, touchscreen, or web interface. Compare the installed firmware version with the version you intended to install.
If the version matches, run a short test charge. Watch for normal connection status, steady power delivery, and expected app reporting.
If the version did not change, check whether the update failed, rolled back, or installed on a different charger. Use the charger logs or support portal to confirm what happened.
Fix EV Charger Firmware Update Problems
When a firmware update fails, isolate the simplest causes first. Check power, Wi-Fi or ethernet access, file compatibility, and login permissions.
- Confirm the charger still has power.
- Reconnect the charger to a stable network.
- Verify the firmware file or cloud update applies to your exact model.
- Check the app, portal, display, or logs for error codes.
- Retry only after the charger returns to a safe idle state.
- Contact manufacturer support if the same error repeats.
If you manage a group of chargers, update a small test group before a full rollout. Confirm that all chargers share the same model, hardware platform, and approved firmware path.
Stay on Top of Firmware Updates
Check for firmware updates on a regular schedule. Firmware updates can improve security, add functions, fix bugs, and maintain compatibility with charging systems.
Use the manufacturer’s app, support page, release notes, or portal to track available updates. For managed sites, subscribe to vendor firmware notifications when the manufacturer offers them.
After every update, verify the firmware version, test a charge session, and save the update details in your maintenance log. This routine gives you a clear record if problems appear later.
Frequently Asked Questions
Does Firmware Update Automatically?
Some EV chargers support automatic firmware updates when they stay online. Others require you to approve an update, upload a file, or use a service portal.
How Do I Know if My Firmware Needs to Be Updated?
Check your charger app, web portal, release notes, or manufacturer support page. You may need an update when the charger reports a notice, loses compatibility, shows repeated bugs, or the maker releases a security fix.
Is It a Good Idea to Update Firmware?
Yes, when the update matches your charger model and the release notes address your needs. Read the instructions first, back up settings, and choose a low-use time for the install.
How Do I Do a Firmware Update?
Connect the charger to stable power and network access, then open the manufacturer’s update tool. Start the update, wait for the restart, and verify the new firmware version after completion.
Why Is My EV Charger Stuck During a Firmware Update?
A stuck update is usually a dropped network connection or an interrupted power cycle. Never unplug the charger mid-update. If the status light or app shows the update as stuck for an extended period, power-cycling the charger at the breaker will usually let it either finish installing or roll back to the previous firmware version. If it fails again, note any error code and contact manufacturer support with the code, model, and old firmware version.
What Does “System Data Error” Mean After a Victron EVCS Firmware Update?
This message can appear on a Victron EV Charging Station display when the main board finishes a firmware update before the display segment finishes. Pushing the same firmware file again and letting both stages complete before restarting typically resolves it. If the display still doesn’t update, contact Victron support with your VRM portal ID. [VERIFY: confirm this remains the current recommended fix in Victron's latest support documentation]
Conclusion
A careful firmware update starts with the right version check and ends with a verified install. Use the update path your charger maker supports, keep the charger powered, and avoid interrupting the process. After the restart, test a short charging session and record the new version. That habit keeps your charger easier to manage and ready for future updates.
References
- EV Charging Station, Setup, Configuration and Operation — Victron Energy, 2026
- EV Charging Station Appendix, WiFi AP and Web Interface Setup — Victron Energy, 2026
- VictronConnect Manual, Firmware Updates — Victron Energy, 2026
- Software and Firmware for EV Chargers and Load Balancing — CTEK, 2025

