
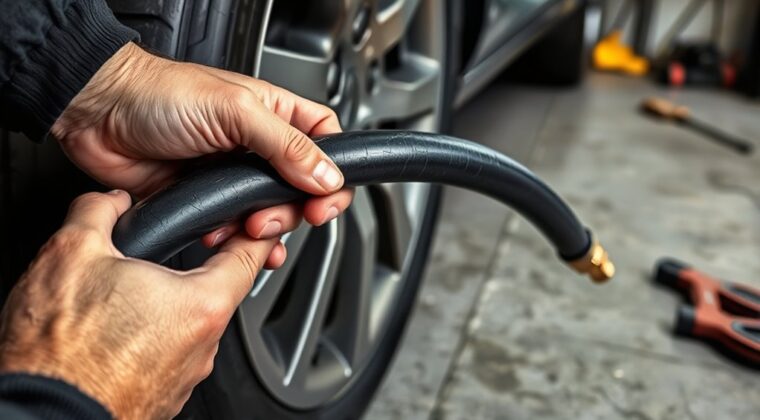
Start by checking the tire inflator hose for cuts, cracks, frays, stiffness, kinks, and worn fittings along its full length. Inspect both ends for tight, corrosion-free connections, then pressurize the hose and listen for hissing or watch for pressure drops. Apply soapy water to the hose and fittings to spot bubbles from leaks. After use, wipe it clean, dry it fully, coil it loosely, and replace it if damage or leaks persist for more details.
Key Takeaways
- Visually inspect the hose for cuts, cracks, frays, stiffness, kinks, and damaged fittings along its full length.
- Check both connections for tightness, corrosion, rust, and secure attachment before inflating.
- Pressurize the hose and listen for hissing while watching for steady gauge readings and smooth airflow.
- Apply soapy water to the hose and fittings; bubbles reveal leaks that need tightening or replacement.
- Clean, dry, and store the hose loosely in a cool, dry place, and replace it if wear or leaks persist.
Check the Tire Inflator Hose for Damage
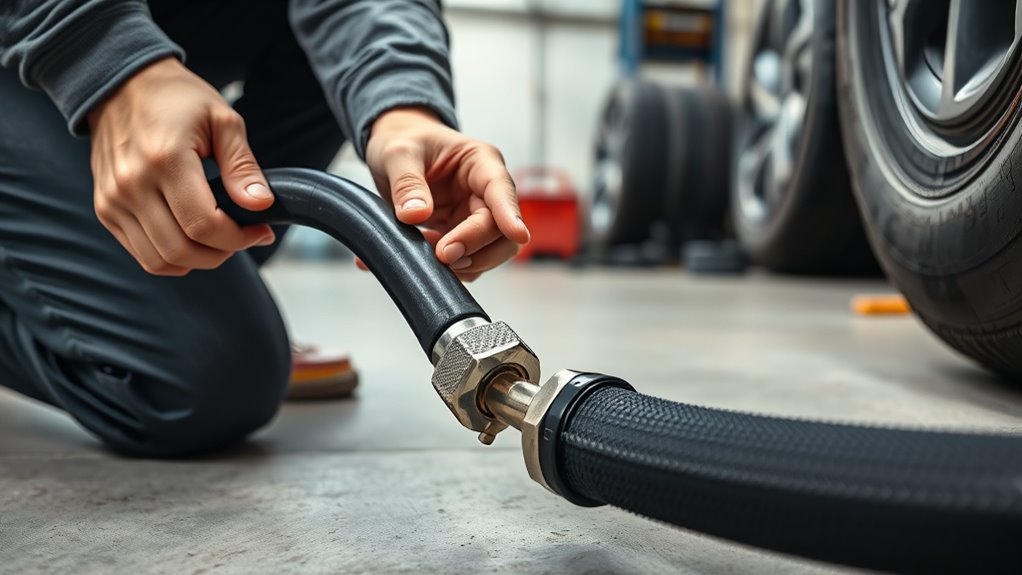
Start with a close visual inspection of the tire inflator hose, looking for cuts, cracks, frays, rust, or worn fittings that could weaken the seal. You should run this visual inspection along the full length of the tire inflator hose, including any bends or stress points where damage often starts.
Next, check for leaks by applying soapy water to the hose surface and watching closely; bubbles indicate air leaks from damaged areas. Bend the hose gently for a flexibility test. If it feels stiff, brittle, or uneven, replace it before use.
Check for leaks with soapy water, and test flexibility; stiff or brittle hoses should be replaced before use.
Then inspect the fittings for rust, wear, or distortion that could prevent a tight seal. You should also check connections at both ends and confirm they’re securely connected before inflation.
This simple routine keeps pressure where it belongs, protects your hands and tools, and lets you work with confidence instead of accepting preventable failure.
Inspect the Fittings and Connections
Inspect both fittings for wear, cracks, corrosion, or any other damage that could cause air leaks during inflation. You should verify that each connection sits tight and secure, because loose hardware lets air escape and weakens inflation efficiency.
During inspection, trace the hose from end to end and confirm it isn’t kinked or twisted, since restricted airflow can slow the inflator and reduce control. Check metal fittings closely for rust or corrosion; even minor buildup can compromise the joint and create leakage over time.
Then attach the hose to the tire valve and listen for hissing at the connections. A clean, firm seal shows the fittings are holding properly and the system can deliver pressure without unnecessary loss.
If you find movement, surface damage, or degraded threads, replace the part before using the inflator. Precision here protects your tire service and keeps your setup working on your terms.
Test the Hose for Air Leaks
First, inspect the hose for cracks, holes, or worn spots, and check the connections for looseness or debris that could cause leaks.
Then pressurize it slightly and run your hand along its length to feel for escaping air.
If you want a direct confirmation, apply soapy water or submerge the hose in water and watch for bubbles.
Identify Leak Signs
A quick leak check can save you from chasing low-pressure problems later.
To identify air leaks in your tire inflator hose, first visually inspect the hose for cracks, frays, or bulges. These signs often point to wear and tear or significant damage.
Next, spray soapy water along the hose and watch for bubbles; bubbling confirms air leaks fast. Inspect the connection points at the inflator and valve stem for escaping air, because loose connections often cause hidden loss.
Keep the hose straight and properly stored, not kinked or twisted, since poor handling can create future leaks. If you spot damage, replace the hose before it compromises peak performance.
Regular checks keep your setup reliable, efficient, and ready when you need clean pressure control.
Check Hose Connections
Before you inflate a tire, check the hose connections for cracks, fraying, or other wear that could let air escape.
Next, inspect these points closely:
- Visually checking the inflator and valve stem joints for potential air leaks.
- Confirm the hose is securely tightened to the inflator and valve stem.
- Apply soapy water; bubbles reveal air leaks that need correction.
- Look for kinks or obstructions that limit airflow and reduce efficiency.
You should test the hose before each use, because even small leaks can weaken inflation performance.
Tight, intact connections keep pressure where it belongs and help you work with precision.
When you check hose connections regularly, you protect performance, save time, and keep your setup ready for clean, reliable tire service.
Pressure Test Hose
Connect the hose to a tire or air compressor and pressurize it, then watch the gauge to see whether the pressure holds steady. If it drops, you’ve got air leaks. First, do a quick visual inspection and check hose routing for kinks, twists, cracks, or punctures that can restrict airflow and hurt performance. Confirm secure connections at both ends before you inflate again. Then apply a soapy water solution along the hose and fittings; bubbles mark leak points. | Test | Result |
| — | — |
|---|---|
| Gauge steady | Hose likely sound |
| Pressure falls | Leak present |
| Bubbles appear | Repair connection |
Tighten loose fittings, replace damaged sections, and retest until the system stays sealed. This pressure test helps you keep control, waste less air, and work with reliable pressure.
See How It Performs on a Tire
Attach the hose to the inflator and tire valve stem, and make sure both connections lock in securely with no air loss.
Run the inflator and watch for smooth airflow without hissing, which signals a leak in the hose or fittings.
Check the tire as it inflates for steady performance, and inspect the hose for kinks, cracks, or abrasions that could reduce pressure or flow.
Hose Connection Check
Check the hose connections for tight, secure fitment at both the inflator and the tire valve stem, since any looseness can cause air loss during inflation.
- Inspect hose connections for visible cracks, tears, or abrasion.
- Check fittings at the inflator and tire valve stem for proper alignment and secure connections.
- Listen for hissing sounds; they reveal air leaks from a poor seal.
- Keep the hose clean and clear of blockages so airflow stays steady.
You’re not just checking hardware; you’re protecting pressure, speed, and control.
If the clean hose seats firmly and the fittings stay tight, your inflator works with confidence.
Replace any damaged section immediately, because worn connections invite failure and waste your effort.
Airflow Leak Test
With the hose on a tire that has a known pressure, listen for hissing at the inflator and valve stem, then apply a soap-and-water mix to the connections and watch for bubbles. This leak test helps you inspect airflow and catch air leakage fast. Keep the tire inflator secure, because loose connections skew pressure readings and hide faults. Check the hose body too; cracks, holes, or wear can cut airflow and lower efficiency.
| Check | What You See | Action |
|---|---|---|
| Hiss | Escaping air | Tighten |
| Bubbles | Leak point | Refit |
| Cracks | Damage | Replace |
| Wear | Weak hose | Inspect |
| Stable reading | No leak | Continue |
For hose maintenance, repeat this test regularly so you keep peak performance and protect your freedom to ride without waste.
Inflation Performance Signs
Once you put the hose on a tire, watch how it performs: a healthy inflator should fill at a steady rate, hold a consistent pressure reading, and show no signs of air loss at the fittings or valve stem. Use these inflation performance signs to judge control.
- Check for air leaks around the hose, fittings, and valve stem.
- Verify proper connections and secure hose fittings before you start.
- Monitor inflation rate; slow filling can mean restriction or damage.
- Evaluate pressure gauge accuracy with a reliable tire pressure gauge and inspect for kinks or bends.
If you hear air escaping, stop and correct the fault.
Clean, direct airflow gives you effective tire inflation and keeps your setup dependable.
Check That Pressure Stays Steady
To make sure your tire inflator hose is holding pressure properly, inspect it for cracks, leaks, and loose fittings before you inflate. You should inspect for cracks along the tire inflator hose and at the hose connections, because even small defects can cause air loss.
Attach the hose, then listen for hissing sounds while you inflate; any hiss means pressure isn’t staying contained. Watch the pressure gauge closely and monitor pressure reading as it rises. If the reading jumps or falls instead of holding steady, stop and check the hose for internal damage or loose fittings.
Listen for hissing as you inflate, and watch the gauge for pressure that jumps or falls.
Pressure drops during inflation reduce inflation efficiency and waste your effort. Keep both ends tight, and don’t force bends that strain the line.
After use, store properly so the hose stays straight, dry, and ready for the next job. A stable hose gives you control, protects your gear, and keeps inflation accurate.
Spot Common Hose Problems
Start by checking the hose itself for cracks, fraying, or other visible wear that could cause air leaks or sudden failure during inflation. When you inspect your tire inflator hose, work methodically and don’t let small defects slide. A damaged hose can steal your freedom on the road and leave you stranded.
- Cracks and fraying: Look along the full length for splits, abrasion, or worn spots.
- Connections: Check both ends for rust, corrosion, and loose fittings; you need a secure seal.
- Flexibility: Bend the hose gently. If it feels stiff or brittle, it’s weakening.
- Bulges and swelling: These often signal internal damage and possible rupture under pressure.
With the inflator running, listen for hissing sounds and feel for escaping air along the hose. Any leak means the hose isn’t holding pressure well and needs attention before you use it again.
Clean the Hose After Use
After each use, wipe the tire inflator hose with a damp cloth to remove dust and debris that can build up during inflation. This simple habit helps you clean the hose after use and keep the surface free of contaminants that can mask wear.
Let the hose dry completely before you store the hose, because trapped moisture can cause moisture buildup, mold, or mildew.
Let the hose dry completely before storage, preventing trapped moisture, mold, and mildew.
Next, inspect the hose along its length for cracks, leaks, swelling, or abrasion that could reduce performance. Check the fittings and connections for tightness and wipe them clean so you can maintain peak airflow and prevent air leaks.
If you see damage, replace the hose before the next job. Consistent cleaning gives you control over your equipment and protects reliable inflation. A clean, dry hose works better, lasts longer, and lets you inspect the hose with confidence every time you use it.
Store the Hose the Right Way
Coil the hose loosely before putting it away so you don’t create kinks or weaken the material. This simple routine helps you protect the hose, preserve flexibility, and prevent kinks that reduce airflow and safety.
Store it in a cool, dry place, away from direct sunlight, heat, and freezing conditions that can degrade the material. Use designated storage, like a bag or container, to keep dirt, debris, and abrasion off the hose.
Before you store it, inspect for signs of wear, including cracks, leaks, or soft spots, so you catch integrity issues early.
- Coil with large, even loops.
- Place the hose in designated storage.
- Keep it off sharp objects and heavy weights.
- Recheck signs of wear before next use.
This disciplined storage habit supports long-term performance and keeps your tire inflator hose ready when you need it.
Replace a Bad Tire Inflator Hose
If your tire inflator hose shows cracks, frays, bulges, or persistent leaks, replace it rather than trying to keep it in service.
First, inspect the tire inflator hose closely for wear and damage along its full length, including the fittings. Then apply soapy water and watch for bubbles; they confirm leaks.
Inspect the hose for wear and fittings, then use soapy water to spot leaks.
Check that the connectors aren’t corroded or bent, because a loose or damaged connection won’t hold a proper seal. If you find any significant defect, stop using the hose immediately.
A compromised hose can reduce inflation performance and create safety hazards, especially when pressure rises.
When you replace the hose, choose a compatible model for your inflator and verify its PSI rating meets or exceeds your tire requirements.
Tighten the new fittings, test for leaks again, and confirm the system holds pressure before you return to service. This keeps your equipment reliable and your work under control.
Frequently Asked Questions
How to Use Tire Inflator Hose?
You connect the tire inflator hose firmly to the valve stem, start airflow, and watch the gauge.
Choose inflator attachments that fit your tire inflator types and inflator power sources.
Follow inflator safety precautions, and apply hose maintenance tips to prevent common inflator issues.
An inflator troubleshooting guide helps maximize inflator efficiency.
Use portable inflator benefits for seasonal tire care, then release the hose quickly and cap the valve.
How to Check Tire Pressure Step by Step?
Check tire pressure like a pit crew at dawn: you’ll keep control. Start with cold tires, find the recommended PSI, and use a gauge for accurate pressure gauge usage.
Record each reading, then apply pressure adjustment methods with air compressor basics if needed.
Follow tire maintenance tips, seasonal tire care, inflator safety checks, hose inspection techniques, and emergency inflating solutions to prevent common tire problems and protect tire longevity strategies.
What Is the 4 PSI Rule on Tires?
The 4 PSI rule means you should add about 4 psi above your cold tire pressure after driving, because air compression from heat raises readings.
You’ll use this for safety checks, inflation tips, and tire wear control during seasonal changes.
Check your pressure gauge, verify hose durability, and keep inflator maintenance tight so equipment reliability stays high.
Always confirm the owner’s spec, then recheck after a short drive.
What Is the 5 PSI Rule?
The 5 PSI rule means you should add about 4–5 PSI above the door-jamb spec when your tire’s hot, then reset it when it cools.
You’ll avoid a little tire “enthusiasm” from heat. This tire maintenance tips approach improves pressure gauge accuracy, reduces common tire issues, and supports seasonal tire care.
Check inflator hose features, inflator hose materials, safety precautions, inflator troubleshooting steps, tire pressure myths, and inflator hose brands.
Conclusion
By inspecting your tire inflator hose step by step, you catch wear before it becomes a failure. Check the body, fittings, and seals, then test for leaks and steady pressure to confirm proper airflow. Clean and store the hose carefully so it stays ready for the next job. If you spot cracks, loose connections, or pressure loss, replace the hose promptly. A sound hose is the lifeline that keeps your inflation system working safely.
