
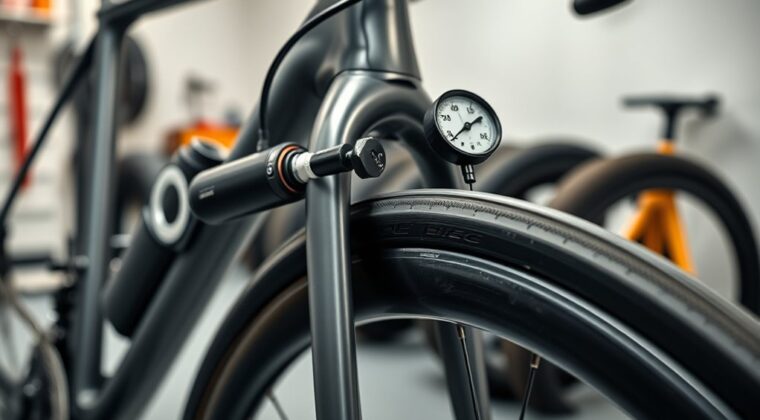
Yes, a tire inflator can inflate tubeless bike tires if it delivers a fast, high-volume air burst to seat the bead against the rim. You’ll get the best results by removing the Presta valve core, confirming both beads are fully mounted, and using soapy water on the bead. A floor pump may work first, but a tubeless inflator, CO2 cartridge, or air-charged pump usually seats stubborn tires faster, and the setup details matter more than you might think.
Key Takeaways
- Yes, a tire inflator can inflate tubeless bike tires if it delivers a fast, high-volume air burst for bead seating.
- Removing the Presta valve core improves airflow and helps the tire beads snap onto the rim more reliably.
- Inflators with charged chambers or high-pressure output, like tubeless-specific models, work better than standard floor pumps.
- CO2 inflators can also seat tubeless tires in emergencies, but they should be used sparingly with sealant.
- After seating, reinstall the valve core, top off pressure, and check for leaks around the beads and valve.
Can a Tire Inflator Seat Tubeless Tires?
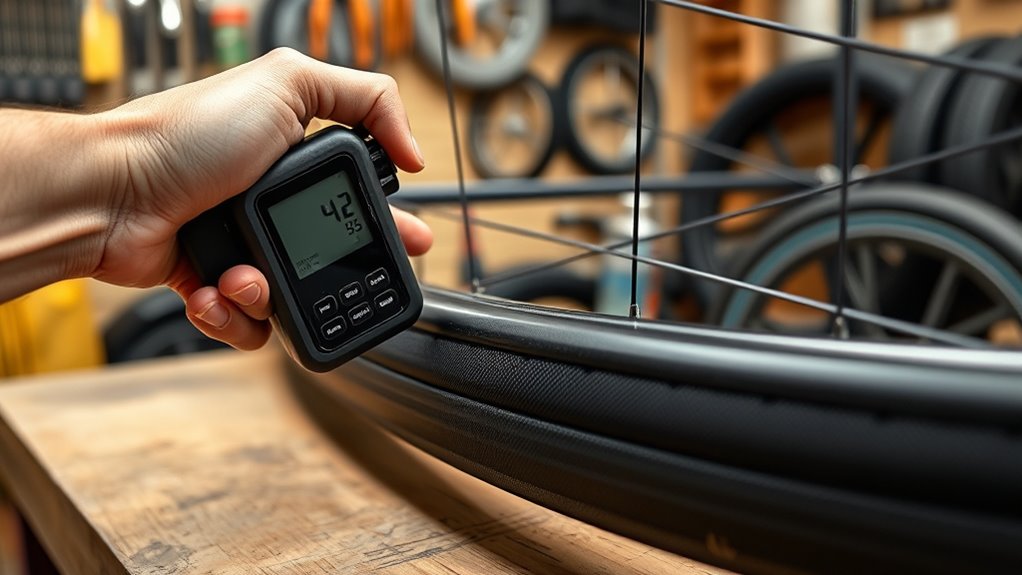
Yes—a tire inflator can seat tubeless bike tires if it delivers a fast enough burst of air to force the beads into place on the rim. You can use tire inflators to seat tubeless tires when your floor pump can’t move enough volume.
For reliable results, choose a unit that builds high pressure quickly; models like the Bontrager TLR Flash Charger can hit about 28 psi in one shot, and high-flow tools such as the Lezyne Digital Pressure Overdrive push air fast enough to lock the bead.
Remove the Presta valve core to maximize airflow, then reinstall it after the tire seats. If you want extra help, use soapy water on the bead to reduce friction.
An air compressor or standalone inflator can also free you from weak hand-pumping and give you the pressure you need to ride with confidence.
How Tubeless Inflators Seat the Bead
Tubeless inflators seat the bead by dumping a high-volume blast of air into the tire faster than a standard floor pump can deliver, which forces the sidewalls outward until they snap into the rim hooks.
You use that sudden surge to drive the tire bead onto the rim before pressure leaks away. A Tubeless Tire Inflator often charges an air chamber to 140-200 psi, then releases it in one controlled burst, giving you the force needed to inflate tubeless setups and overcome bead resistance.
That quick pulse reduces your need for manual pumping and helps the casing seal evenly around the rim bed.
That quick pulse cuts manual pumping and helps the tire casing seal smoothly around the rim bed.
When you’re seating tubeless tires, connect the correct valve head, lock it in place, and release the air cleanly so the bead pops home without hesitation.
Proper technique matters: it lowers seating failures, improves reliability, and keeps your ride ready for pressure, traction, and freedom.
Which Tubeless Inflator Is Best?
You’ll get the best results from a tubeless inflator that balances airflow and one-shot pressure, since both factors affect bead seating.
The Lezyne Digital Pressure Overdrive leads performance tests, while the Airshot gives you strong output at a lower price, and the Bontrager TLR Flash Charger offers a solid budget option.
Your choice should match how often you inflate, how much pressure you need, and whether you value portability, durability, or cost.
Best Inflator Types
When choosing a tubeless inflator, prioritize airflow, peak pressure, and valve compatibility, since those factors determine how reliably the bead seats. For tubeless tires, the Lezyne Digital Pressure Overdrive leads with 4.7 l/s and a 40 psi one-shot charge. | Type | Strength | Best use |
| — | — | — |
|---|---|---|
| Standalone | Portable, fast | Travel |
| Dual-head | Schrader/Presta support | Mixed bikes |
| Integrated | Combines pump and inflator | One-tool setups |
The Airshot matches 4.7 l/s at $49, so you get strong value. The Bontrager TLR Flash Charger delivers 3.53 l/s at $99.99, and it’s a solid budget choice. If you want control and freedom from extra gear, pick inflators with dual heads or integrated designs; they simplify setup without sacrificing seating force.
Top Pump Picks
Picking the right tubeless inflator comes down to flow rate, peak pressure, and build quality, since those specs determine how reliably a bead seats on the first try.
If you want the best overall pump, the Lezyne Digital Pressure Overdrive leads with 4.7 l/s and a 40 psi one-shot blast. For a tighter budget, the Bontrager TLR Flash Charger gives you 3.53 l/s at $99.99.
If you value durability, the Topeak JoeBlow Booster is a smart long-term pump. For pure portability, the Airshot matches 4.7 l/s and costs just $49.00.
When you need premium construction, the Crank Brothers Klic Floor + Burst Tank delivers 31 psi and strong build quality.
Choose the Tubeless Tire tool that frees you from shop dependence.
Choosing Your Setup
Choosing the best tubeless inflator depends on how much air you need in a single burst, how portable the system must be, and whether you want a standalone tool or a floor-pump add-on. For liberation from shop dependence, match the tool to your setup.
| Inflator | Best use |
|---|---|
| Lezyne Digital Pressure Overdrive | High flow, strong seat |
| Airshot | Portable repair kit |
| Bontrager TLR Flash Charger | Balanced value |
| Topeak JoeBlow Booster | Durable daily use |
| Charge cylinder + floor pumps | Existing setup |
If you already own floor pumps, a charge cylinder can inflate tubeless fast. If you want maximum punch, choose a compact air compressor or the Lezyne. The Bontrager TLR Flash gives solid performance at a fair price, while the Airshot keeps weight low.
Use a Floor Pump First
Start with a standard floor pump, since it gives you the most control over pressure while seating a tubeless tire. You can use steady strokes to fill the casing gradually, which helps the bead move into place without overdriving the system.
Make sure both beads are mounted before you pump, and confirm the valve is fully ready for airflow. If you remove the valve core, you’ll often get stronger flow, which can improve the chance that the bead will seat cleanly.
Modern tire and rim standards are better matched now, so a floor pump works for many setups that once needed shop air.
Watch pressure closely and stop as soon as the tire seats. If your floor pump can’t deliver enough burst, switch to a high-pressure compressor for a controlled hit of air. That gives you another path to a secure tubeless setup.
Tubeless Seating Tips That Help
If the bead still won’t snap into place, a few small adjustments can make a big difference. Pull the valve core to let more air move when you inflate, then use a soap-heavy mix on the bead so it can slide and seat the tire cleanly. If needed, wrap a ratchet strap around the casing or insert an inner tube to compress the sidewalls and help the rim catch both beads.
| Adjustment | Purpose | Result |
|---|---|---|
| Remove core | Increase airflow | Faster bead lift |
| Soap mix | Reduce friction | Easier bead movement |
| Warm tire | Soften rubber | Better conformity |
Warm the tire slightly before inflation; pliable rubber responds better. Watch and listen for sharp pops as each bead locks home. Those sounds tell you the airtight seal is forming. Keep the pressure steady, stay patient, and let the rim do its work.
Best Tubeless Tools for Home and Trail
For home use, you’ll want a floor pump or inflator with high flow and a solid burst of air, such as the Lezyne Digital Pressure Overdrive or the Bontrager TLR Flash Charger, to seat tubeless beads reliably.
On the trail, you can carry CO2 cartridges for fast emergency inflation, but you should use them carefully because they can affect sealant performance.
You’ll also benefit from a dedicated seating tool like the Airshot when you need a lightweight, portable setup that still delivers enough pressure to pop the tire onto the rim.
Home Floor Pump Picks
When you want a reliable home setup for tubeless tires, a quality floor pump can make the difference between a quick bead seat and a frustrating restart.
A home floor pump with strong burst flow helps you lock the bead without extra gear. The Bontrager TLR Flash Charger delivers 3.53 l/s and a 28 psi one-shot charge, so it’s excellent for inflating tubeless road or MTB tires.
The Topeak JoeBlow Booster also works well, with 2.8 l/s and a 24 psi shot, giving you dependable home use across tire types.
Modern pump and rim standards now improve seal success. Set the valve at 12 o’clock, then pump decisively.
That simple routine lets you claim control, reduce leaks, and build a cleaner, more self-reliant tubeless setup.
Trailside CO2 Options
Trailside CO2 inflators give you a fast, lightweight backup for tubeless repairs, and they can seat a bead when a floor pump isn’t available. You can use a CO2 cartridge to inflate a flat on the trail in seconds, which matters when you need motion, not delay.
A typical canister delivers about 25–30 psi, often enough for initial tire to seat contact and bead lock. Carry one in your repair kit if you want compact, reliable freedom from home dependencies.
Use CO2 sparingly, though; repeated use can lower sealant pH, dry natural latex, and invite leaks. For lasting pressure, top off with compressed air later.
For mountain biking, this small tool keeps your tubeless setup mobile, practical, and self-directed.
Must-Have Seating Tools
At home or on the trail, the right seating tools make tubeless inflation far more reliable.
For a Presta setup, remove the valve core with a valve core remover to maximize airflow, then seat the bead fast. A Pump for Tubeless should deliver a strong initial surge, and the Bontrager TLR Flash Charger does this well: its 3.53 l/s flow and 28 psi one-shot charge can snap beads into place.
Air compressors work even better when you need rapid volume. CO2 cartridges can rescue you, but use them sparingly because they may reduce latex sealant life. DIY sprayers or soda bottles can work, yet they add risk.
Once the tire seats, reinstall the valve core and top off pressure.
Fix a Tubeless Tire That Still Won’t Hold Air
If your tubeless tire still won’t hold air after inflation, first check that the bead is fully seated all the way around the rim, since an uneven bead can leak air immediately.
Reinflate with a high-pressure air compressor to snap the bead onto the rim and lock the seal.
Next, inspect the valve for leaks, loose hardware, or a damaged core; even a small fault can bleed pressure fast.
If the tire still drops, add fresh sealant and rotate the wheel so it coats the casing, punctures, and sidewall pores.
Let it sit, then reinflate and listen for escaping air.
If pressure continues to fall, remove the tire and examine the tread and inner liner for cuts, plugs, or embedded debris.
Mark every defect, then repair what you can with a proper tire plug or replacement casing.
You deserve a wheel that stays sealed, so test again before riding.
Frequently Asked Questions
What Is the Best Air Compressor for Tubeless Bicycle Tires?
You’ll want a compact pancake air compressor with at least 2.5 l/s flow, because it seats tubeless beads fast.
Look for strong inflation speed, enough tire pressure for one-shot blasts, and compressor size you can carry easily. A $75–$100 model often works well, while Lezyne Digital Pressure Overdrive and Topeak JoeBlow Booster are excellent.
Prioritize portability features, then listen for bead pops and set the valve at 12 o’clock.
Do I Need a Special Bike Pump for Tubeless Tires?
You don’t always need a special bike pump, but a good one can feel like a key that frees the gate.
For tubeless tires, you’ll want inflator types that deliver a fast air burst to seat the bead and hold tire pressure. A standard floor pump can work; an air compressor or tubeless-specific inflator works better.
Follow maintenance tips, and you’ll keep tubeless benefits: fewer flats, lower pressures, smoother control.
Do You Need an Air Compressor to Set up Tubeless Tires?
No, you don’t need an air compressor to set up tubeless tires, but it helps a lot. You can use a floor pump, a booster, or a compressor for tire setup, depending on your inflation methods and bead-seating needs.
Apply sealant after the bead locks, then check for leaks. For practical maintenance tips, keep pressure stable and inspect the rim tape regularly.
You’ve got options, so choose the method that frees you.
What Can I Do if I Can’t Inflate My Tubeless Tire?
Try removing the valve core, then use a ratchet strap, soapy water, and warmth to help the bead seat.
Check tire sealant options and avoid common inflation mistakes like slow airflow or poor rim alignment.
If you’re still stuck, use manual inflation techniques with a floor pump or a burst canister.
Carry emergency repair kits, and, if needed, install a tube temporarily to lock the tire in place.
Conclusion
Yes, a tire inflator can seat and inflate your tubeless bike tires, as long as it delivers enough airflow and pressure to pop the bead onto the rim. If you think only a shop compressor works, that’s not always true. A quality floor pump, tubeless inflator, or compact air canister often does the job at home. Set the bead, add sealant, and check for leaks. If it still won’t hold air, inspect the rim tape and valve.
