
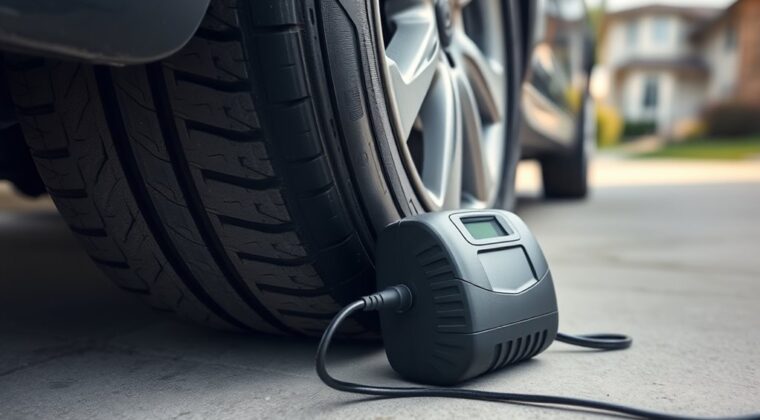
A tire inflator can temporarily help with a slow leak from a small puncture, but it won’t fix sidewall damage or larger holes. Park on level ground, set the parking brake, and turn on hazards. Check the door-jamb PSI spec, then clean and attach the hose straight to the valve stem. Inflate while watching the gauge, stop at the target PSI, and replace the cap. If pressure drops again, you’ll need more than a quick top-off.
Key Takeaways
- Park on a flat surface, engage the parking brake, and turn on hazard lights before inflating.
- Check the tire for sidewall damage or holes larger than 1/4 inch; inflators only suit minor slow leaks.
- Clean and align the hose straight onto the valve stem for a tight, leak-free connection.
- Inflate to the manufacturer’s recommended cold PSI, watching the gauge closely to avoid over-inflation.
- Recheck pressure and inspect for leaks; if pressure drops again, get professional repair or replacement.
What a Tire Inflator Can and Can’t Fix
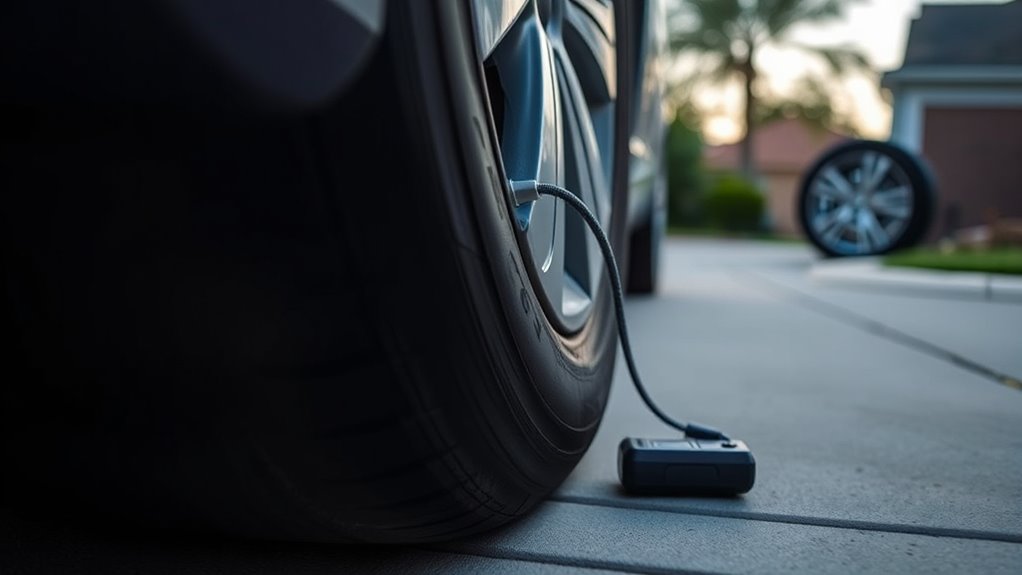
A tire inflator can be a useful temporary fix when you’re dealing with a minor leak or low pressure, especially in an emergency, because it quickly adds air and helps restore safe driving pressure.
You can use a tire inflator for a slow leak caused by a small puncture, usually no larger than 1/4 inch, but it won’t seal sidewall damage or larger holes. It also can’t restore a tire that’s structurally compromised.
Treat the inflator as a bridge, not a cure. When you top off to proper tire pressure, you improve handling and fuel efficiency, yet the repair still needs expert attention.
If you rely on it regularly, you’re managing pressure, not eliminating the defect. After inflation, you should schedule a professional inspection so you can confirm the tire is safe and decide whether repair or replacement protects your freedom to drive with confidence.
Park Safely Before Inflating
Before you connect the inflator, park your vehicle on a flat, stable surface so it can’t roll or shift during inflation. Keep the vehicle parked with the transmission in Park or in gear, then switch on your hazard lights so other drivers see you’re stopped.
Set the parking brake firmly to lock the vehicle in place and reduce the chance of movement while you work.
Before you start, confirm the area around the tire is clear enough for safe access to the valve, hose, and inflator body. You need room to move without bumping the vehicle or tripping over debris.
Before you start, make sure the tire area is clear enough to reach the valve and inflator safely.
- Check for slopes, loose gravel, or soft ground.
- Look for traffic, pedestrians, and low clearance hazards.
- Make sure the tire side has enough open space for the hose.
A stable setup gives you control, protects you from avoidable movement, and lets you inflate the tire with confidence.
Check Your Tire’s Recommended PSI
Check your vehicle’s owner’s manual or the driver’s side door jamb sticker to find the manufacturer-recommended PSI for your tire.
This value is specific to your vehicle model and load conditions, and you shouldn’t inflate beyond it.
Use a pressure gauge to confirm the current PSI before adding air so you can set the tire to the correct pressure.
Find Recommended PSI
To find the correct PSI for your tires, look in your owner’s manual or on the driver’s side door jamb sticker, where the manufacturer lists the recommended pressure for each tire on your vehicle. Use that recommended psi as your baseline, not the number on the tire sidewall.
Correct tire pressure keeps you properly inflated, supports handling, and reduces energy waste.
- Check the exact value for front and rear tires.
- Verify pressure when tires are cold.
- Recheck monthly and before long trips.
Most passenger vehicles use 30 to 35 PSI, but your model may differ. Underinflated tires wear faster, burn more fuel, and raise blowout risk.
Set each tire to spec, then inspect it again after a short drive to confirm stability and slow-leak control.
Check Door Jamb Sticker
Look at the driver’s side door jamb sticker first; it lists the manufacturer’s recommended PSI for each tire on your vehicle.
When you check the door jamb sticker, match the number to your exact make and model, not a generic chart.
Use a reliable gauge to inspect your tires before you inflate, then compare each reading to the listed tire pressure. If one tire is low, add air in small increments and recheck.
Temperature shifts can change PSI, so repeat this step before long trips and during seasonal changes.
Correct inflation improves handling, fuel efficiency, tread life, and blowout resistance.
You’re not guessing here; you’re using the vehicle’s own standard to keep control, save energy, and move freely with confidence on the road.
Hook Up the Tire Inflator Correctly
Start by locating the tire valve stem on the outer side of the tire, then remove the cap and make sure the valve opening is free of dirt or debris. This keeps contamination out and gives you a clean seal.
Align the inflator hose straight onto the tire valve stem, then press it on firmly until it sits snugly. A tight connection reduces leaks and helps you stay in control while inflating the tire. If you’re using a portable unit, plug it into the vehicle’s 12V outlet or a suitable power source first.
Align the inflator hose straight onto the valve stem and press firmly for a snug, leak-free fit.
- Confirm the hose locks on without wobble.
- Keep the connection square to avoid escaping air.
- Read the pressure gauge only after the hose is secure.
Once attached, verify the pressure gauge is visible and ready for monitoring. You’re setting up for accurate, controlled inflation, not guessing.
With the hose secured correctly, you can move forward with confidence and protect your tire from avoidable air loss.
Inflate the Tire and Watch the Gauge
Attach the inflator hose securely to the valve stem so you don’t lose air during inflation.
Set the target PSI to the manufacturer’s recommended pressure, then turn on the inflator.
Watch the gauge closely and stop as soon as you reach the correct pressure to avoid over-inflating.
Attach Inflator Securely
Secure the inflator hose tightly onto the tire valve stem so no air escapes during inflation.
To attach inflator securely, press the chuck straight on and lock it; then verify the inflator’s connection stays firm before powering it on.
Set your target PSI from the vehicle manual, not guesswork. As the tire fills, watch the gauge and let the device work until it reaches the specified pressure.
- Check that the valve stem isn’t bent or dirty.
- Confirm the hose doesn’t wobble or leak.
- Stop at the exact PSI to preserve handling and safety.
When inflation ends, disconnect promptly and replace the valve cap to block dust and hold pressure.
Monitor Pressure Closely
As the tire inflator runs, watch the gauge closely and keep inflating until you reach the PSI listed in your vehicle’s manual or on the door jamb. Inflate slowly so the tire can build pressure without overshooting the target.
During monitoring, check the gauge often; steady movement means progress, but repeated drops can signal a persistent slow leak. If pressure won’t stabilize, stop inflating and inspect the sidewall, tread, and valve stem for visible damage or escaping air.
Don’t let the reading climb past spec, because over-inflation increases blowout risk and can damage the tire. Once you hit the correct PSI, disconnect the inflator and recheck after a few minutes.
If the pressure holds, you’ve made a solid temporary fix.
Use Sealant If Included
If your tire inflator kit includes sealant, shake the bottle well first so the contents mix thoroughly, then connect it to the inflator hose and follow the manufacturer’s instructions exactly.
Secure the hose to the tire valve stem, then activate the unit so sealant enters the tire. You’re using a controlled process, not improvisation, so each step matters.
- Keep the sealant bottle mixed before use.
- Lock the hose onto the tire valve before you start.
- Inflate to the pressure listed in your owner’s manual or door jamb placard.
After the sealant goes in, inflate the tire to the recommended pressure.
Then drive a short distance, about 5–10 miles, so the sealant spreads evenly inside the tire and helps close the leak.
This method gives you a practical, independent way to regain mobility while staying precise and compliant with the kit’s design.
When the Tire Still Needs Repair
Even after you inflate the tire, you still need to confirm the leak’s source and plan for a proper repair, because sealants and inflator kits are only temporary fixes.
If your slow leak returns, don’t keep relying on the tire inflator; inspect the valve stem, tread, and bead area, then schedule professional repair.
Check pressure often, since a 4 to 5 PSI drop can change handling and stability, especially on motorcycles.
If the puncture is near the sidewall, or the hole is larger than 1/4 inch, treat the tire as unsafe and replace it.
Temporary kits can buy time, but they can’t restore full integrity. You deserve reliable performance, not guesswork.
When inflation doesn’t hold, move immediately to a qualified technician. That step protects your freedom on the road and keeps a minor slow leak from becoming a failure.
Frequently Asked Questions
How Do I Use My Tire Inflator?
Set your tire pressure first, then connect the inflator firmly to the valve stem.
Choose the right inflator type, plug it into your 12V outlet, and power it on.
Watch the gauge closely and stop at the recommended psi.
After inflation, remove the hose and replace the valve cap.
For ongoing maintenance tips, check pressure regularly so you stay mobile, independent, and ready for the road.
How Long Can I Drive With a Slow Leak in My Tire?
You shouldn’t drive far; you should fix it, you should check it, you should top it off.
With a slow leak, you might limp up to 50 miles at reduced speed, but that’s risky for driving safety.
Use tire maintenance tips, monitor PSI often, and apply leak detection methods quickly.
A 4–5 PSI drop can hurt handling, braking, and fuel economy, so act before the tire fails.
How to Use a Tire Inflator and Sealant Kit?
You attach the hose to the valve stem, check PSI, then inflate to spec with the right inflator types.
Add sealant only if your kit calls for it, then drive 5–10 miles so it spreads.
Recheck pressure and inspect for leaks.
Use tire maintenance tips: keep the tire clean, watch sealant effectiveness, and seek a pro if pressure drops again.
You stay mobile, informed, and in control.
What Are the Safety Precautions When Using a Tire Inflator for a Car?
You should park on level ground, wear goggles and gloves, and verify tire pressure before inflating.
Check valve fit, hose integrity, and power connections, then keep cords clear to avoid tripping.
Stop at the recommended psi, and recheck tire pressure after inflation.
For leak detection, inspect for punctures or hissing before and after use.
Perform inflator maintenance by cleaning fittings and storing the unit dry.
Conclusion
A tire inflator can buy you time, not miracles. You can top off a slow leak and get back on the road, but if the pressure keeps dropping, the problem is still there. Check the PSI, inflate carefully, and use sealant only if it’s meant for your setup. Then don’t ignore the tire just because it looks fine. The irony is simple: the quickest fix is often the one that proves you need a real repair.
