
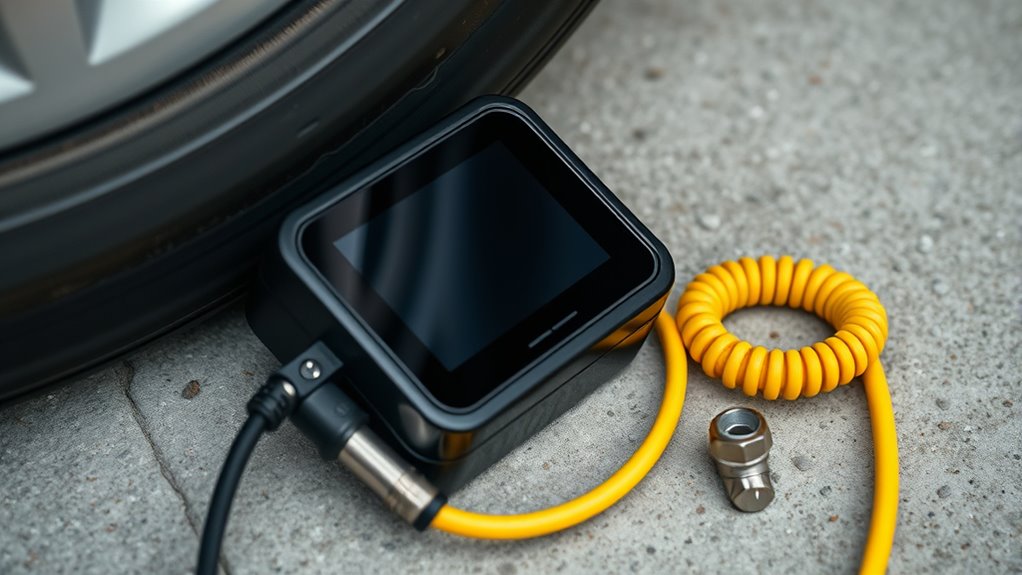
If your tire inflator display won’t turn on, start with the power source, battery, fuse, and cord connections. Check for corrosion, loose terminals, or a blown vehicle socket fuse, then try a known-good outlet or socket. If the display flickers, power-cycle the unit and confirm the battery is charged. Inspect the hose, chuck, and pressure settings for leaks or bad calibration. If PSI shows but inflation fails, the fault may be internal, and the next steps get more specific.
Key Takeaways
- Check the power source, battery, fuse, and cable connections for damage, corrosion, or loose contact.
- Power-cycle the inflator and test it with a known-working outlet or vehicle socket.
- Inspect the display, pressure settings, and sensor calibration against the vehicle’s recommended PSI.
- Examine the hose, chuck, and seals for leaks, kinks, cracks, or blockages.
- If the display stays dark or errors persist, the inflator may need repair or replacement.
Why Your Tire Inflator Display Won’t Turn On
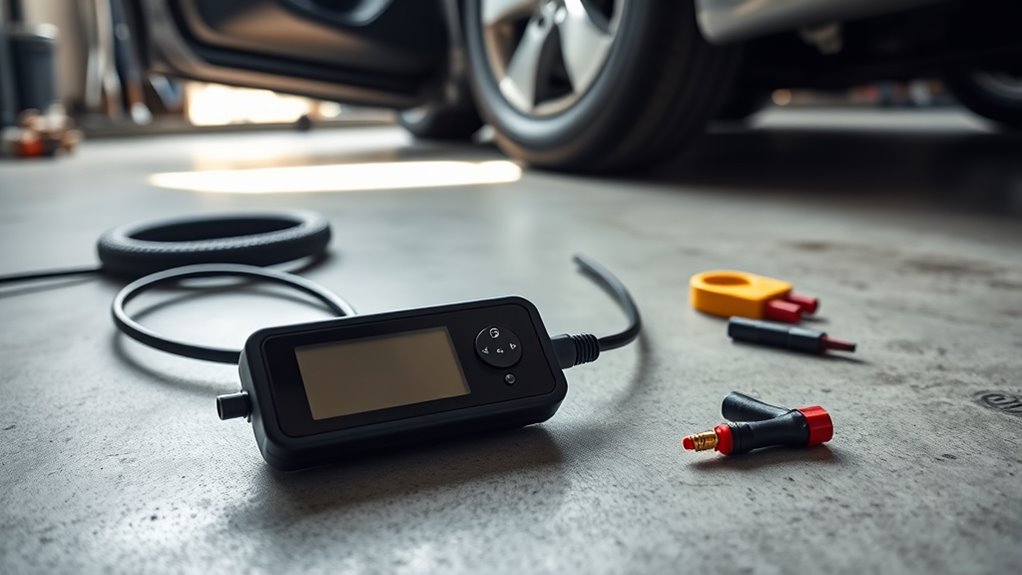
If your tire inflator display won’t turn on, start by checking the power source: a dead battery, loose car adapter, or faulty connection can stop the unit from receiving power. You’re likely facing a power supply issue, so inspect the cord, plug, and socket for corrosion, cuts, or looseness.
A faulty car adapter can interrupt voltage delivery, and damaged wires can do the same. If the display stays blank, try a reset to clear a frozen microprocessor and restore normal operation.
When the unit powers but still shows nothing, internal component failures become more likely. A failed electronic board or pressure sensor can block display activity and usually needs the electronic head replaced.
Clean and maintain connections regularly so you keep control over your equipment and avoid preventable downtime. If diagnostics point beyond external faults, don’t force the unit; isolate the failure and replace compromised parts.
Check the Power Source and Battery First
Start with the power source and battery, because a weak supply is the most common cause of a nonresponsive inflator. Check the power source first: plug the unit into a known-working outlet or vehicle socket and confirm the socket delivers power.
Begin with the power source and battery, since weak power is the most common cause of a nonresponsive inflator.
If the display stays dark, inspect the battery for swelling, corrosion, or age-related loss of capacity. A depleted or damaged battery can stop the screen before the motor even starts. If your model uses a removable battery, reseat it firmly or swap in a fully charged one to isolate the fault.
Also verify the fuse; a blown fuse can interrupt current and mimic a dead display. Next, secure connections at the terminals and power cable, and clear away dirt or debris that can create resistance.
A faulty connection can rob the unit of voltage and keep you from reclaiming reliable inflation.
Inspect the Fuse, Port, and Cord Connections
Once you’ve confirmed the battery and main power source are sound, inspect the fuse, port, and cord connections next.
First, inspect the fuse in the vehicle’s cigarette lighter socket; a blown fuse can block the power supply and leave the display blank.
Next, check the charging port for corrosion, dirt, or debris, since contamination can interrupt electrical flow and weaken performance.
Then verify all cord connections: the plug at the inflator, the vehicle-side connector, and any intermediate leads should seat firmly without wobble.
Look closely for frayed wires, cuts, or crushed sections along the cord, because damage can break the circuit.
If everything appears intact, test the inflator with a different power source or another vehicle.
That comparison helps you isolate whether the fault sits in the inflator or the original supply, so you can act decisively and keep your equipment working on your terms.
Fix a Flickering Tire Inflator Display
Start by checking the power connections, because a loose or corroded lead can make the display flicker and lose stable power.
If the screen still behaves erratically, reset the unit to clear a temporary software fault, then inspect for sensor or internal wiring errors that could interrupt the display signal.
If the flicker continues after those checks, you’re likely dealing with a deeper electronic fault.
Check Power Connections
Check the power source first, because a weak vehicle outlet, dead battery, or faulty car adapter can make the tire inflator display flicker. Use this troubleshooting path to check power connections and isolate the fault quickly.
| Check | What to inspect | Result |
|---|---|---|
| Outlet | Verify 12V output | Stable power |
| Battery | Measure charge | Adequate voltage |
| Adapter | Look for damage | No interruption |
| Fuse | Inspect continuity | Unbroken circuit |
| Ports | Clean corrosion | Solid contact |
Tighten every connection and remove oxidation from plugs and charging ports. A loose lead can break power flow and destabilize the display. If the inflator still flickers, read the manual for model-specific diagnostics or replace the electronic head. You deserve equipment that responds precisely, not erratically.
Reset The Display
Power-cycle the inflator first: turn it off, disconnect it from power for at least 30 seconds, then reconnect it and test the display. This reset display step clears transient faults in your tire inflator and often stops flicker.
Make sure the battery is charged above 50%; low battery voltage can make the screen unstable. Check the display area for dust or debris and remove any particles that could block the panel.
If flickering continues, inspect the connections and wiring for corrosion, looseness, or damage. Don’t let a faulty interface control your work; keep the unit responsive and under your command.
Finally, check user manual instructions for your exact model, because reset procedures can vary. Follow the specified sequence, then verify stable screen operation under load.
Inspect Sensor Errors
If the reset doesn’t stop the flicker, inspect the sensor circuit next. Your tire inflator may be losing signal at the pressure sensor, so check wiring, terminals, and the electronic board for looseness or corrosion. Use this quick scan:
| Check | Symptom | Action |
|---|---|---|
| Sensor plug | Intermittent display issues | Reseat firmly |
| Contacts | Oxidation | Clean carefully |
| Battery | Low voltage | Recharge or replace |
| Intake vents | Dust buildup | Clear debris |
| Board | Persistent flicker | Replace head |
Good maintenance keeps the display honest and your workflow free. If voltage is stable and the flicker continues, the electronic board likely needs professional evaluation or replacement. Don’t let a failing sensor circuit keep you dependent on unreliable readings.
Reset the PSI Settings
Reset the inflator’s PSI setting, then verify that the target value matches your vehicle’s recommended pressure on the driver’s door jamb.
If the reading still seems off, recalibrate the pressure sensor to restore measurement accuracy.
After the reset, confirm the display tracks the new PSI setting consistently before you resume inflation.
Verify Target PSI
Start by verifying that the target PSI on the inflator matches your vehicle’s recommended tire pressure. Then use the user manual to access and adjust the digital pressure sensor settings as needed.
Check the digital gauge against the recommended pressure on the driver’s door jamb or in the owner’s manual. If the values differ, reset the target PSI and confirm the display accepts the input.
Keep the unit cool before making changes, because heat can skew readings. Recalibrating is useful when you’ve used the inflator often or exposed it to extreme temperatures.
If the screen still won’t respond, inspect for loose connections or blown fuses in the circuit. Precision here keeps you in control.
- Verify target psi
- Match recommended pressure
- Follow user manual steps
- Recalibrating supports accuracy
Recalibrate Pressure Sensor
When the target PSI is correct but the readings still drift, recalibrate the pressure sensor by turning the inflator off and unplugging it to clear the electronic settings. This hard reset frees the unit from stale data.
Reconnect it to the tire, set the target PSI exactly to the manufacturer’s spec, then power it back on. Let it run and watch the LCD pressure gauge as it climbs. Compare each reading with the expected value.
If the display still shows incorrect PSI after recalibration, inspect for air leaks at the valve, hose, and fittings. Also test the pressure gauge for malfunction or drift.
After prolonged use, repeat this procedure to keep the sensor aligned and your inflation control accurate.
Let the Inflator Cool and Reset
If the display has gone blank or started acting erratically, let the inflator cool for at least 15–30 minutes and disconnect it from the power source during that time so any overheated electronics can reset. This tire inflator troubleshooting step protects sensitive electronic components from heat-related faults and gives you a clean baseline.
Keep the cooling period uninterrupted; don’t tap buttons or reconnect early.
Let the cooling period run uninterrupted; avoid pressing buttons or reconnecting too soon.
- Place the unit in a ventilated area.
- Verify the power cord stays fully disconnected.
- After cooling, inspect for visible damage or loose connections.
- Restore power and check whether the display normalizes.
If the screen returns, overheating was likely the cause. If it stays unresponsive, follow the manual’s troubleshooting sequence or consider replacing the electronic head.
You deserve equipment that works on your terms, and this reset helps you isolate the fault without unnecessary guesswork.
Test the Hose, Chuck, and Air Leaks
Check the hose for cracks, kinks, or other damage that can restrict airflow or create leaks.
Inspect the chuck seal at the valve stem and make sure it’s tight; a loose fit can bleed off pressure and skew inflation results.
To confirm a leak, apply soapy water to the hose and connections and watch for bubbling.
Hose Leak Checks
Inspect the hose and chuck closely for wear, cracks, kinks, or loose fittings that could interrupt airflow during inflation. During hose leak checks, you protect air pressure and keep tire inflators working without hesitation.
Keep the chuck securely attached to the valve stem, because a loose fit causes common issues and rapid air loss.
- Apply soapy water to the hose and connections.
- Watch for bubbling; bubbles confirm escaping air.
- Inflate a tire briefly and listen for hissing.
- Clean the hose regularly to remove debris and blockage.
If you detect a leak, isolate it, then replace the damaged section or fitting.
Don’t accept weak airflow as normal; your system should deliver stable pressure with precision.
Chuck Seal Inspection
A secure chuck seal keeps inflation accurate and prevents hidden air loss.
Inspect the hose first: kinks, cracks, or blockages can restrict flow and skew readings while you inflate.
Then check the chuck connection for looseness, damage, or misalignment; any fault can create air leaks and reduce pressure at the tire valve.
Use a soap bubble test on the chuck and hose joints. Apply soapy water, then watch for bubbles to pinpoint escape points.
Examine the internal O-ring for wear, flattening, or cuts, because a degraded seal won’t hold pressure.
Clean and tighten the valve connection until you get an airtight seal.
When each interface stays sealed, you restore control, preserve performance, and keep the inflator working on your terms.
When the Display Shows PSI but Won’t Inflate?
If the display shows PSI but the tire won’t inflate, start by checking for air leaks at the hose and valve connection, since even a small leak can prevent pressure transfer.
Your portable tire inflator may read pressure while the air hose bleeds it off, leaving the inflator not reaching the tire. Inspect the hose for kinks, clogs, or cracked fittings that choke airflow.
Confirm the target setting matches your tire’s rated PSI; incorrect pressure can stop activation. Verify the power source, whether the vehicle outlet or internal battery, because weak voltage can limit output.
If the unit powers on yet pressure stays flat, suspect an internal fault in the piston or sensor.
- Test the valve seal with a brief reconnect.
- Straighten the air hose fully.
- Recheck the PSI setting before restarting.
- Confirm stable power delivery under load.
Replace a Faulty Tire Inflator Display
When a tire inflator’s display keeps giving bad readings or goes dark, you’ll need to replace the display module itself. Unplug the inflator and remove the battery first; that cuts shock risk and clears the path for precise work. Open the electronic head per the manual, then remove screws or clips with care.
| Step | Action | Result |
|---|---|---|
| 1 | Power off | Safe access |
| 2 | Open head | Display exposed |
| 3 | Disconnect | Faulty module free |
| 4 | Install new | Correct fit |
| 5 | Test | Pressure verified |
Gently pull the connector from the circuit board, then fit a compatible display for your model. Reassemble the inflator, fastening every screw and connection firmly. Test the unit and confirm the new display shows visible, accurate pressure readings. This replace task restores control to you, so the machine serves your needs, not the other way around.
Know When to Replace the Inflator
Persistent blank displays, repeated bad pressure readings after recalibration, or error codes like Err 1 and Err 4 often point to hardware failure rather than a simple settings issue.
Persistent blank displays or recurring Err 1 and Err 4 usually signal hardware failure, not a simple settings issue.
If your tire inflator keeps missing target pressure, stops early, or overheats, you’re likely dealing with internal damage. A faulty pressure gauge that won’t stabilize after resets usually won’t recover with more calibration. At that point, replace the inflator or at least the electronic head.
- Audit output against a known good gauge.
- Check whether the unit reaches and holds target pressure.
- Note if resets clear Err 1 or Err 4.
- Replace parts when failures recur under load.
If maintenance no longer restores basic inflation function, don’t force dependence on a failing tool. You deserve reliable airflow, accurate sensing, and fast recovery.
When the tire inflator can’t deliver those fundamentals, retiring it’s the cleanest diagnostic decision.
Frequently Asked Questions
How to Reset Portable Tire Inflator?
To reset your portable tire inflator, turn it off, disconnect power, and follow the reset procedure in the user manual.
Hold the reset button, if your model has one, for a few seconds to restore defaults.
Then inspect for battery issues, damage, or corrosion. These troubleshooting steps support inflator maintenance.
Recharge it fully, reconnect it to a tire, and verify the display responds normally after reboot.
How Do You Fix a Tire Pressure Monitor Fault?
You fix a tire pressure monitor fault by checking the TPMS fuse first, then verifying sensor battery health and damage.
Like a time-traveling mechanic, you should inspect wiring, recalibrate the system to restore monitor accuracy, and clear common issues with a scan tool.
If faults persist, perform sensor replacement as needed.
These maintenance tips help you regain control, keep tire pressure readings reliable, and keep the system free.
Why Did My Tire Inflator Stop Working?
Your tire inflator likely stopped because you’ve hit a common inflator issue: a weak inflator power source, overheating, a clogged hose, or internal wear.
Check tire inflator maintenance basics first—inspect the fuse, battery, and outlet, then verify airflow and pressure sensing.
Follow troubleshooting tips and inflator usage guidelines, because long runs can trigger shutdown.
If the motor still stalls, you’re facing a mechanical fault that needs repair.
Why Does My Tire Air Pump Display an Error Code?
Your pump’s display flashes an error code like a warning lantern, guiding you toward the fault.
You’re seeing error code meanings that point to common malfunctions: Err 1 means electronic board failure, Err 3 often needs a reset, and Err 4 suggests sensor drift.
Check display calibration, then apply troubleshooting tips.
If the LCD stays blank or won’t read 32/0, you’ll likely need electronic head replacement and steady pump maintenance.
Conclusion
If your tire inflator display still won’t work, you’ve likely found the fault by now: power, wiring, sensor, or pump failure. When the screen flickers, reads PSI but won’t inflate, or stays blank, each symptom points to a specific issue. By checking the basics first, you narrow the problem fast and avoid unnecessary parts replacement. If the same fault keeps reappearing, coincidence isn’t random—it’s a clue that the inflator’s internals are failing.

