
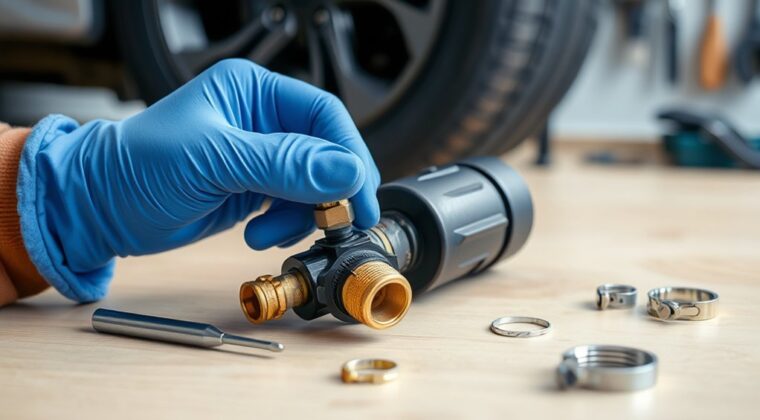
First, spray the hose, fittings, and valve core with soapy water while the inflator runs to find bubbles and the leak point. Then shut off power, release pressure, and gather a matching replacement hose, clamps, seals, and a hose barb if needed. Cut out damaged sections, tighten loose joints, and replace worn parts. Repressurize and retest for leaks. You’ll also see how to prevent future hose failures with a few simple maintenance steps.
Key Takeaways
- Use soapy water on the hose, fittings, and valve core while the inflator runs to find bubbling leak points.
- Inspect the hose for cracks, abrasion, loose joints, and pressure gauge drops that signal air loss.
- Gather a matching replacement hose, clamps, hose barb, seals, and basic cutting and tightening tools.
- Shut off air, cut out the damaged section, install the new hose or tighten loose connections, then clamp securely.
- Repressurize and retest with soapy water, and prevent future leaks by inspecting and storing the inflator properly.
Find the Tire Inflator Hose Leak
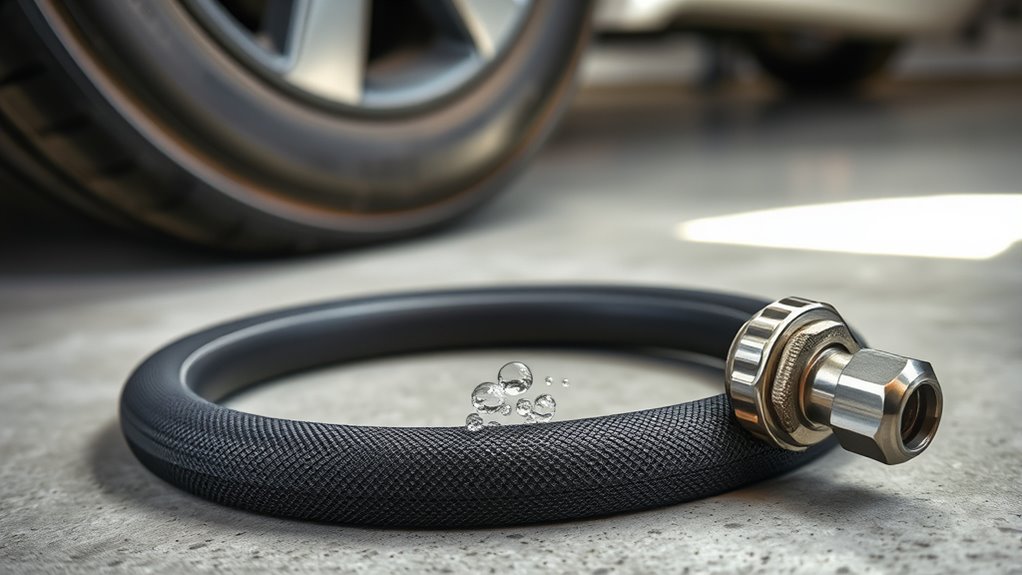
Start by mixing dish soap with water in a spray bottle and applying it to the hose, fittings, and valve core while the inflator is running.
Use the soapy water test to find leaks fast: bubbles show where air escapes, especially at external connection points, where most failures happen.
Use the soapy water test to find leaks fast; bubbles reveal escapes, especially at connection points.
Inspect the hose for cracks, abrasion, and loose joints, then watch the pressure gauge for sudden drops that confirm loss.
If you use an air compressor to supply the inflator, keep it steady so you can isolate the leak.
Check the valve core closely; a damaged or loose core can bleed air and mimic a hose fault.
Regularly inspect wear before it grows into a bigger problem.
When you pinpoint the exact source, you can replace the bad fitting, core, or hose section without guesswork.
That precision saves time, reduces waste, and keeps your setup working on your terms.
Gather the Repair Tools
Before you start the repair, gather a replacement hose that matches your inflator’s size and pressure rating so it fits and holds pressure correctly.
You’ll also need hose clamps, a utility knife or razor blade, and a screwdriver with pliers for cutting, securing, and tightening the connection.
If the hose end is damaged, include a hose barb that matches the hose’s inside diameter for a reliable repair.
Essential Repair Tools
Gather a utility knife or pipe cutter, a hose barb that matches the hose’s inside diameter, and the right hose clamps—either screw-type or crimp-on—so you can make a secure, leak-free repair.
These essential repair tools let you cut cleanly, join firmly, and stop air leaks without wasting time. Keep a screwdriver ready for screw-type hose clamps, or pliers for crimp-on ears, so you can tighten each connection with control.
Stock replacement seals, too, because worn seals often trigger leaks in inflators.
Before you start, verify compatible size and pressure rating across the hose, barb, and fittings. That quick check protects performance and keeps your repair solid, efficient, and self-reliant.
Matching Hose Components
Once you’ve chosen the right barb, clamps, and cutting tool, match every hose component to the original inflator hose before you replace it. Verify size, pressure rating, and length so you don’t risk a weak connection.
When you find replacement hoses, compare the inside diameter to the hose barb fittings and inspect clamp style for compatibility.
- Measure the damaged hose
- Check pressure rating
- Confirm barb diameter
- Select matching clamps
- Keep customer support contact handy
Use pliers to remove the old hose, then cut the new one cleanly with a utility knife or pipe cutter.
If wear reaches the fittings, replace the entire assembly. Tighten clamps evenly to prevent leaks, and test for seal integrity before you return to service.
Fix a Punctured Tire Inflator Hose
To fix a punctured tire inflator hose, start by locating the leak with a soapy water solution; when the hose is pressurized, bubbles will form at the puncture site.
Mark the damaged section, then shut off the air supply and release pressure from the Tire Inflator.
Use a utility knife to cut out the damaged Hose with clean, straight edges.
Choose a hose barb that matches the hose’s inside diameter, then insert it into both ends to prepare the repair.
Slide hose clamps over the fittings and tighten them with a screwdriver or pliers until the connection feels secure.
Don’t crush the hose; firm pressure should stop leaks without causing new damage.
Repressurize the line and check the repair with soapy water again.
If bubbles appear, adjust the clamps.
Afterward, inspect the hose regularly for wear, keep it clean, and store it away from heat, sharp edges, and abuse.
Seal Loose Hose Connections
Start by disconnecting the inflator from its power source, then inspect the hose and fittings for wear, cracks, or looseness at the connection points. You’ll often find the problem at the coupler, valve, or clamp, where movement creates leaks and weakens hose repair.
Check for signs of wear, then tighten loose hose connections with a wrench or pliers, but don’t crush the fittings. Keep the Inflator free of strain while you work.
- Clean dirt from the joint.
- Confirm the hose seats fully.
- Tighten only until firm.
- Brush on a soapy water solution.
- Replace bad seals at an auto parts store.
If bubbles keep forming, swap damaged seals or hose clamps for fresh parts. A secure fit restores control and keeps your setup ready.
If the hose or fitting is badly damaged, a new inflator may be the smarter move.
Test for Leaks and Pressure Loss
With the inflator running, spray a dish soap-and-water mix on each connection point and watch for bubbles, since they’ll show you exactly where air is escaping. This is the fastest way to test for leaks and verify secure fittings at the hose-to-inflator and chuck-to-valve joints.
Use dish soap with water in a spray bottle, then see bubbles forming around any fault. If you don’t see pressure build within 15 seconds, stop and inspect the interface immediately; that points to a major leak.
If pressure doesn’t build within 15 seconds, stop and inspect the connection immediately—there’s likely a major leak.
An overnight air pressure drop of 2-3 PSI often means the valve core is leaking, so check it with a valve core tool. If your old hose still loses air, inspect the couplers and seals. Most leaks start at connections, not along the tube.
Make regular inspections of rubber grommets and O-rings every 18 months to catch wear before it turns into failure.
Prevent Future Hose Leaks
Even after you’ve fixed the leak, you should inspect the hose regularly for cracks, fraying, or other wear so you can catch problems before they turn into failures.
To prevent future hose leaks, inspect hoses before each use and replace damaged sections early. Store the inflator in a cool, dry place away from direct sunlight; UV rays degrade rubber and can weaken fittings.
Use proper handling: avoid kinks, sharp bends, and pulling on the hose under load. Stay within the manufacturer’s recommended PSI limits so you don’t overstress the hose or clamps.
Choose quality replacement parts when wear appears, since durable hoses and reliable clamps help extend the life of the whole setup.
- Check connections for seepage.
- Wipe off dirt and moisture.
- Coil the hose loosely after use.
- Protect it from heat sources.
- Replace worn clamps promptly.
Frequently Asked Questions
How to Repair Tire Inflator Hose?
You repair a tire inflator hose by locating the leak with soapy water, cutting out damaged sections, and installing a matching hose barb with clamps.
Use repair tool essentials like a utility knife, cutter, and clamps.
Follow inflator usage guidelines, then run air pressure checks.
Apply hose maintenance tips, hose storage solutions, and preventive measures to avoid common hose issues.
If damage’s severe, replace the hose or unit.
How Can I Repair a Damaged Air Compressor Hose?
You can repair a damaged air compressor hose by cutting out the bad section, then fitting a matching hose barb or splicer and clamping both ends tight.
Use DIY repair tools, check hose maintenance tips, and follow air compressor safety.
For common hose issues, inspect connectors, apply pressure regulation techniques, and choose hose materials wisely.
Keep troubleshooting leaks early, so you keep control over your tools and work freely, efficiently.
How to Seal a Leaking Rubber Hose?
You can quiet the leak by cleaning the spot, then applying a rubber-safe sealant or patch after testing with soapy water.
For different rubber hose types, use the right DIY repair techniques and tools needed: clamp, patch kit, and alcohol wipe.
If the wound sits at a fitting, replace the clamp or hose.
These hose maintenance tips cover common hose issues, sealant application methods, and hose replacement options for lasting freedom.
How to Repair a Hole in a Flex Hose?
You can repair a hole in a flex hose by cutting out the damaged section, matching hose types, and installing a hose barb splicer with clamps.
Check leak causes first, then use durable patch materials and DIY techniques that suit your hose.
Follow safety precautions, tighten fittings, and test for leaks.
Add maintenance tips and troubleshooting steps to keep the repair reliable and keep your gear working freely.
Conclusion
You’ve now traced the leak, tightened connections, and patched the hose, so your tire inflator should be ready for reliable service again. Think of it as giving your tool a small “healing” worthy of Daedalus: careful repairs prevent unnecessary failure. Keep inspecting the hose for cracks, store it away from heat and sharp edges, and check pressure before each use. With regular maintenance, you’ll reduce air loss, improve performance, and avoid being stranded with a weak seal.
