
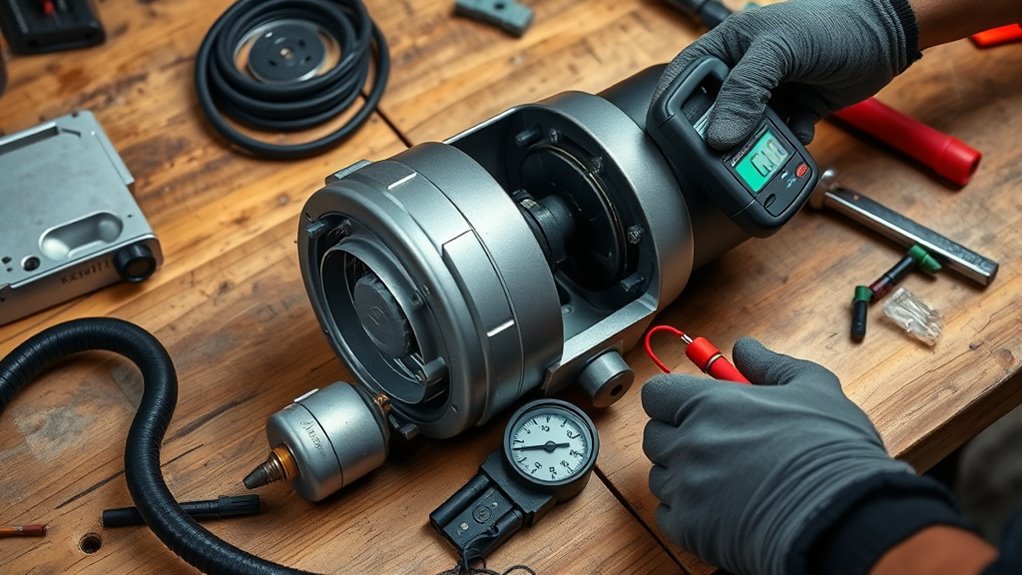
Yes, a tire inflator can often be repaired when the problem is simple and external, such as a weak power source, blown fuse, loose connection, leaking chuck, damaged removable hose, or incorrect pressure setting. Start with the checks your model’s manual allows. Do not open sealed electrical, battery, motor, or pump assemblies unless the manufacturer specifically describes them as user-serviceable. If you see smoke, sparks, melted wiring, a swollen battery, or repeated fuse failure, stop using the inflator and replace it or have it professionally serviced.
Key Takeaways
- Many tire inflator problems come from the power source, fuse, battery, hose, chuck, pressure preset, or overheating.
- Use the vehicle manufacturer’s recommended cold tire pressure from the driver-side placard or owner’s manual, not the maximum pressure molded on the tire sidewall.
- Replace a fuse only with the exact type and rating specified for the inflator or vehicle circuit.
- Do not patch or cut a high-pressure hose unless the manufacturer provides an approved repair procedure; replacement is usually safer.
- Pressure-sensor reset or calibration procedures are model-specific. Use only the steps in your inflator’s manual.
- Internal motor, piston, wiring, battery-pack, or control-board faults are usually jobs for an authorized service center or a replacement unit.
At a Glance: What You Can Check Safely
| Symptom | First checks | When to stop |
|---|---|---|
| No power | Power source, battery charge, plug, approved fuse, connections | Repeated blown fuse, hot plug, damaged cord, sparks, burning smell |
| Runs but inflates slowly | Chuck seal, hose, valve, tire leak, battery or supply voltage, duty cycle | Motor overheats, hose swells, output stays abnormally low |
| Stops early | Target PSI, pressure unit, battery charge, thermal protection | Stops repeatedly after cooling and correct setup |
| Gauge looks wrong | Compare with a trusted tire gauge; follow the manual’s re-zero or calibration procedure if provided | Large or erratic error remains after the approved procedure |
| Air leaks | Chuck, hose fittings, valve core, tire valve stem | High-pressure hose is cut, burned, cracked, or cannot seal securely |
Can a Tire Inflator Be Repaired?
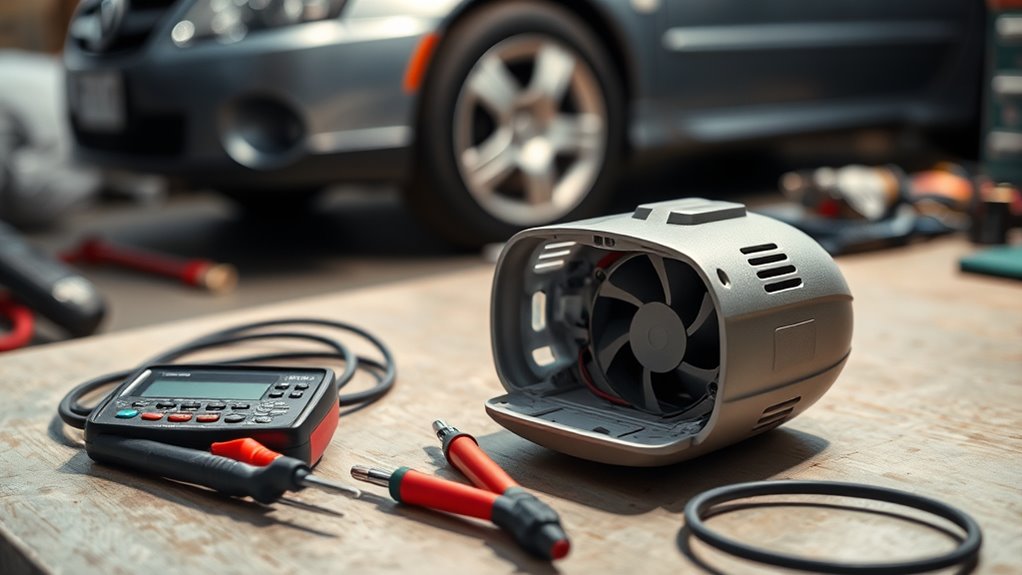
Yes, but the safe repair depends on the design. External faults such as a discharged battery, loose power plug, blown replaceable fuse, poor valve-chuck seal, or damaged removable hose may be easy to correct. A preset-pressure or unit-selection mistake can also make a working inflator appear faulty.
Internal faults are different. Many modern inflators use sealed electronics, lithium-ion battery packs, compact motors, and high-pressure pump parts that are not intended for home repair. Manufacturer guidance commonly directs users to disconnect power before adjustments and to use qualified service for internal repairs.
Before taking anything apart, identify the exact symptom and read the manual for your model. That helps you avoid turning a minor setup problem into an electrical, battery, or pressure-safety hazard.
What Tire Inflator Problems Are Safe to Fix?
You can usually handle basic inspection and maintenance without opening the housing. Check the power source, battery charge, approved fuse, hose, chuck, nozzle, pressure preset, pressure unit, and ventilation openings.
If the inflator has a documented sensor re-zero or calibration feature, follow the exact button sequence in the manual. Do not assume every digital inflator can be reset or calibrated in the same way.
If the unit has overheated, switch it off and let it cool for the period specified by its manufacturer. Duty-cycle limits vary significantly by model, so a universal “10-minute” rule is not reliable.
Power and Hose Checks
Start with the power source. For a 12-volt inflator, confirm that the vehicle accessory outlet or approved battery connection can supply the unit correctly. For a cordless model, fully charge the specified battery pack and make sure it is seated properly.
Inspect the plug, cord, battery contacts, hose, chuck, and fittings for obvious damage. A kink, loose chuck, or cracked hose can let air escape and make the compressor seem weak.
If your model has a user-replaceable fuse, inspect it according to the manual and install only the specified replacement. A fuse that blows again is a warning sign; do not keep installing larger fuses or bypassing the protection.
Settings, Sensor, and Cooling
Confirm that the display is using the pressure unit you expect, such as PSI, bar, or kPa, and set the target to the vehicle manufacturer’s recommended cold pressure. If the target is already at or below the measured pressure, an automatic inflator may not start.
Some inflators provide a sensor re-zero or calibration procedure, but it is model-specific. Perform it only when the manual tells you to, usually with the hose disconnected from a pressurized item.
If the inflator stops during use, check whether it reached the preset pressure or entered thermal protection. Turn it off and follow the model’s cooldown and duty-cycle instructions before trying again.
Check Power, Fuse, and Battery First
If the inflator is completely dead, begin with the easiest checks. Make sure the plug is fully seated, the correct battery is charged, or the approved power supply is connected as the manual requires.
For a 12-volt model, test the vehicle outlet with another suitable device if needed. Also check the vehicle fuse for that outlet and any replaceable fuse built into the inflator’s plug, but replace a fuse only with the exact rating specified by the vehicle or inflator manufacturer.
For a cordless inflator, recharge the battery with the specified charger. Do not use a swollen, cracked, leaking, unusually hot, or otherwise damaged battery pack.
Clean accessible contacts only with the method approved by the manufacturer. Do not pour liquid into the tool, scrape battery contacts aggressively, or bridge contacts with metal tools.
If the inflator repeatedly blows a fuse, becomes unusually hot at the plug, or loses power under normal use, stop troubleshooting and have the unit and power circuit checked.
Fix Tire Inflator Hose and Valve Leaks
Air leaks are common and are often easier to diagnose than internal pump faults. Check the chuck where it attaches to the tire valve, the hose fittings, and the hose itself.
A light soap-and-water solution on the outside of the tire valve and accessible hose connections can help reveal escaping air through bubbles. Keep liquid away from the inflator housing, electrical parts, battery compartment, and ventilation openings.
If the inflator hose is cut, burned, swollen, or deeply cracked, replace the hose or hose assembly with a compatible pressure-rated part. Do not rely on tape or an improvised clamp repair for a damaged high-pressure hose.
Check Hose Connections
A small leak at the chuck or hose fitting can slow inflation noticeably. Reconnect the chuck squarely to the valve stem and make sure threaded or lever-style fittings are fully engaged without excessive force.
Inspect the entire visible hose for kinks, abrasions, heat damage, cracking, or loose factory fittings. Also check that any removable adapter is the correct one for the valve you are using.
If the connection still leaks after it is cleaned and reseated, replace the damaged compatible part rather than forcing the fitting or modifying the hose.
Seal Valve Stem Leaks
A leak at the tire’s valve stem can look like an inflator failure. With the inflator removed, apply a small amount of soapy water to the valve area. Persistent bubbling from the valve core or stem indicates a tire-valve problem, not necessarily a problem with the inflator.
A loose replaceable valve core may be serviceable with the correct valve-core tool, but do not overtighten it. If the stem is cracked, damaged, leaking at its base, or equipped with a TPMS sensor, a tire professional should inspect and repair it.
| Check | Action | Result |
|---|---|---|
| Valve core | Check for bubbles; tighten only if appropriate | Confirms or corrects a minor core leak |
| Stem | Inspect for cracks or base leakage | Identifies a tire-valve fault |
| Chuck | Reseat squarely | Improves the valve seal |
| Hose | Inspect for damage | Finds external air loss |
| Damaged hose | Replace with a compatible pressure-rated part | Restores a safer air path |
Reset the Pressure Sensor and Auto Shut-Off
Do not use a generic “reset” procedure for every inflator. Some models provide a documented pressure-sensor re-zero or calibration function, while others do not give the user any calibration control.
First disconnect the inflator from the tire and compare its reading with a trusted tire gauge. Confirm the pressure unit and target setting. If your manual provides a re-zero or calibration procedure, follow it exactly.
- Set the target pressure from the vehicle placard or owner’s manual.
- Make sure the selected unit is correct: PSI, bar, or kPa.
- Check whether the auto shut-off is simply reaching the preset target.
- If the unit is hot, allow the manufacturer-specified cooldown period.
- If the reading remains erratic or materially inaccurate, stop relying on the inflator’s gauge and arrange service or replacement.
A control circuit, pressure sensor, or display fault is not a good candidate for improvised electrical repair.
Clean Dust, Debris, and Corroded Contacts
Dust and debris can block vents, interfere with removable fittings, and trap heat. Disconnect the inflator from all power sources before cleaning it.
Wipe the exterior with a dry or slightly damp cloth if the manual permits. Use clean, dry air or a soft brush on ventilation openings only when allowed by the manufacturer, and do not force debris deeper into the housing.
Keep vents, the chuck, hose fittings, and accessible power contacts clean, dry, and undamaged. Never spray cleaner or water into the housing.
For accessible electrical contacts, use only a cleaning method compatible with the tool and battery system. Avoid vinegar, water, abrasive scraping, or metal tools on lithium-ion battery contacts unless the manufacturer specifically instructs you to use them.
If corrosion has damaged a plug, terminal, battery pack, or connector, replacement is safer than trying to restore a badly degraded electrical contact.
Tools You Need for Safe Repairs
Most safe troubleshooting does not require opening the inflator. Keep the model’s manual nearby and use simple tools that help you isolate the fault without bypassing safety features.
- A trusted tire pressure gauge to compare readings
- A flashlight for checking the hose, chuck, cord, plug, and vents
- A small amount of soapy water for checking external air leaks
- The exact replacement fuse specified by the manufacturer, if the model uses a user-replaceable fuse
- A clean cloth or soft brush for approved exterior cleaning
- Basic hand tools only when the manual specifically calls for them
A multimeter can be useful for trained users, but probing a sealed tool, battery pack, or unknown circuit can create shock, short-circuit, or fire risk. If the troubleshooting path requires internal electrical diagnosis, professional service is the safer choice.
Repair Tire Inflator Piston Issues
Internal pump or piston wear can cause low output, abnormal knocking, grinding, excessive heat, or a motor that runs without building expected pressure. Those symptoms can overlap with a leaking hose, weak power source, or poor valve connection, so rule out the external causes first.
Unlike a hose or fuse check, piston repair requires opening the pressure-producing mechanism. Many portable inflator manuals do not treat the piston, reed valve, motor, or internal wiring as user-serviceable.
Piston Wear Signs
Possible internal pump-fault signs include a clear drop in airflow compared with normal performance, new mechanical noises, repeated overheating, or failure to build pressure after the hose, chuck, tire valve, settings, and power source have been checked.
Do not diagnose piston wear from sound alone. A kinked hose, loose fitting, weak battery, or thermal protection can create similar symptoms.
- Compare performance under the same tire size and starting pressure.
- Check external leaks and power first.
- Stop if you hear grinding, see smoke, smell burning insulation, or feel abnormal heat.
- Use an authorized service center if internal inspection is required.
Piston Repair Steps
For most consumer portable inflators, the safe “repair” path for a suspected piston or internal valve problem is to stop using the unit, disconnect all power, check the warranty and parts support, and follow the manufacturer’s service instructions.
| Step | Action | Goal |
|---|---|---|
| 1 | Rule out external leaks, settings, and power faults | Avoid unnecessary disassembly |
| 2 | Disconnect power and let the unit cool | Reduce electrical and heat risk |
| 3 | Use manufacturer-authorized service or replacement parts | Maintain pressure and electrical safety |
Do not fabricate a temporary reed valve from household materials, add unapproved lubricant, or modify the pump. Improvised internal parts can fail under pressure and may damage the inflator.
When to Replace Your Tire Inflator
Replacement is usually the better choice when the inflator has a damaged battery pack, melted wiring or plug, recurring blown fuses, an uncontrollable power switch, serious hose damage with no approved replacement part, or a pressure gauge that remains unreliable after the manufacturer’s approved checks.
Also consider replacement when the motor or pump has failed and authorized repair costs approach the value of a new unit. For a low-cost sealed inflator, safe internal repair may not be practical.
- Persistent startup failure after verified power and fuse checks
- Repeated fuse failure or overheating
- Smoke, sparks, melting, battery swelling, or burning odor
- Gauge or auto-stop behavior that remains unreliable
- Damaged high-pressure components with no approved replacement part
- Internal motor or pump failure that is not economically serviceable
How to Extend Tire Inflator Lifespan
Keep the hose loosely coiled rather than sharply bent, protect the chuck from dirt, and store the inflator in a clean, dry place within the temperature range in its manual.
For battery-powered models, use the specified charger and battery system. Do not leave a damaged or overheated battery in service, and follow the manufacturer’s storage guidance.
Keep vents clear and check the power cord, plug, hose, and fittings before use. A damaged hose or hot electrical connection should be corrected before the next inflation job.
Most importantly, follow the duty cycle for your specific model. Portable inflators vary widely: some are rated for short intermittent operation, while others can run much longer under defined pressure and temperature conditions.
Inflate to the vehicle manufacturer’s recommended cold tire pressure, monitor the tool while it runs, and never leave it operating unattended.
Common Tire Inflator Repair Mistakes to Avoid
- Using the tire sidewall number as the target PSI: use the vehicle placard or owner’s manual for normal cold tire pressure.
- Installing a larger fuse: this defeats circuit protection and can overheat wiring.
- Patching a pressure hose with tape: replace a damaged hose with a compatible pressure-rated part.
- Assuming every digital gauge has the same reset: calibration procedures differ by model.
- Running past the duty cycle: follow the exact run-time and cooldown limits in the manual.
- Opening a lithium-ion battery pack: damaged battery packs should not be home-repaired.
- Continuing after smoke, sparks, melting, or a burning smell: disconnect power and retire or service the unit.
Frequently Asked Questions
Why Did My Tire Inflator Stop Working?
Common causes include a discharged battery, inactive vehicle outlet, blown fuse, loose plug, incorrect pressure preset, overheating protection, leaking hose or chuck, or an internal motor or control fault.
Start with the power source, settings, and external air connections. If the unit repeatedly overheats, blows fuses, or shows electrical damage, stop using it.
What Are the Common Problems With Car Tire Inflators?
The most common problems are no power, slow inflation, air leaks, inaccurate or unstable pressure readings, and shutdown during use. A secure valve connection, correct power source, clean airflow path, proper pressure target, and compliance with the duty cycle prevent many of these issues.
A completely flat tire may also have a puncture, damaged valve, or broken bead seal that the inflator cannot overcome. In that case, the tire itself needs attention.
How to Fix a Tire Inflator?
Check the power source, battery, plug, approved fuse, hose, chuck, pressure unit, and target setting first. Let an overheated unit cool for the time listed in its manual, then compare the inflator’s gauge with a trusted tire gauge.
If those checks do not solve the problem, use the manufacturer’s troubleshooting instructions. Internal battery, motor, pump, or control-board repairs should be handled by qualified service unless the manual clearly provides a user-service procedure.
Is It Worth Repairing an Air Compressor?
For a portable tire inflator, repair is worthwhile when the fault is minor, the correct part is available, and the repair does not compromise pressure or electrical safety. A replaceable hose, chuck, fuse, or approved accessory can make repair practical.
If the motor, lithium-ion battery pack, control board, or sealed pump has failed, compare authorized repair cost, warranty coverage, parts availability, and the replacement cost. There is no reliable universal lifespan such as “3–5 years” for all portable inflators because service life depends on design, workload, storage, heat, and maintenance.
What Pressure Should I Set on a Tire Inflator?
For normal road use, set the inflator to the vehicle manufacturer’s recommended cold tire pressure shown on the Tire and Loading Information label or in the owner’s manual. Do not use the maximum pressure molded on the tire sidewall as the normal target.
Can I Repair a Damaged Inflator Hose With Tape?
No. Ordinary tape is not a reliable pressure-rated repair for a damaged inflator hose. Replace the damaged hose or hose assembly with a compatible part approved for the inflator’s pressure range.
Conclusion
A tire inflator can often be brought back to service when the fault is simple: weak power, a replaceable blown fuse, loose connections, a poor chuck seal, a damaged replaceable hose, incorrect settings, or thermal shutdown. Start with external checks and the model’s manual before opening anything.
Do not improvise repairs on high-pressure hoses, lithium-ion batteries, motors, pump internals, or control electronics. If the inflator has electrical damage, repeated fuse failure, severe overheating, or unreliable pressure control, professional service or replacement is the safer choice.

