
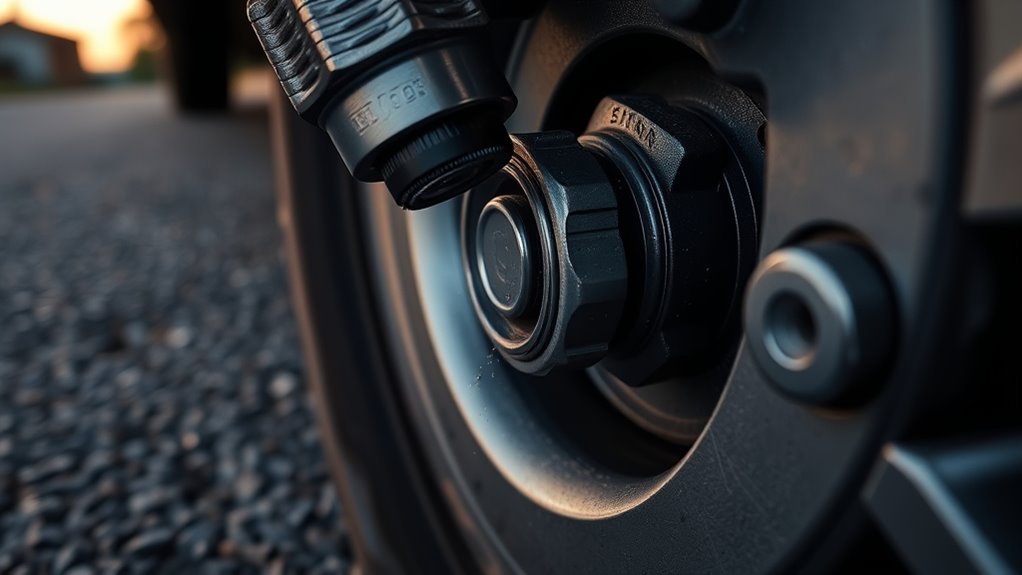
If your tire inflator is leaking air at the valve, start with the chuck seal and connection. Make sure the chuck sits squarely, tightens fully, and the valve stem is clean. Check the valve core, O-rings, and grommets for wear or corrosion, then use soapy water to spot bubbles. Retorque or replace faulty parts, and seat the bead if the tire isn’t sealed yet. There’s more to isolate the exact failure.
Key Takeaways
- Check the chuck seal and O-rings for wear, and make sure the chuck sits squarely on the valve stem.
- Tighten loose screw-on connections and inspect the valve stem and chuck for debris or damage.
- Test the valve core with soapy water, then retorque it to 3.5–5.5 inch-pounds if needed.
- Reattach quick-connect chucks firmly and clear a stuck center pin to restore proper valve contact.
- Replace worn hoses, valve stems, grommets, or seals, and perform regular leak checks to prevent air loss.
Check the Chuck Seal First
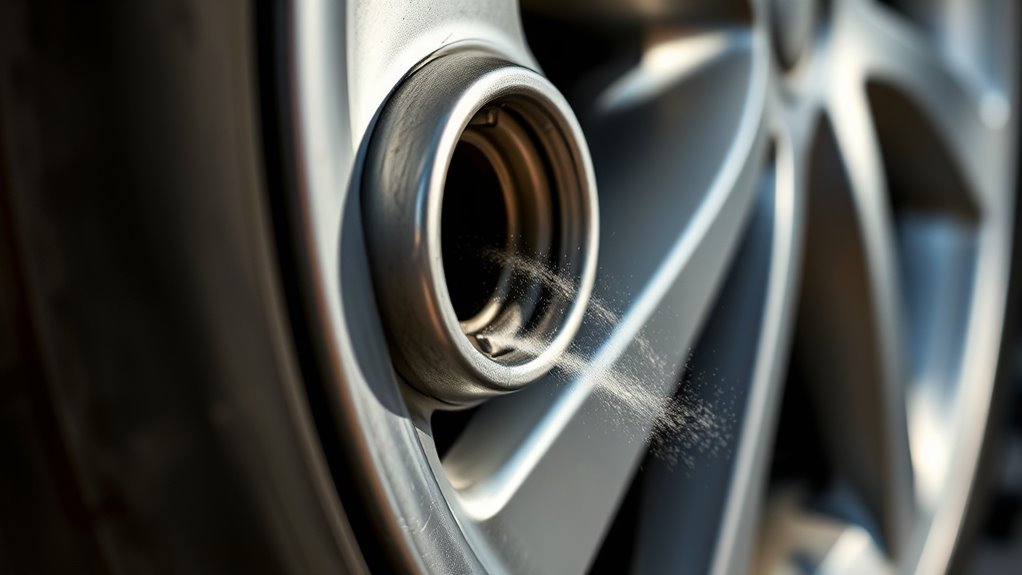
Start with the chuck seal, because a poor fit at the valve is one of the most common causes of air loss during inflation. If you hear hissing, stop and inspect the chuck seal at the valve stem.
You need the chuck to sit squarely and press straight on, not at an angle, so the rubber can engage fully. A firm, perpendicular reset often restores the seal and stops leakage. If you use a screw-on hose, tighten it until it’s firm, then give it a final quarter-turn to lock the interface.
Check the rubber grommets and O-rings for cracks, flattening, or wear; degraded parts won’t hold pressure. To confirm the fault, apply a soap bubble test around the chuck and valve. Bubbling marks the leak point precisely.
Fix a Loose Screw-On Connection
A loose screw-on connection can waste a surprising amount of air, and it’s often mistaken for a bad inflator because most leaks happen at the connection point. Tighten the hose until it seats, then add a quarter-turn to lock the seal. If the leak persists, inspect the valve stem and chuck for grit, damage, or wear that can prevent full contact. A loose valve core can also amplify leakage at the joint, so confirm it’s snug.
| Check | Action |
|---|---|
| Hose fit | Tighten firmly |
| Final seal | Add quarter-turn |
| Valve stem | Inspect for debris |
| Chuck body | Inspect for wear |
| Leak test | Use soap bubbles |
| Symptom | Diagnosis |
| Hissing | Loose screw-on connection |
| Bubbling | Ongoing leak |
| Steady pressure loss | Recheck seal |
After each adjustment, use a soap bubble test. If bubbles form, you still have a loose valve-side connection and need another precise turn.
Reset a Quick-Connect Chuck Properly
If the quick-connect chuck isn’t sealing, pull it off the valve stem and reattach it squarely, making sure it sits perpendicular for a secure grip. That reset often stops a valve stem leak without tools, and it resolves most inflation escapes fast.
Check that the chuck locks fully, then give it a clean, straight push to engage the internal seal. If the connector feels loose or misaligned, release it and retry; crooked engagement breaks the air path and wastes pressure.
Inspect the center pin for binding, because a stuck pin can block proper contact and let air out. Regular maintenance keeps you free from repeated failures and protects inflation efficiency.
- Re-seat the chuck straight
- Lock it fully onto the stem
- Confirm the fit feels firm
- Clear any stuck center pin
- Inspect chuck wear often
Test the Tire Valve Core for Leaks
Check the valve core for tightness first, because a loose or damaged spring-loaded core can leak air at the stem.
Watch for overnight pressure loss; a drop of 2–3 PSI can point to a slow valve core leak.
Then inflate the tire and apply soapy water to the core—bubbles mean air’s escaping.
Check Valve Core Tightness
The valve core is the small, spring-loaded part inside the tire valve that seals air, and if it’s loose, it can leak and drop tire pressure quickly. You should verify tightness with a valve core tool, then snug it to 3.5 to 5.5 inch-pounds. If the valve core is loose, you may hear hissing or see pressure fall soon after inflation.
- Inspect the stem for movement.
- Apply a soap bubble test.
- Look for bubbles at the core.
- Retorque only within spec.
- Recheck after vibration exposure.
This quick diagnostic keeps you in command of your tires, reducing waste, preserving pressure, and protecting mobility.
Regular checks matter most in high-vibration service, where loosened cores can undermine performance and freedom on the road.
Look For Overnight Loss
When your tire holds pressure during the day but drops 2–3 PSI overnight, suspect a leaking Schrader valve core and inspect it with a valve core tool. This pattern usually means the valve core isn’t sealing fully, not that you’ve got a major puncture elsewhere.
A spring-loaded core can loosen over time, letting air escape while the tire sits. Remove the cap, verify the core’s seating, and tighten it to 3.5 to 5.5 inch-pounds with the tool. Don’t overtighten; you can damage the seal.
If the pressure keeps falling after you snug the valve core, replace it. Tracking overnight loss gives you a clean diagnostic signal, so you can act fast, restore reliability, and keep your setup free from avoidable drag and waste.
Use Soapy Water Test
If overnight pressure loss points to a weak valve core, a soapy water test lets you confirm the leak quickly. Inflate the tire to spec, then mix water and dish soap in a spray bottle. Coat the valve stem and base, and watch closely. Bubbles mark escaping air, so you’ve identified the fault site.
Tighten the valve core first; if bubbling continues, replace it.
- Spray generously on the valve stem
- Inspect the valve base for foam
- Note any steady bubble growth
- Check bead and tread areas too
- Repeat after repairs to verify seal
Use this soapy water test regularly. It exposes small leaks before they become major PSI drops, helping you keep control, safety, and performance intact.
Spot Damaged O-Rings and Grommets
Because a worn O-ring or torn grommet can quietly dump air at the connection point, inspect both parts for cracks, flattening, or deformation whenever your tire inflator starts leaking. You should check O-rings every 18 months, sooner if you use the tool outdoors. A damaged ring often causes a sharp hiss at the valve, while degraded grommets weaken the seal and reduce inflator reliability. Replace any part that looks dry, split, or misshapen; don’t try to reclaim a failing seal.
| Part | What you see | What it means |
|---|---|---|
| O-rings | Cracks, flattening | Air loss |
| Grommets | Tears, brittleness | Seal failure |
| Both | Distortion | Replace now |
When you act early, you keep control of the system and prevent avoidable pressure loss. Inspect, replace, and reclaim your inflation setup.
Use the Soap Bubble Test on Leaks
Mix a little water with soap and spray it on the valve stem, inflator connection, and nearby fittings after you’ve inflated the tire. This soap bubble test gives you a fast, visual leak check.
Watch the surfaces closely: escaping air forces bubbles to swell, cluster, or stream from the exact breach. You can then target that point instead of guessing and stripping parts needlessly. Use it on pressurized tire valves and inflators whenever you suspect loss at the valve.
Escaping air makes bubbles swell, cluster, or stream, pinpointing the breach before you strip parts needlessly.
- Apply solution evenly
- Inspect stem threads
- Check connector joints
- Note active bubble growth
- Rinse after diagnosis
Perform the test with the tire at operating pressure so even minor leaks reveal themselves. If bubbles appear, mark the spot and repair it directly.
Repeating the soap bubble test during routine checks helps you keep pressure stable, protect your freedom on the road, and drive with safer control.
Tell a Small Leak From a Major One
A major leak shows up fast: if the inflator doesn’t raise pressure within 15 seconds, you’re likely dealing with a critical connection fault or a failed valve. You can sort leak severity with this quick map:
| Symptom | Likely severity |
|---|---|
| No pressure rise | Major |
| Pressure cycles up | Minor |
| Hissing when hose moves | Low |
| Pressure drops after pumping | Medium |
| Tightening fixes it | Simple |
If the gauge climbs, then stalls or cycles, suspect a leaking valve core or an internal inflator fault. If you hear hiss only when you shift the hose, the issue is usually a worn hose or loose fitting. When pressure drops after pumping, inspect the valve core and seals with a valve core tool. Tighten connections first, then retest. This keeps your diagnostic path clean and lets you reclaim control without guessing.
Seat the Tire Bead Before Rechecking
You should seat the tire bead with at least 100 PSI so it fully contacts the rim and closes any leak path.
After inflation, recheck the pressure and watch for continued air loss to confirm the bead’s seal.
If it still leaks, reset the valve connection and verify the valve core is tight and properly installed.
Bead Seating Pressure
If the tire won’t hold air, check bead seating pressure first, because an underinflated bead often leaks at the valve or rim before it fully locks into place. You need enough force to push the bead outward and create an airtight seal. Aim for at least 100 PSI with a gas station air station or high-capacity compressor.
Listen for a hiss during inflation; that usually signals the bead hasn’t seated yet.
- Increase bead seating pressure decisively.
- Keep the valve core accessible.
- Watch the tire bead against the rim.
- Stop only when the seal engages.
- If air still escapes, inspect professionally.
Proper bead seating pressure gives you control, restores function, and ends needless dependence on weak inflation.
Recheck After Inflation
Once the bead seats, recheck the tire for leaks right away.
After inflation, confirm the bead is fully seated, because a partial seat can mimic a valve stem leak. If needed, use at least 100 PSI to finish seating before you diagnose further.
Then inspect the valve stem for cracks, cuts, or deformation, since damage there can let air escape.
Apply soapy water around the valve area and watch for bubbles; that tells you exactly where pressure’s leaving.
If you detect leakage, verify the connection and make sure the valve core is snug.
Don’t assume the problem’s solved just because the tire holds briefly. A fast recheck gives you clean data, restores control, and keeps you from chasing a false fault.
Reset Valve Connection
Reset the valve connection by reattaching the chuck squarely to the valve stem, since a perpendicular fit helps lock in the seal and stops air from escaping at the connection point.
- Check valve stems for nicks, dirt, or wobble.
- On screw-on hoses, add a quarter-turn to tighten the seal.
- If the bead isn’t seated, raise pressure to at least 100 PSI.
- Inspect the valve core; a loose core can vent air.
- Spray soap solution at the stem and watch for bubbles.
You’re not chasing guesswork; you’re isolating the leak path.
Once the bead seats and the connection holds, recheck pressure and retest.
If air still escapes, reset the chuck again and confirm the core’s integrity before inflating further.
Tighten or Replace the Valve Core
Start by checking the valve core, since a loose core can let air escape quickly and is one of the most common leak points. Use a valve core tool to tighten it to 3.5–5.5 inch-pounds; that torque usually restores a clean seal. If the leak stops, you’ve freed the system from unnecessary loss. If not, inspect the valve core for corrosion, bent threads, or seat damage.
| Check | Action |
|---|---|
| Loose valve core | Tighten to spec |
| Corroded or damaged core | Replace valve cores |
| Leak persists after tightening | Install a new core |
You can buy replacement valve cores at an auto parts store, then thread in the new part and retest. Regular inspection matters because over 80% of air leaks happen at connection points, including the valve core. Keep the diagnosis sharp: if the core won’t hold pressure after proper tightening, replace it immediately.
Prevent Future Valve Leaks
You should inspect valve cores, stems, and seals regularly, and tighten any loose core before it causes measurable PSI loss.
Keep the valve area clean, protect rubber grommets and O-rings from moisture and UV exposure, and store the inflator in shade to slow seal degradation.
Replace worn components at the first sign of cracking or leakage, and verify airtightness with a soap bubble test after inflation.
Regular Valve Inspections
Regular valve inspections help prevent future air leaks by catching small defects before they become pressure loss issues.
You should inspect the valve stem for cracks, bends, and seepage, then confirm the valve core’s snug fit. Check rubber grommets and O-rings every 18 months; worn seals compromise airtight connections.
Use a soapy water test to expose leaks fast: bubbles mark the fault. Environmental stress from UV and temperature swings degrades components, so routine diagnostics matter.
If the core is loose, tighten it with a valve core tool and restore function without delay.
- Inspect the valve stem
- Verify core torque
- Test with soapy water
- Replace worn grommets
- Track 18-month intervals
Clean, Protect, Store
To prevent future valve leaks, clean the inflator chuck with a dry cloth after use so grit and debris don’t interfere with the seal.
You should also inspect hoses for fraying or necking at connection points, because those defects often let air escape before it reaches the tire valve.
Store the inflator in a shaded area; UV exposure degrades rubber hoses and seals, reducing sealing force over time.
During colder weather, hold the chuck firmly against the tire valve, since contracted rubber may not seat properly.
Periodically check for internal corrosion, especially in wet seasons, because rust and contamination can disrupt airflow and create leaks at the valve.
These controls keep the tool precise, reliable, and ready for use without unnecessary dependence.
Replace Worn Components
Inspect worn rubber grommets, O-rings, and valve stems regularly, and replace them as soon as you spot cracks, hardening, or metal corrosion, since these defects can break the seal and cause recurring air loss.
When you replace worn components, verify the valve core is tight; a loose Schrader core can make the valve stem is leaking. Use a valve core tool for precise snugging.
Choose nickel-brassed parts for corrosion resistance in harsh use, and select ISO 9001 valve stems for compatibility and reliability. Outdoor tools often need attention every 18 months.
- Check rubber for fissures.
- Inspect metal for oxidation.
- Swap tired O-rings promptly.
- Confirm core torque.
- Upgrade to durable parts.
Frequently Asked Questions
What Could Be Causing Air to Leak Out of My Tire Valve Stem?
You could have a cracked or worn valve stem, a loose valve core, or damaged rubber around the stem letting air escape.
Temperature swings can harden the rubber and open tiny splits. You should spray soapy water on the stem; bubbles’ll pinpoint the leak.
Tighten the core with a valve core tool if needed, and inspect for corrosion.
Regular Valve Maintenance keeps your tire pressure stable and your mobility free.
What Are the Common Causes of Compressor Valve Leakage?
Common causes include unseated hose-to-chuck connections, a loose or faulty valve core, and worn rubber grommets or O-rings.
You’ll also see leaks when the seal isn’t fully engaged, or when dirt and damage prevent airtight contact.
Don’t assume tool failure; diagnose the connection first.
With regular Valve Maintenance—tightening fittings, checking cores, and replacing degraded seals—you keep pressure under your control and stop avoidable air loss.
How to Fix Air Leaking Around Valve Stem?
Tighten the valve core first, then inspect the stem for cracks.
You’ll hear hiss, then silence—if bubbling appears with soapy water, you’ve found the leak.
Use a valve core tool, replace worn rubber, and apply proper Valve Maintenance.
If the stem’s damaged, swap it out. That simple fix restores pressure, protects performance, and frees you from constant air loss.
Recheck every 18 months for reliability.
What Should I Do if My Pressure Relief Valve Is Leaking?
Check the pressure relief valve for debris, then clean it and retest.
You should use Valve Maintenance: tighten the valve gently, but don’t overtighten it.
Inspect for wear, corrosion, or damaged seals, since these defects cause leaks.
Apply soapy water and watch for bubbles to pinpoint the leak.
If it still leaks after cleaning and tightening, replace the valve or consult a technician for further diagnosis.
Conclusion
When your tire inflator leaks air at the valve, don’t guess—diagnose. Check the chuck seal, reset the connection, inspect the O-rings, and test the valve core until the leak reveals itself. A small hiss can mean a worn part; a strong rush can mean a bigger fault. Tighten what’s loose, replace what’s damaged, and seat the bead if needed. Fix the cause now, and you’ll keep pressure where it belongs: in the tire.

