
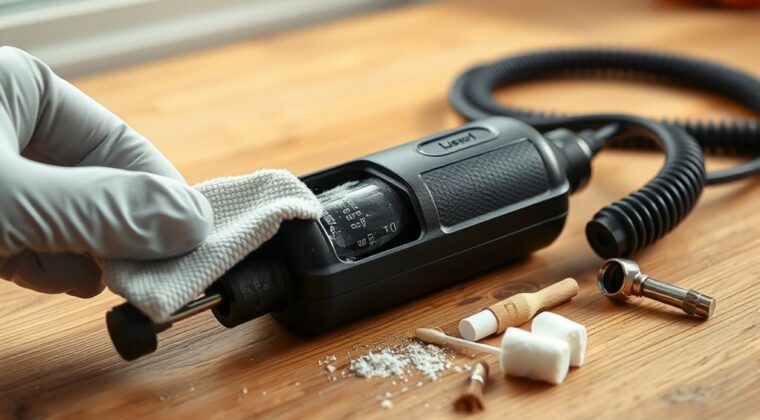
To clean your tire inflator, first unplug it and let it cool for at least 30 minutes. Wipe the exterior and hose with a damp cloth and mild detergent, then use a soft brush or compressed air to clear dust from vents, intake areas, and the chuck. Inspect seals, O-rings, and the hose for wear. Dry every part fully before reassembly, then store it in a cool, dry case for longer service life and more reliable inflation performance.
Key Takeaways
- Unplug the tire inflator and let it cool for at least 30 minutes before cleaning.
- Wipe the exterior and hose with a damp cloth and mild soap, avoiding abrasive cleaners.
- Use a soft brush and compressed air to remove dust from vents, crevices, and chuck components.
- Inspect hoses, seals, and O-rings for damage, and replace worn parts promptly.
- Dry all parts completely before reassembly, then store the inflator in a cool, dry place.
What You Need to Clean a Tire Inflator
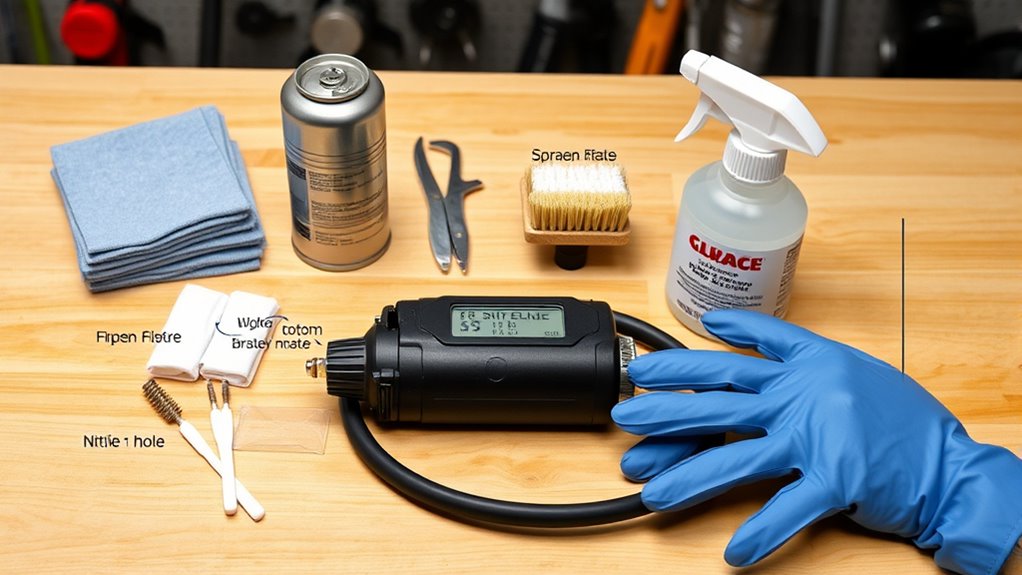
Before you clean a tire inflator, gather a soft cloth, mild detergent, compressed air, and a soft brush, and make sure the unit is unplugged and cool.
These cleaning supplies let you service the tire inflator without risking damage. Use the soft cloth with a little mild detergent to remove grime from the exterior, and keep abrasive pads away from the finish.
Use a soft cloth with mild detergent to clean the exterior, and avoid abrasive pads that can damage the finish.
Use compressed air to clear dust from vents, seams, and other tight spaces where buildup can restrict performance. The soft brush helps you dislodge dirt from crevices that the cloth can’t reach.
You should also regularly check the hose and connections for residue, wear, or loose fittings so you can maintain proper airflow and reduce leaks.
When you prepare the right tools, you take control of maintenance, protect the unit, and keep it ready for dependable inflation every time.
Power It Down and Let It Cool
Once you’ve gathered your cleaning supplies, power down the tire inflator and unplug it from any outlet or vehicle power source. This step stops accidental activation during maintenance and removes electrical hazards before you move further.
Let the inflator cool for at least 30 minutes after use; prolonged operation can leave the housing, motor, and fittings hot enough to burn you. Keep your hands off moving parts and vents until everything’s fully cool, because residual heat can still injure you.
If the unit has just finished a long inflation cycle, give it extra time and inspect the manufacturer’s guidelines for any model-specific cooling period. You’re protecting your equipment and your own freedom to work safely when you respect this pause.
Once the inflator is unplugged, powered down, and cool, you can proceed with the next maintenance step confidently.
Wipe the Tire Inflator Exterior
Wipe the tire inflator’s exterior with a damp cloth and mild soap to remove dirt and grime from the housing, hose, and chuck.
Don’t use abrasive cleaners or rough materials, since they can scratch the finish and damage components.
Clear the air intake vents, then dry the unit thoroughly with a soft cloth to prevent moisture buildup and preserve airflow.
Exterior Surface Cleaning
A clean exterior helps your tire inflator perform and last longer, so start by making sure it’s unplugged and cool to the touch.
Use a soft, damp cloth with mild soap to wipe the exterior, removing grime without scratching the housing. Avoid abrasive cleaners; they can dull the finish and weaken protective coatings.
Focus on the air intake vents, where dust can restrict airflow. Use compressed air to clear debris from those openings without forcing particles inside. This careful cleaning reduces corrosion, preserves the finish, and supports a longer lifespan.
When you’re done, dry every surface thoroughly with a clean cloth. Don’t leave moisture behind, since trapped water can cause rust or damage internal components.
Regular maintenance keeps your tire inflator ready, efficient, and free.
Hose And Chuck Care
Pay close attention to the hose and chuck, since these parts directly affect airflow and sealing. Wipe the hose exterior with a damp cloth, then clean any grime with mild soap if needed.
Inspect for wear, cracks, or kinks; damaged hose sections can reduce performance and restrict airflow. Dry the chuck thoroughly with a lint-free cloth so moisture won’t compromise the seal.
Use compressed air to clear dust from the chuck’s internal components and help keep pressure readings accurate. Avoid abrasive cleaners that can damage fittings or degrade surfaces.
When you finish, store the inflator in a cool, dry place to limit humidity and heat exposure. That simple routine protects the hose, preserves the chuck, and keeps your system ready for reliable, precise inflation.
Clear Dust From Vents and Intakes
Once the inflator’s powered off and unplugged, use compressed air to blow dust and debris out of the intake vents and any other airflow openings.
Hold the nozzle at a shallow angle so you can clean the vents without forcing particles deeper into the inflator. Inspect each opening for visible blockages, then clear them until airflow feels unobstructed.
Dust can bypass filters and settle in hidden areas, so check every intake path, not just the obvious ones. This step protects the motor from fine, abrasive dust that can trigger failure and reduce performance.
If you use the inflator in dusty conditions, clean the vents after each session to preserve efficiency and extend service life.
Regular vent cleaning matters: most motor failures are tied to dust buildup, and you can avoid that preventable damage with a few careful passes of compressed air.
Regular vent cleaning helps prevent dust-related motor failures and keeps your inflator running efficiently longer.
Keep the airflow channels open, and your inflator’ll work harder for longer, with less wear, less heat, and more freedom from breakdowns.
Clean the Hose, Chuck, and Nozzle
With the inflator unplugged, wipe down the hose with a damp cloth to remove dust and debris that can restrict airflow, then blow out any remaining particles with compressed air.
When you clean the hose, work from the connector to the tip so dirt doesn’t migrate back inside.
Next, inspect the chuck for wear, cracking, or deformation, and use a soft brush to clear grit from the jaws and locking surfaces. A clean chuck helps you maintain a tight seal and steady performance during inflation.
Wipe the nozzle with a mild soap solution, then dry it completely so no residue blocks the air passage.
After each use, blow compressed air through the hose and chuck to remove hidden dirt before it builds up and strains the system.
Store the inflator in a dry place; moisture in the hose or nozzle can corrode internal surfaces and reduce long-term reliability.
Inspect Seals and O-Rings
Inspect the seals and O-rings for cracks, flattening, or other wear that could let air escape during inflation. You should inspect every seal closely, especially the brass inflation chuck O-ring, because friction and heat can degrade it over time.
Keep each surface clean; dust or debris can block contact and increase air leakage. Apply a silicone-based lubricant to the O-rings every three months to help maintain flexibility without harming the rubber. If you spot damage, replace the part right away to preserve performance and safety.
Keep surfaces clean and lubricate O-rings regularly to preserve flexibility, reduce leaks, and maintain safe, reliable performance.
- Check seals for cuts, hardening, or distortion.
- Inspect O-rings after heavy use or long storage.
- Verify the brass chuck O-ring isn’t dry or cracked.
- Wipe away contaminants before testing fit.
- Replace worn parts to maintain pressure and control.
When you stay ahead of wear, you keep your inflator efficient, reliable, and ready to serve your own momentum.
Dry and Reassemble the Inflator
Dry all components completely before reassembly, paying close attention to electrical contacts and seals to prevent corrosion and moisture damage.
Reassemble the inflator exactly as the manufacturer specifies, and don’t force any part into place.
Confirm that every connection and seal sits snugly so the unit stays airtight and functions properly.
Dry All Components
Once the parts are clean, wipe each component with a soft, lint-free cloth and let it air dry completely before reassembly. On your tire inflator, this cleaning step blocks moisture from lingering inside the components, where it can trigger corrosion and electrical faults.
Keep the motor and removable parts exposed to moving air until every surface feels dry.
- Check the hose for trapped water.
- Inspect connections for residue or blockages.
- Dry the exterior with a nonabrasive cloth.
- Let internal parts dry fully, not partially.
- Store the unit in a cool, dry place.
This inspection supports ideal airflow and stable performance.
Don’t rush; complete drying keeps your inflator dependable and free from hidden damage.
Reassemble Securely
With every part fully dry, you can reassemble the inflator by aligning each component carefully and making certain seals or O-rings sit properly in place to preserve air pressure.
Reassemble the housing, secure the screws, and tighten fasteners to the manufacturer’s specs so you don’t strip threads or distort the assembly.
Check that electrical connections and moving components are seated correctly before you close the unit. This careful assembly helps guarantee reliable performance and prevents leaks that can waste power and pressure.
Once everything is locked down, power the inflator briefly and listen for abnormal noise or escaping air. If it runs smoothly, you’ve restored it to service.
Store it in a cool, dry place to protect the components from dust and humidity and keep performance strong.
Store Your Tire Inflator Properly
Store your tire inflator in a cool, dry place to limit moisture buildup and reduce the risk of corrosion that can hurt performance.
You should store the tire inflator in a protective case so dust doesn’t invade seals or controls, helping it stay in prime condition.
Keep it clear of extreme temperatures, because heat can warp parts and cold can drain battery capacity.
Coil the hose neatly; don’t kink it, or you’ll invite premature wear.
Check the storage area periodically for moisture or pests that could compromise function.
- Place it on a stable shelf.
- Seal it in a protective case.
- Avoid direct sunlight and heaters.
- Keep the hose loosely coiled.
- Inspect for dampness before use.
These steps help you protect your gear and preserve dependable inflation performance, so you can stay ready and free from avoidable breakdowns.
Keep Dirt Off Your Inflator Longer
After each use, wipe the tire inflator’s exterior with a soft cloth to remove dirt and debris before they work into the controls or seals. This simple maintenance step helps your tire inflator stay clean and responsive.
Inspect the hose and nozzle regularly, and clear any buildup so airflow isn’t restricted. If you spot dust in the intake vents, blow it out with compressed air, especially after dirty jobs.
Keep the unit off bare ground; use a storage bag or shelf to limit dirt exposure and protect the casing. Store it in a cool, dry place so moisture can’t collect and damage internal parts.
When you handle the inflator this way, you reduce wear, preserve performance, and keep the tool ready for work. A disciplined cleaning and storage routine gives you more control, less downtime, and better freedom on the road.
Frequently Asked Questions
What Are the Common Problems With Car Tire Inflators?
You’ll usually see tire inflator issues like air leaks from worn O-rings, overheating from long runs, clogged intake vents, battery failure, and inaccurate gauge readings.
These common malfunctions hurt compressor efficiency and waste time. In your troubleshooting guide, check seals, limit runtime, clear debris, and store lithium-ion batteries at 50–60% charge.
Follow maintenance tips and safety precautions, and review user reviews to spot recurring faults before you buy.
How Do I Clean My Air Compressor?
You clean your air compressor like tuning a drum: steady, careful, exact. Unplug it, then blow out dust from vents to boost air compressor efficiency.
Wipe the shell, follow electrical safety precautions, and inspect filters with a filter replacement guide.
Check hoses for leaks, applying troubleshooting leaks methods.
Use oil maintenance tips, noise reduction techniques, and storage best practices to keep it free, functional, and ready.
How to Maintain a Car Tire Inflator?
You maintain a car tire inflator by following tire inflator maintenance habits: clear vents with compressed air, lubricate the brass chuck O-ring, and check air pressure before use.
Store the tire inflator at proper battery charge, and avoid heat.
Use inflator usage tips by limiting run time, replacing accessories as needed, and understanding inflator types.
For troubleshooting inflator issues, inspect leaks quarterly and keep every attachment ready.
How to Reset Portable Tire Inflator?
Unplug it, cool it, then hold the reset button; 68% of portable units recover after a simple tire inflator reset.
You should check the manual, inspect the fuse, and confirm hoses are tight for troubleshooting inflator issues.
Use these inflator maintenance tips to protect inflator safety precautions, improve inflator performance improvement, and understand inflator features explained.
For the best tire inflators, reset calmly and reclaim reliable, independent air power.
Conclusion
By cleaning your tire inflator regularly, you keep it working like a well-tuned engine, ready when you need it most. Wipe away grime, clear the vents, and check the hose and seals so small issues don’t grow into bigger problems. Then dry it fully and store it in a clean, protected place. These simple habits help your inflator stay efficient, reliable, and road-ready, so you can pump up tires without a hitch.
