
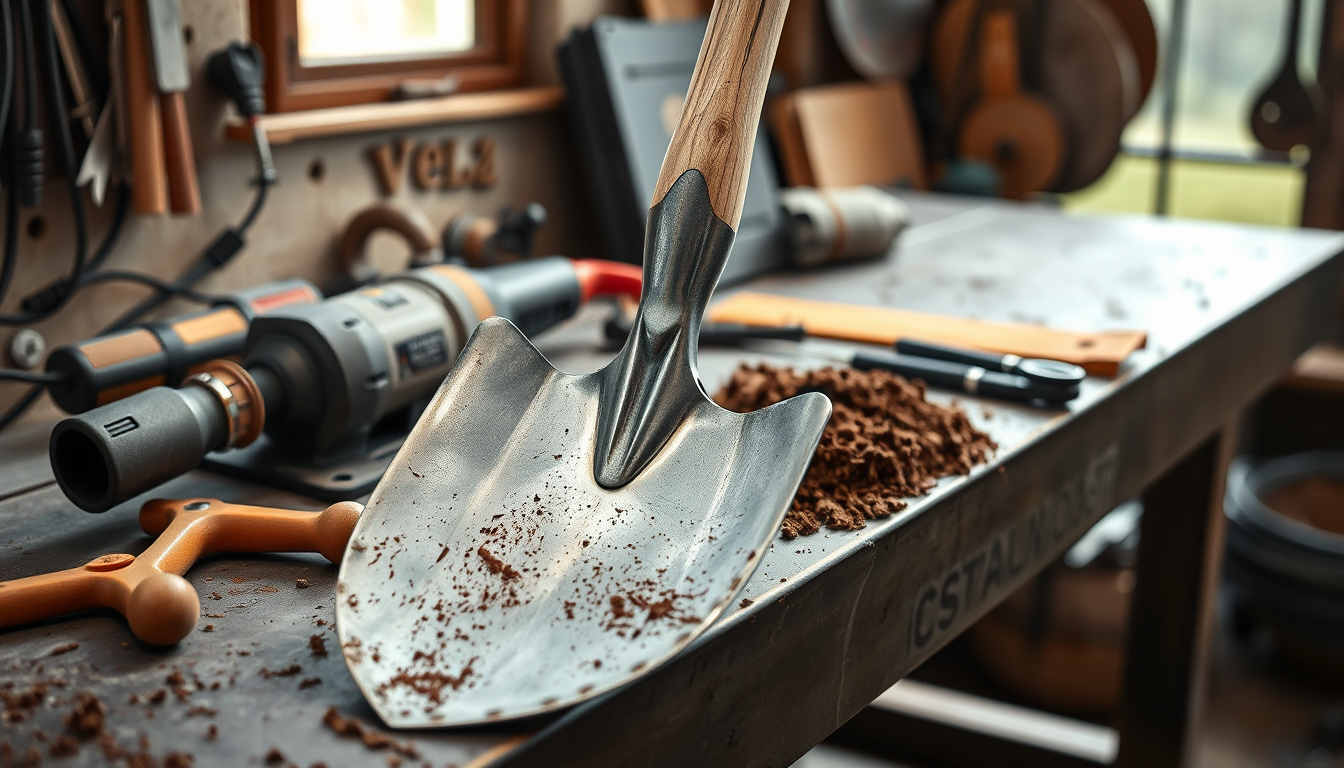
An old hoe can become a surprisingly useful multi-purpose garden tool with a few targeted DIY modifications. With the right approach, you can create a 3-in-1 setup that helps with digging, shoveling, and cutting/pruning without buying multiple tools.
This guide focuses on practical, welding-and-fabrication friendly ideas: how to plan the design, what to add to the hoe head, and what to watch out for so the tool is safer and more effective.
🧰 What a 3-in-1 hoe tool actually is
A “3-in-1” garden hoe conversion typically means transforming one tool into three distinct functions by changing blade geometry and adding a small set of interchangeable or integrated features:
- Digging: A sharpened edge for breaking soil and lifting clumps.
- Shoveling: A broader scoop-like profile for moving loose dirt, compost, or mulch.
- Pruning/cutting: A cutting edge or reinforced top feature that can trim small branches (with safe expectations and proper technique).
The key is not just adding parts, but shaping the hoe head so each job has the right edge angle and stiffness.
✅ Who this DIY conversion is for
This project is a good fit if you:
- Have an old hoe with a usable handle and head, even if it is dull or slightly damaged.
- Want a compact tool that reduces clutter in a garden shed.
- Have basic fabrication experience or are learning welding techniques (and can follow safety best practices).
- Are willing to test, refine, and re-sharpen after assembly.
It may not be ideal if the hoe head is severely cracked, the handle is unsafe, or you cannot safely handle metalwork.
🧠 Planning first: design choices that affect performance
Before cutting or welding, decide how you want the 3 functions to be delivered. Two common approaches are:
1) One-piece head with multiple working edges
Different sections of the hoe head serve different purposes. This is compact and simple but requires careful grinding to ensure each edge is effective.
2) Integrated additions for shovel and cutting
The digging edge stays core, while you weld or fabricate a scoop-like portion and a reinforced cutting feature. This usually performs better because each function can be optimized separately.
Tip: If your main goal is shovel-like movement of soil, prioritize scoop geometry. If your goal is trimming, prioritize strength and edge retention.
🧱 Materials and tools you may need
Requirements vary depending on your exact design, but a typical conversion uses:
- Old hoe head (steel) and usable handle
- Reinforcement plate (for stiffening and mounting added features)
- Additional steel pieces for scoop and cutting geometry
- Grinding tools (angle grinder, flap discs, grinding stones)
- Metal cutting tool (cutoff wheel, bandsaw, or other)
- Welding equipment and appropriate filler metal
- Clamps and jigs to keep alignment during welding
- Safety gear: gloves, eye protection, welding helmet, ventilation
Important: The hoe head material matters. If the metal is unknown or heavily hardened, adjustments to heat and grinding may be necessary.
🔩 Welding and fabrication basics for tool conversion
Tool conversions rely on strong welds and controlled heat. For reliable results:
- Clean the metal fully (remove rust, paint, and mill scale at weld zones).
- Use tacks first, then confirm alignment before full welds.
- Stabilize the geometry with clamps or a simple jig so edges do not warp.
- Avoid overheating thin sections. Excess heat can cause distortion and reduce toughness.
- Grind welds carefully so dirt does not snag and edges stay functional.
🛠️ Step-by-step: convert a hoe into a 3-in-1 tool
Use this as a practical workflow. Exact dimensions should be adjusted to your hoe size and the steel you add.
Step 1: Inspect and prepare the hoe
- Check for cracks in the hoe head and any looseness at the handle connection.
- Replace the handle if it is loose or unsafe.
- Remove rust and paint at least a couple inches around any area you plan to weld.
Step 2: Decide where the dig and shovel edges will be
Mark two working zones:
- Dig zone: keep it sharper and slightly narrower for soil penetration.
- Shovel zone: broaden or flatten for scooping and lifting.
Tip: If you want better scooping, you can angle the added scoop plate so it “catches” loose material rather than scraping.
Step 3: Add reinforcement where stress will land
Weld added plates at stress points and transition areas, not just on the thinnest edge. Reinforcement reduces bending when pushing into compacted soil.
Step 4: Fabricate the cutting/pruning feature
For trimming small branches, the cutting edge needs:
- Clear edge definition (grind for an actual cutting bevel)
- Strength behind the edge (avoid relying on a thin, flexy strip)
- Controlled angle so it grips and slices rather than smearing
Safety expectation: A garden hoe conversion is for small cuts and light pruning. For thick limbs, use a proper lopper or pruning saw.
Step 5: Weld, then grind and shape
- Weld in short sections to limit warping.
- Grind weld beads smooth where dirt will flow.
- Shape each functional edge separately: dig edge profile, shovel scoop profile, and cutting bevel.
Step 6: Sharpen and test in stages
Start with light tasks:
- Test digging in soft soil first.
- Test scooping with loose compost or mulch.
- Test pruning on small stems and twigs before attempting anything larger.
After use, resharpen the edge that dulls first. Multi-purpose tools often share the workload, so routine touch-ups are normal.
⚙️ Best-edge angles and profiles (practical starting points)
Exact angles depend on your steel and your sharpening method, but these starting points help:
- Digging edge: a sharper bevel than the shovel zone for easier penetration.
- Shovel edge: slightly less acute bevel to reduce chipping while still scraping efficiently.
- Cutting edge: a defined bevel with clean geometry so it actually slices.
Rule of thumb: If the tool feels like it is sliding instead of biting, sharpen. If it chips or rolls quickly, reduce aggressiveness of the bevel and add edge support via grinding and reinforcement.
🧯 Common mistakes that ruin tool conversions
- Welding without cleaning: contaminants cause weak fusion.
- Overheating and warping: tool edges stop lining up, causing poor performance.
- Too-thin added parts: shovel scoops or cutting tabs can bend or break under force.
- No reinforcement at transitions: stress concentrates at the weld toes and unreinforced corners.
- Expecting the tool to replace proper pruning gear: hoes are not designed for thick wood. Use appropriate tools for safety.
🧰 Maintenance tips to keep your 3-in-1 hoe effective
- Clean after use to prevent corrosion in soil moisture.
- Dry and store off the ground when possible.
- Touch up edges regularly with a file or sharpening stone.
- Inspect weld areas for cracks or looseness before heavy use.
- Re-coat metal (light oil or rust inhibitor) after sharpening and cleaning.
📌 Alternatives if you want a safer or easier build
If you want a similar benefit with less fabrication complexity, consider:
- Blade swaps: keep one handle and use a detachable scoop or pruner head.
- Non-weld add-ons: use bolted steel plates where appropriate (where design strength allows).
- Start with a dedicated garden tool base: if your hoe is too worn, use another tool head with compatible geometry.
❓ FAQ
data-faq-question Does an old hoe have the right steel for welding?
Many hoe heads are steel and weld well, but condition matters. If the metal is cracked, badly pitted, or heavily heat-treated in an unknown way, results can vary. Clean the weld zone and do a small test tack. If the metal won’t fuse properly or the edge becomes brittle after grinding, reassess the base material.
Many hoe heads are steel and weld well, but condition matters. If the metal is cracked, badly pitted, or heavily heat-treated in an unknown way, results can vary. Clean the weld zone and do a small test tack. If the metal won’t fuse properly or the edge becomes brittle after grinding, reassess the base material.
data-faq-question What is the best way to keep the edges from warping?
Use tacks first, confirm alignment, and then weld in short sections on alternating sides. Keep the tool clamped or supported so it cannot shift while the weld cools. After welding, grind to restore the intended edge profiles.
Use tacks first, confirm alignment, and then weld in short sections on alternating sides. Keep the tool clamped or supported so it cannot shift while the weld cools. After welding, grind to restore the intended edge profiles.
data-faq-question Can this 3-in-1 hoe replace pruning shears and loppers?
It can handle light pruning on small stems and twigs, but it is not a full replacement for proper pruning tools on thicker branches. For larger limbs, use a lopper or pruning saw to avoid unsafe leverage and tool failure.
It can handle light pruning on small stems and twigs, but it is not a full replacement for proper pruning tools on thicker branches. For larger limbs, use a lopper or pruning saw to avoid unsafe leverage and tool failure.
data-faq-question What thickness should added shovel or cutting plates be?
Use plate thickness that resists bending under pushing and cutting loads. In practice, thicker is generally safer than thin “sheet” additions. If you can flex the part significantly by hand after welding, it may not survive soil and branch impacts. Reinforce transitions and weld fully along load-bearing areas.
Use plate thickness that resists bending under pushing and cutting loads. In practice, thicker is generally safer than thin “sheet” additions. If you can flex the part significantly by hand after welding, it may not survive soil and branch impacts. Reinforce transitions and weld fully along load-bearing areas.
data-faq-question How do I sharpen each function without ruining the others?
Sharpen one edge at a time and keep track of which section is for digging, which is for scooping, and which is for cutting. Use different bevel geometry for each zone and avoid making the shovel area as sharp as the digging edge. After sharpening, test lightly and rework only the dulled section.
Sharpen one edge at a time and keep track of which section is for digging, which is for scooping, and which is for cutting. Use different bevel geometry for each zone and avoid making the shovel area as sharp as the digging edge. After sharpening, test lightly and rework only the dulled section.
🏁 Key takeaway
Turning an old hoe into a 3-in-1 dig, shovel, and prune tool is about more than welding parts onto metal. The best results come from careful planning, solid reinforcement at stress points, controlled welding to prevent warping, and edge shaping that matches each job.
If you build with those principles, you end up with a compact, practical garden tool that stays useful season after season.