
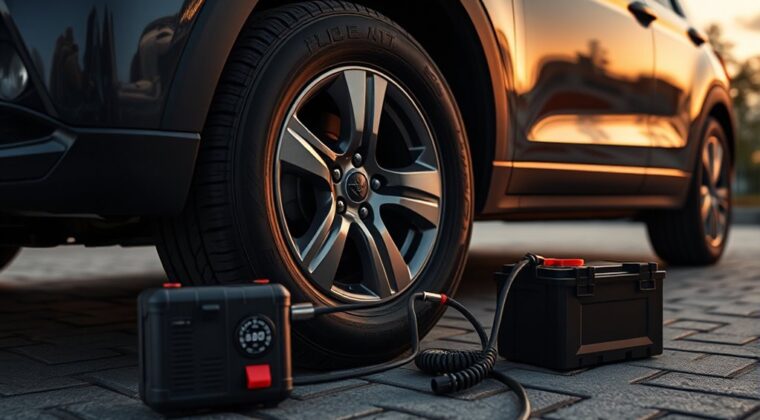
A battery-clamp tire inflator powers from your vehicle’s 12V battery, so first confirm the unit matches battery voltage and current draw. With the car off, clean the terminals, then connect red to positive and black to negative. Set the tire’s recommended PSI from the door jamb, attach the hose firmly, and inflate while watching the gauge. Stop at target pressure, remove the clamps in reverse order, and keep the unit stored clean for better performance next time.
Key Takeaways
- Check that the inflator matches 12V battery-clamp power and inspect clamps, terminals, and battery condition before use.
- Connect red to positive and black to negative, with the vehicle off, then start the engine if needed for stable voltage.
- Attach the hose securely, set the tire’s recommended PSI, and monitor the gauge until the target pressure is reached.
- Stop inflation at the target PSI, then disconnect black first and red second, and replace the valve cap tightly.
- Store the inflator clean and dry, and inspect it regularly for corrosion, damage, and proper battery readiness.
What a Battery-Clamp Tire Inflator Does
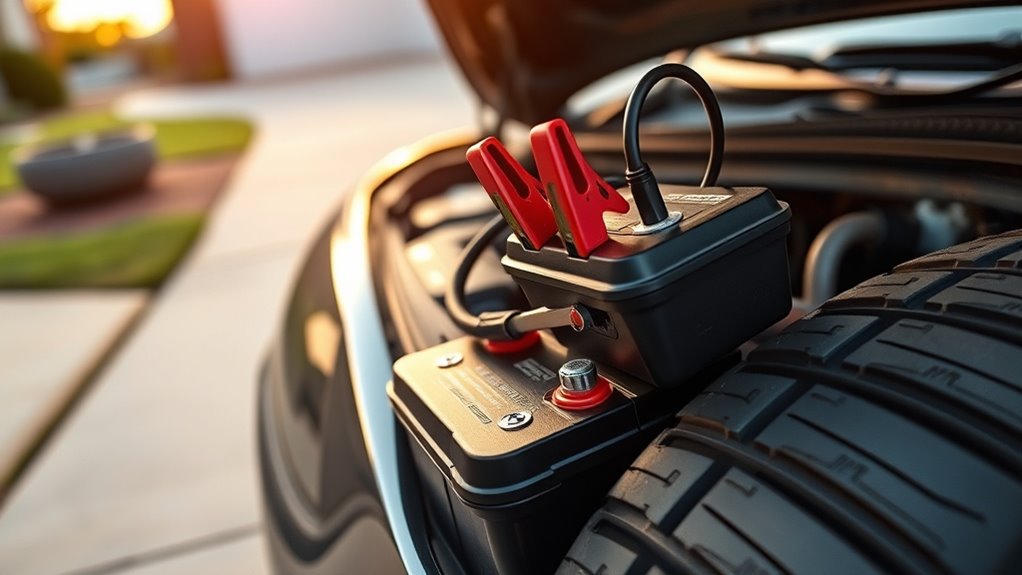
A battery-clamp tire inflator connects directly to your vehicle’s 12V battery with alligator clips, giving you a dependable power source when an outlet isn’t available.
You use this portable inflator to move compressed air from an integrated air compressor into a tire or other inflatable, so you can restore pressure wherever you are.
The unit’s pressure gauge lets you track PSI in real time, helping you reach the target without guesswork.
Its pressure gauge tracks PSI in real time, helping you hit the target without guesswork.
Because it runs from the battery, you’re free from wall power and can handle roadside inflation fast.
Most models include an inline fuse, which protects the compressor and your vehicle’s electrical system from faults.
This setup is practical for emergency use, travel, and any situation where mobility matters.
When you need controlled inflation with clear feedback, the tool gives you direct, portable access to air and pressure management.
What to Check Before Connecting the Clamps
Before you connect the clamps, check that the battery is fully charged and in good condition, since a weak battery may not supply enough power for the inflator.
Verify battery health by looking for swelling, leaks, or sluggish voltage. Confirm the positive and negative terminals on both the battery and the inflator so you don’t confuse polarity.
Inspect the clamps for corrosion, bent jaws, or loose insulation; clean, solid contacts carry current more efficiently and reduce risk.
Keep the vehicle turned off while you prepare, which helps prevent shorts and sparks.
Also check that the inflator’s fuse is intact, because a blown fuse will stop operation even when the battery is ready.
If any part looks compromised, fix it before proceeding.
Taking these checks seriously protects your gear, preserves performance, and keeps you in control without unnecessary interruption.
How to Connect the Battery Clamps Safely
Start by attaching the red positive clamp to the battery’s positive terminal, then secure the black negative clamp to the negative terminal to reduce spark risk.
Use battery clamps with a firm bite; heavy-duty jaws give you secure attachment and keep the electrical connection stable under load.
Before you clamp on, make sure the battery posts are clean and free of corrosion or dirt, because contamination can weaken contact and slow inflator performance.
Clean battery posts first; corrosion and dirt can weaken contact and reduce inflator performance.
Keep the vehicle’s engine running while you work so the system maintains voltage and doesn’t drain the battery.
Once both clamps are locked in place, verify that the cable leads aren’t loose or twisted, and that the clamp faces are fully seated on metal, not plastic or grime.
If you need to stop, disconnect in reverse order: remove the black negative clamp first, then the red positive clamp. That sequence helps you avoid short-circuiting and keeps the job controlled, efficient, and safe.
How to Set the Right Tire Pressure
Once you’ve connected the inflator, check the tire’s recommended PSI on the driver’s door jamb and confirm the current pressure with a reliable gauge before you add air.
That spec is the cold-tire target, not the maximum listed on the sidewall. Measure tire pressure when the tires are cold—before driving or after the car has sat three hours—so you get an accurate reading.
Set your portable tire inflator to the manufacturer’s value, then compare it with the gauge reading to see how far you’re off. If the tires are under-inflated, bring them back to spec; don’t chase the sidewall number, because over-inflation can damage the tire and weaken handling.
Keeping pressure correct protects fuel efficiency, reduces wear, and gives you a freer, safer ride. Recheck each tire after adjustment and monitor them regularly, since small losses in tire pressure can add up fast.
How to Inflate a Tire Step by Step
Twelve quick steps aren’t needed here—just a careful sequence that gets the tire to the correct pressure without leaks or guesswork.
First, inspect the tire for cuts, bulges, or punctures, and clear dust from the valve stem. Remove the cap, then clamp the tire inflators to the car battery: positive to positive, negative to negative.
Attach the hose firmly to the valve so the seal holds. On the digital tire pressure display, set the target PSI from the driver’s door jamb placard, not the sidewall.
Start the unit and let it inflate a tire while you watch the gauge. Monitor the pressure continuously, because small changes matter.
When the reading matches the target, stop the inflator, disconnect the hose, and replace the valve cap tightly.
That’s the clean, controlled way to restore pressure and keep your tire ready for the road.
Battery-Clamp Tire Inflator Tips That Help
Before you hook up a battery-clamp tire inflator, confirm it’s designed for a 12V system and check the tire’s recommended PSI on the driver’s door jamb so you can set the target correctly. Your battery-powered tire inflator should get a solid connection: attach the positive clamp to the positive terminal first, then place the negative clamp on the battery or a clean grounded metal point.
| Tip | Why it helps |
|---|---|
| Match voltage | Keeps the inflator operating correctly |
| Set recommended PSI | Delivers accurate inflation |
| Track duty cycle | Limits heat buildup |
| Clean clamps | Preserves electrical contact |
Watch the duty cycle, usually about 20 minutes, so you don’t overheat the unit. Inspect the clamps for corrosion and wipe them clean before each use; good contact keeps current flowing efficiently. With these checks, you stay in control, inflate precisely, and keep the road on your terms.
Common Battery-Clamp Inflator Mistakes
Even with the right PSI target and a clean clamp connection, a few common mistakes can stop a battery-clamp tire inflator from working safely.
Don’t make an Incorrect Clamp Connection: attach the positive clamp first, then the negative clamp, so you avoid shorts and battery damage.
Neglecting to Check Voltage is another trap; verify the battery is above 11.5 volts before you start, or the inflator may not run correctly.
Verify battery voltage above 11.5 volts before starting, or the inflator may not run correctly.
Overlooking Inline Fuses can create electrical faults, so keep the fuse in place and intact.
Ignoring Duty Cycle Limits pushes the unit past its cooling window, which can overheat the motor and cut performance.
Not Monitoring Pressure is just as risky; watch the gauge as you inflate and stop at the target PSI to prevent tire damage or a blowout.
Stay disciplined, and you’ll keep the tool reliable, efficient, and under your control.
How to Choose the Right Inflator
Choose an inflator that matches your vehicle’s battery output, with the right amp draw for a single- or twin-motor unit, and verify that it offers both battery-clamp and cigarette-lighter power options.
Check its pressure range, duty cycle, and automatic shut-off so you can reach the target PSI without overheating the unit or overinflating the tire.
Then compare practical features like a digital display, built-in light, adapters, and overall size so you get accurate readings and easy portability.
Power Source Options
When you’re choosing a battery-clamp tire inflator, prioritize a model that connects directly to your vehicle’s battery with alligator clips, since that setup delivers maximum power with fewer voltage drops than a lighter socket plug.
Check power source compatibility first: your inflator should accept the battery voltage you use and clamp securely to the terminals.
Make current draw consideration part of your selection; many units pull 15-60 amps, so match that demand to your vehicle’s electrical capacity.
Choose safety features like an inline fuse to guard against faults and keep the circuit controlled.
For longer inflation jobs, follow the engine running recommendation so the alternator supports battery voltage and you don’t risk a no-start condition.
This keeps you mobile, self-reliant, and ready.
Pressure And Duty Cycle
Pressure and duty cycle should be matched to the way you plan to use the inflator, because output and runtime directly affect performance. Choose a battery-powered unit with a maximum pressure output that meets or exceeds your tire’s recommended pressure, so you can finish inflation without strain. Check current draw before you buy: single-motor models usually pull 15–30 amps, while twin-motor units may need 40–60 amps. A higher duty cycle keeps the compressor working longer; 50% is a solid target for extended use.
| Type | Current Draw | Duty Cycle |
|---|---|---|
| Single-motor | 15–30A | Lower |
| Twin-motor | 40–60A | Higher |
| Best for long use | — | 50% |
Connect directly to the battery terminals, and keep voltage above 11.5 volts for efficient, safe inflation.
Features And Portability
For faster inflation, direct battery-clamp models usually outperform inflators that plug into a vehicle’s power outlet, so you should prioritize the power source first.
Choose a battery-powered compressor with a compact, lightweight body so you can store it easily and deploy it fast on the roadside.
Verify the digital pressure gauge for accurate readings, and insist on automatic shut-off to stop inflation at your target PSI.
Check the included adapters; you’ll want Schrader and Presta compatibility for cars, bikes, and gear.
Useful features include an LED work light for dark shoulders and USB charging ports to keep your phone alive.
A truly Portable unit gives you control, speed, and freedom without sacrificing precision or readiness.
How to Store and Maintain Your Inflator
To keep your battery-clamp tire inflator reliable, store it in a cool, dry place and avoid extreme temperature swings, since lithium-ion batteries degrade faster under heat and repeated thermal stress. Your battery-powered unit lasts longer when you keep its state of charge at 40-60% during storage.
Don’t leave it in a hot trunk or garage; high temperatures can cut battery cycle life by 20-30%.
- Check charge quarterly with voltage checks, and confirm the pack stays above 40% SOC.
- Wipe terminals clean so debris won’t raise resistance or block current.
- Run the Fridge Test: charge to 100%, then store it in a refrigerator for 24 hours to verify cold-soak performance.
- Follow the manufacturer’s temperature limits and store it where it stays stable.
With these habits, you keep control, protect the cells, and make sure your inflator’s ready when freedom demands quick roadside action.
Frequently Asked Questions
How to Use a Battery-Powered Tire Inflator?
You charge the battery inflator, attach the hose to the tire valve, set the PSI, and watch the gauge until you hit the target.
These battery inflator benefits support tire maintenance tips and your emergency preparedness checklist.
Follow inflator safety precautions by sealing the connection and avoiding overinflation.
If pressure drops or won’t rise, use the inflator troubleshooting guide, then disconnect, cap the valve, and roll free.
How to Connect Battery Clamps?
Connect the battery clamps by matching red to positive and black to negative, and you won’t need to fear sparks.
First, verify inflator compatibility with your power source and inspect clamp maintenance for wear.
Secure the red clamp to the battery’s positive terminal, then attach the black clamp to a negative terminal or grounded metal.
Confirm both grips are tight before powering up, so you can inflate with battery safety and accurate tire pressure.
How to Use an Air Compressor Step by Step?
First, you power on the compressor and set your target tire pressure.
Attach the chuck firmly to the valve stem, then start inflation and watch the gauge.
Use the right compressor types for the job, because inflation speed varies.
Keep safety tips in mind: secure clamps, stable voltage, and no loose clothing.
Check inflator maintenance regularly, and stop when pressure matches spec.
You’re taking control, not waiting on it.
How to Use a Manual Tire Inflator?
You check the tire pressure on the door jamb, confirm the tire’s cold, then remove the valve cap.
Attach the manual inflator firmly, watch for inflator features like a gauge and bleed valve, and pump steadily until you hit target PSI.
Follow safety tips by avoiding overinflation and inspecting for common issues like leaks.
Finish with maintenance advice: release the hose cleanly, replace the cap, and store it dry.
Conclusion
When you finish, your tires should sit firm and even, like four steady pillars under your vehicle. Disconnect the clamps carefully, coil the hose, and store the inflator where it stays clean and dry. A quick pressure check before each drive helps you catch slow leaks early and keeps your system running safely. With the right setup and steady steps, you’ll turn a flat, uneasy ride into a smooth, controlled one.