
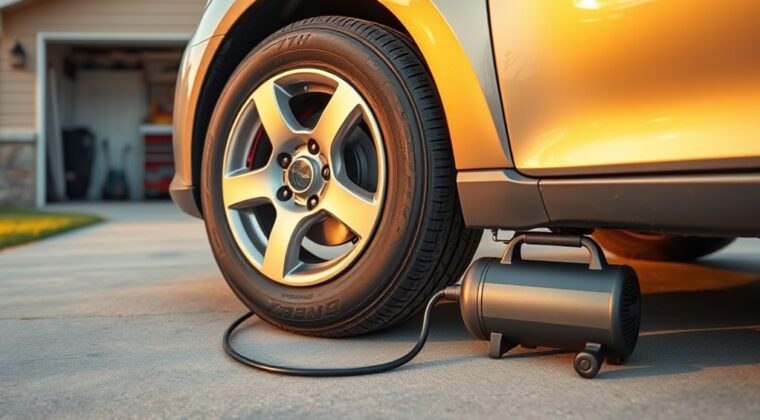
You can inflate a completely flat tire only if the tire and wheel are intact and the bead isn’t damaged. Park on level ground, check for cuts, bulges, punctures, and valve damage, then connect a 12-volt compressor and tire gauge. Inflate slowly to the manufacturer’s PSI, usually 32–35, and check for leaks with soapy water. If the bead won’t seat or the tire’s been flat for days, don’t force it—there’s more to verify before you drive.
Key Takeaways
- Inspect the tire first for cuts, bulges, sidewall cracks, or punctures before inflating.
- Use a portable air compressor and tire gauge to inflate slowly while monitoring PSI closely.
- Stop at the manufacturer’s recommended pressure, usually 32–35 PSI, and replace the valve cap.
- If the bead is unseated, clean and lubricate the rim area, then inflate quickly to help it reseat.
- Recheck for leaks and drive cautiously to a repair shop if the tire stays inflated; replace it if damage is severe.
Can You Inflate a Flat Tire?
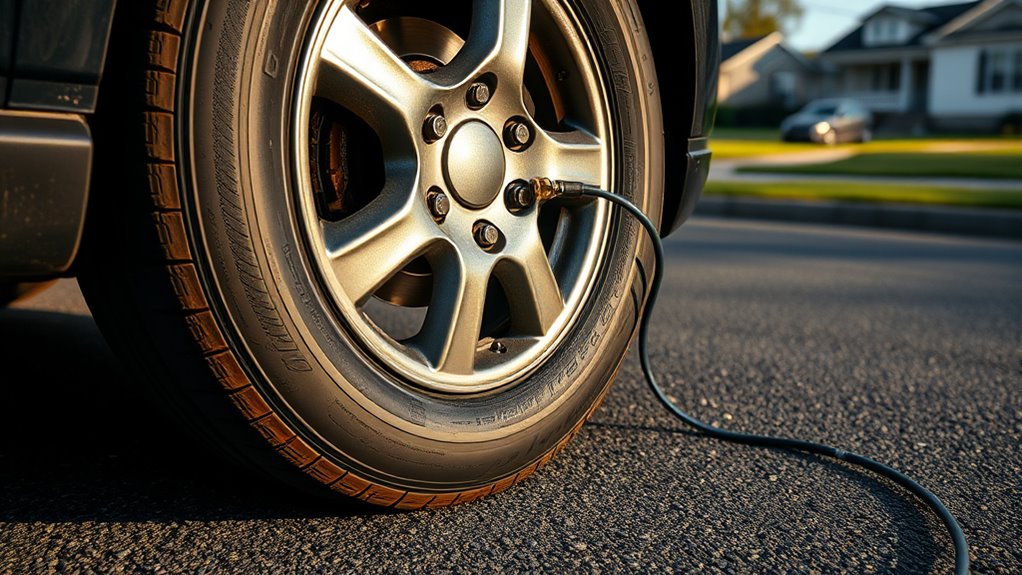
Yes—you can often inflate a completely flat tire as long as the bead is still seated on the rim and the tire doesn’t have major visible damage, such as a large puncture or sidewall failure.
You can inflate a flat tire with an air compressor or inflator, but first inspect the casing for cuts, bulges, or sidewall cracks that make replacement the safer choice. If the tire has been flat for a long time, internal damage may have occurred, so don’t assume it’s recoverable.
Inspect for cuts, bulges, or sidewall cracks first; long-flat tires may hide internal damage.
As you add air, monitor tire pressure closely and stop when you reach the recommended 32-35 PSI. That range restores safe rolling without overloading the carcass.
After inflation, check for leaks by applying soapy water to the tread, bead, and valve stem; bubbling means air loss. When the tire holds pressure, you regain mobility and control.
What Tools Do You Need to Inflate a Flat Tire?
To inflate a flat tire safely and efficiently, you’ll want a few basic tools ready: a portable 12-volt air compressor, a tire gauge, and a valve stem cap.
A portable inflator lets you draw power from your vehicle, so you can restore pressure without depending on a shop. Use a tire gauge to track PSI as you work; most passenger vehicles need about 32-35 PSI, but you should verify your own spec.
Keep the valve stem cap nearby so you can seal the valve after inflation and block dirt from entering. For safety, wear gloves and eye protection when handling equipment.
If the tire may need removal for inspection or repair, have a jack and tire iron available too. With the right tools, you stay in control, cut downtime, and handle the task on your terms.
How to Inflate a Flat Tire
Start by inspecting the tire for cuts, punctures, sidewall damage, or embedded debris; don’t inflate a tire that has large damage, because it may need replacement instead of air. Place the vehicle on a flat surface, and use a jack if the tire’s fully deflated. Confirm the bead is seated on the rim before you proceed.
| Step | Action |
|---|---|
| 1 | Attach the portable air compressor to the valve stem securely. |
| 2 | Inflate slowly and watch the gauge. |
| 3 | Stop at 32–35 PSI, or the vehicle spec. |
If the bead isn’t seated, get professional help. After you reach pressure, remove the hose, reinstall the cap, and check for leaks with soapy water. Bubbles mean air’s escaping and you need more inspection or repair. You’re taking control here—carefully, precisely, and without waiting on anyone else to do the work for you.
When Is a Flat Tire Safe to Reinflate?
You can safely reinflate a flat tire only if the bead is seated and you don’t see sidewall damage, punctures, or embedded debris.
Inspect the tire closely before adding air, and use a compressor to reach the manufacturer’s recommended PSI, usually 32–35 PSI.
If the tire leaks fast, hisses, or has been flat for a long time, don’t reinflate it and get professional help.
Safe Conditions
A completely flat tire can usually be reinflated safely if the bead is still seated on the rim and the tire shows no visible damage or deformation.
You should inspect the casing for punctures, sidewall cuts, embedded debris, and any bulging or cracking before you add air. If the tire’s been flat for a long time, don’t trust it; internal damage can make reinflation unsafe.
Use a portable air pump or compressor, and raise pressure gradually to the vehicle’s recommended PSI, usually 32-35. Watch the gauge closely so you don’t overinflate.
After the initial fill, check for leaks by listening for hissing or brushing on soapy water. Bubbling means air loss and you need to reassess.
Do Not Reinflate
Don’t reinflate a tire if the bead has unseated from the rim, since reseating it requires professional equipment and handling.
You should don’t reinflate tires with sidewall cuts, bulges, or other visible damage, because pressure won’t repair structural failure.
If you see hissing, stop and inspect for a leak before adding air. A tire that’s been flat for a long time may have weakened internally, so reinflation can trigger a blowout.
Only tires with minor punctures or a complete flat while the bead stays seated are candidates for inflation.
Check the tread, sidewalls, and valve stem carefully. If damage is large, call for replacement or roadside help.
Your safety stays in your hands when you refuse unsafe shortcuts.
How to Reseat the Tire Bead and Find Leaks
Clean the bead area, then use an air compressor to inflate the tire quickly until the bead seats against the rim; if it won’t seat, apply a bead sealant or lubricant and try again.
Check for leaks by brushing soapy water around the bead and watching for bubbles at escape points.
Before you drive, confirm the bead is fully seated and the tire holds pressure; if it still won’t seat, stop and get professional help.
Bead Reseating Steps
Start by making sure the tire and rim are clean and free of debris. Then spray the rim and tire bead with soapy water or a tire lubricant to help the bead slide into place.
Next, follow these bead reseating steps: connect an air compressor and deliver compressed air in a quick burst, since rapid pressure helps the bead snap against the rim. Watch the gauge closely and stop once the tire seats.
If it won’t seal, wrap a ratchet strap or rope around the tire’s center, tighten it, and inflate again. Once the bead seats, apply soapy water to the tire and look for bubbles that show escaping air.
Finish by setting pressure to the manufacturer’s recommended PSI so you can ride or drive with control.
Leak Detection Methods
Once the bead is seated, how do you confirm there isn’t still a leak? Use leak detection methods with precision.
First, inspect the rim-to-tire contact line for corrosion, dirt, or debris that could keep the bead from sealing.
Then mix soap and water, spray or brush it onto the sidewall, bead, and valve area, and watch for bubbles; they mark the leak’s exact point.
If the bead didn’t fully seat, reapply an air compressor and, if needed, wrap a ratchet strap around the tire to push the sidewalls outward while inflating.
After the bubbles stop, check pressure with a tire gauge. You’re aiming for about 32–35 PSI.
This step confirms the tire holds air and helps you reclaim control of the road.
Safety Check Before Driving
Before you drive on a tire that was completely flat, verify that the bead is fully seated against the rim; if it isn’t, don’t drive on it, and get professional help to reseat it safely.
Complete this safety check by inflating the tire to 32–35 PSI, then measure with a tire pressure gauge. If pressure drops, trace leaks by brushing soapy water over the tread, sidewall, and valve stem; bubbles show escaping air.
Inspect the tire carefully if it stayed flat for a long time, because internal damage can make it unsafe even after you inflate the tire. Reject any tire with large punctures or sidewall cuts; those usually need replacement, not a quick repair.
Freedom on the road starts with verifying integrity before motion.
When Should a Flat Tire Not Be Inflated?
You shouldn’t inflate a flat tire if the bead is unseated, because reseating it safely requires professional tools and technique. Before you try to inflate a flat tire, inspect for visible signs of damage, leaks, or structural failure.
Inspect for damage before inflating a flat tire; an unseated bead requires professional reseating tools and technique.
If you see a large puncture, sidewall cut, or tire separation, stop; inflation won’t restore integrity, and failure can escalate fast.
- Unseated bead: needs controlled reseating equipment.
- Large puncture: replace the tire, don’t patch the problem with air.
- Sidewall damage: inflation can trigger blowout.
- Long-flat condition: internal cords may be compromised.
If the tire’s been flat for days or weeks, assume hidden damage and avoid forcing pressure into it. You gain freedom by choosing safety over a temporary fix.
When in doubt, get professional help and replace the tire if needed.
Sealant vs. Spare Tire: Which to Use?
When choosing between sealant and a spare tire, match the fix to the damage: sealant can stop a small puncture fast and get you moving, but it may harm the tire’s internal structure and usually isn’t a permanent solution. Use sealant in an emergency for minor leaks; it’s quick, tool-free, and works without removing the wheel. Choose a spare tire when the tire is fully flat or the damage is larger, because it gives you a more reliable, long-term replacement. Install it with the right tools, and respect any speed and distance limits.
| Option | Best use |
|---|---|
| sealant | Small puncture, rapid temporary repair |
| spare tire | Major damage or completely flat tire |
| sealant | Fast, simple, may require tire replacement later |
Before you roll, check the spare tire’s pressure and condition. Don’t assume it’s ready; a weak spare won’t free you from the roadside.
What Should You Do After the Tire Holds Air?
Once the tire holds air, verify the pressure with a tire gauge and adjust it to the vehicle’s recommended PSI, usually 32–35 PSI for most passenger cars.
Then inspect the sidewall and tread for punctures, cuts, or bulges so you can repair the tire or replace it before failure.
- Check pressure again after a few minutes to confirm the seal isn’t leaking.
- Drive cautiously to a nearby repair shop for a professional inspection.
- Monitor the tire over the next few days for slow air loss.
- Keep a portable air compressor in your vehicle for future emergencies.
If pressure drops, don’t ignore it; that’s your cue to act fast and restore control. A tire that stays inflated may still hide internal damage, and a shop can detect issues you can’t see.
Frequently Asked Questions
Can You Inflate a Tire That’s Completely Flat?
Yes, you can inflate a completely flat tire if the bead stays seated and the sidewall isn’t damaged.
You’ll need an air compressor and should inspect the tire first for cuts, nails, or bulges.
For proper tire maintenance, pump it to 32–35 PSI, then watch for leaks or rapid pressure loss.
If the bead’s unseated, you’ll need professional help to reseat it safely.
How to Fill up a Completely Flat Tire?
You fill it with a portable air compressor or inflator, then attach the chuck firmly to the valve stem and add air until you reach 32–35 PSI.
If the bead won’t seal, you’ll need professional help to reseat it safely.
Check for leaks with soapy water, then drive carefully to a shop.
These tire maintenance tips and air compressor options keep you mobile, informed, and in control.
What Is the 5 Psi Rule?
The 5 psi rule means you should inflate your tire to about 5 PSI above the recommended tire pressure before you drive.
That extra margin helps you avoid underinflation, supports safer inflation tips, and lets the tire regain shape after being flat.
You’ll also buffer temperature swings and slow leaks.
Check your vehicle manual or tire sidewall, then set pressure precisely and free yourself from preventable tire damage.
How Long Does It Take to Air up a Completely Flat Tire?
You’ll usually air up a completely flat tire in 5 to 10 minutes with a portable compressor, though a larger tire or weak pump can take longer.
Your tire pressure target, often 32 to 35 PSI for passenger cars, affects the timing.
Use proper inflation techniques, keep the tire seated on the rim, and watch the gauge closely.
You’ll avoid overinflation and regain safe, self-directed mobility fast.
Conclusion
A completely flat tire can be brought back to life, but only if you check the damage first and inflate it safely. Use the right tools, watch the bead as it seats, and stop if you hear escaping air or see sidewall damage. Think of the tire like a sealed vessel: if the seal fails, air will never hold. Once it stays inflated, set the pressure correctly and inspect it again before driving.