
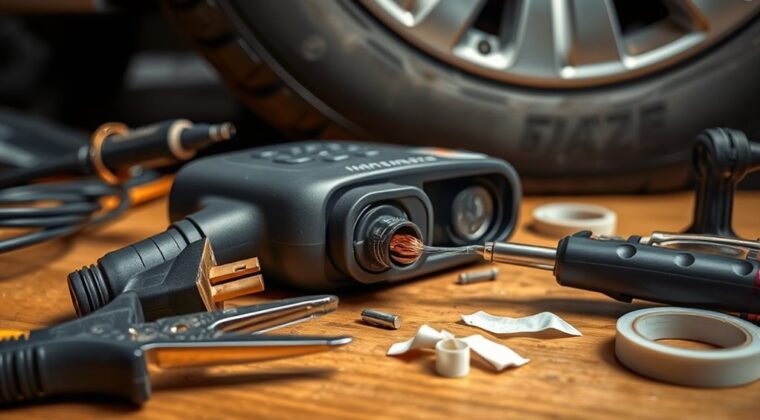
Inspect the cable for frayed wires, cracked insulation, bent pins, or a blown fuse, then clean the charging port and contacts to rule out debris. If damage is minor, unplug the inflator, cut back the bad section, strip the ends, join matching wires, and insulate the splice with electrical tape or heat-shrink. If the cord is badly damaged, replace it entirely, then test the inflator for proper voltage and safe operation. More details can help you troubleshoot faster.
Key Takeaways
- Inspect the cable for frayed wires, exposed insulation, or bent connectors before attempting any repair.
- Disconnect the inflator from power, then cut out damaged sections and strip the wire ends carefully.
- Repair minor damage with electrical tape; splice moderate damage by matching wires and soldering the joints.
- Replace the entire cable if the damage is severe or the wire connection remains unreliable.
- Test the repaired cable with a multimeter and a short inflating run, then store it to avoid bends and heat.
Why Your Tire Inflator Cable Failed
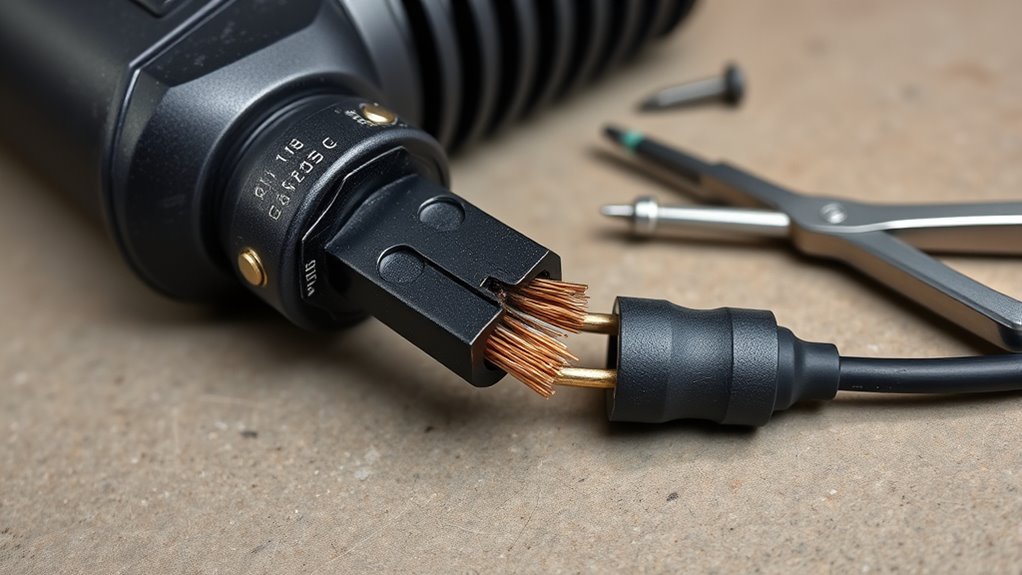
Your tire inflator cable can fail for a few common reasons, and most of them come down to wear, heat, or connection problems.
When you bend or twist the charging cable repeatedly, you can stress the conductors until a broken internal wire or frayed strand stops power flow. Heat also works against you; if you leave the cable in a hot trunk, the insulation can harden, crack, or deform, which weakens performance.
Repeated bending and hot storage can break wires, crack insulation, and weaken your cable’s performance.
Dust and debris in the port can block a solid contact, so the inflator charges only sometimes. If you use a non-compatible charger, you may deliver the wrong voltage and the cable won’t support proper charging.
Physical damage from a drop or impact can also disconnect internal wiring. These failures aren’t random; they’re the result of material fatigue, thermal stress, contamination, or impact.
You can read those signs and act fast to keep your inflator free.
Check the Cable, Plug, and Fuse
Start by inspecting the cable and plug for frayed wires, cracked insulation, or bent contacts that can limit charging.
Make sure the plug seats firmly in both the inflator and the power source, and clean any dust or debris from the ports if the connection feels loose.
Then check the vehicle’s cigarette lighter fuse, since a blown fuse can cut power to the inflator entirely.
Inspect Cable And Plug
A quick inspection of the cable, plug, and fuse can reveal why the tire inflator isn’t charging properly. You should inspect the charging cable end to end for fraying, cuts, kinks, or other damage that can interrupt current flow.
Then verify the plug seats firmly in the port; a loose fit can cause erratic power delivery and strip away your control.
- Look for bent pins.
- Clean dust from contacts.
- Check the plug shell for cracks.
- Replace a damaged cable.
- Test the fuse if power is absent.
If you see internal breaks or repeated failure, swap the cable. That simple move restores reliable charging and keeps you free from avoidable downtime.
Check Fuse And Connection
Check the cable, plug, and fuse together, because any weak point in that path can stop the inflator from charging. Inspect the charging cable for fraying, cuts, or exposed conductors; if you see damage, replace it.
Seat the plug firmly in the port, and verify the connections don’t wobble or arc. Next, check the fuse in the vehicle’s cigarette lighter socket; a blown fuse cuts power before it reaches the inflator.
Clean the charging port to remove dust or debris that can block contact. Then test the charging cable with another compatible device. If it works there, the inflator may be the fault.
This method helps you isolate the break and reclaim reliable power fast.
How to Repair a Frayed Tire Inflator Cable
Before you repair a frayed tire inflator cable, disconnect the inflator from its power source to prevent electric shock or further damage.
Inspect the damaged section closely, then decide whether you can restore the charging cable or need a full replacement. If the fray is minor, wrap it tightly with electrical tape to seal exposed conductors and limit shorts. For a cable you use to repair a flat tire with Fix-a-flat inflators, that quick fix can keep you mobile.
Inspect the damage closely—minor frays can be sealed with tape to keep you moving.
- Check the fray’s length and depth
- Tape minor wear with firm overlap
- Cut out severe damage cleanly
- Splice wire with solder and heat-shrink tubing
- Replace the cable if integrity is doubtful
When damage is moderate, remove the frayed segment and splice the remaining wire with solder and heat-shrink tubing for a durable bond.
If the cable is heavily compromised, replace it; reliable gear supports your autonomy and keeps your inflator ready.
Clean the Charging Port and Contacts
Inspect the charging port for dust, debris, or corrosion that could block a secure connection, and clear it gently with a soft brush or compressed air.
Then wipe the contact points on both the cable and inflator with isopropyl alcohol and a cotton swab to remove dirt or oxidation.
Once they’re clean, reconnect the cable firmly and check that the fit is snug.
Inspect Port Debris
Even a small amount of dust or debris in the charging port can block contact and prevent the tire inflator from charging properly. You should inspect the charging port closely and clear any debris before troubleshooting further.
Use a soft, dry cloth or compressed air to free the port without forcing anything in.
- Check for dust buildup
- Look for dirt or loose particles
- Inspect contacts for corrosion
- Confirm the cable fits snugly
- Repeat cleaning regularly
If you see corrosion, apply isopropyl alcohol with a cotton swab, then let the area dry. A secure fit matters: a loose connection can cause intermittent charging and waste your time.
Wipe Contact Points
Once you’ve cleared loose debris, wipe the charging port and contact points with a soft cloth or cotton swab lightly dampened with isopropyl alcohol.
Keep the tire inflator turned off and unplugged so you don’t expose yourself to electrical hazards during cleaning.
Use the swab to wipe contact points gently, removing residue, oxidation, and grime without scraping the metal. Avoid abrasive pads or tools; they can scratch the terminals and weaken the connection you rely on.
Inspect for debris as you work, especially lint, dust, and corrosion around the port edges. If contamination remains, repeat the cleaning with a fresh swab.
When finished, let every surface dry completely before reconnecting the cable. That careful pause helps prevent short circuits and keeps your inflator ready for dependable, independent use.
Test the Tire Inflator After Repair
After you’ve repaired the charging cable, plug the tire inflator into a power source and verify that it begins charging, such as by checking for indicator lights.
To test the tire inflator after repair, confirm the charging cable delivers stable power and that the internal battery accepts charge normally. Use a multimeter to measure output voltage at the cable end; it should match the manufacturer’s specification.
Then run a functional test by inflating a tire and watching PSI rise efficiently.
- Check for solid charging indicators.
- Measure voltage with a multimeter.
- Inflate a tire to target PSI.
- Listen for abnormal noises.
- Feel for overheating during use.
If the unit stalls, recheck the cable connections and battery health.
Keep your test controlled and precise, so you can trust the repair and move freely without guesswork.
Replace the Cable or Inflator
If the cable still shows fraying, exposed wires, or fails a continuity test, replace it rather than risking an unreliable repair. You can inspect the charging cable with a multimeter; no continuity means the conductor’s broken and the safest move is to replace the part.
Match the original voltage and amperage ratings exactly when you buy a replacement, or you may create compatibility or overheating problems. If your inflator’s still under warranty, contact the manufacturer first and ask for a replacement cable or approved repair options.
When a cable failure repeats, consider replacing the entire inflator instead of chasing temporary fixes. Choose a high-quality, durable charging cable so you’re not tied to repeated damage, weak insulation, or poor performance.
A dependable replacement gives you control, reduces downtime, and keeps your tire inflator ready when you need it.
Frequently Asked Questions
How to Repair a Tire Inflator?
You repair a tire inflator by checking the hose, seals, fuse, and power cable, then cleaning contacts and testing continuity.
Follow inflator maintenance tips: inspect wear, tighten fittings, and replace cracked parts.
Use safety precautions: unplug it, avoid exposed wires, and test after each step.
If the cable is beyond repair, use a cable replacement guide to fit a new one.
Then verify pressure output before regular use.
What Are the Common Problems With Car Tire Inflators?
Common inflator issues can feel like a thousand tiny gremlins attacking your setup. You’ll usually see power failures from a dead battery or bad charger, loud motor noise without inflation from internal damage, overheating shutdowns, weak pressure output from a tired motor, and air leaks from clogged hoses or worn seals.
For Tire inflator maintenance, inspect cables, seals, and filters regularly. Troubleshooting inflators early keeps you mobile and independent.
How Do I Charge My Portable Tire Inflator?
You charge your portable tire inflator by plugging its cable into the inflator and a compatible power source, then letting it run for the recommended time.
Check the port for debris, and follow charging safety precautions to avoid damage. Inspect the cable for wear, and use battery maintenance tips to keep capacity strong.
Follow inflator usage guidelines, and if it still won’t charge, try another charger or replace the battery.
Why Did My Tire Inflator Stop Working?
Your tire inflator can die like a stranded beast if its charging path fails. You should check the port for dust, test another cable and adapter, and inspect the battery for swelling or damage.
Follow tire maintenance tips, use this inflator troubleshooting guide, and practice charging cable care to spot faults early. If drops or heat broke internal battery links, you’ll likely need professional repair to restore reliable, liberated mobility.
Conclusion
By checking the cable, plug, and fuse, you’ve already narrowed the fault and taken control of the repair. Clean contacts, a solid splice, and a final test can turn a dead inflator back into a reliable tool. If the cable is too damaged, replace it before it fails again—because a weak cable isn’t just inconvenient, it’s a risk. With careful maintenance, you’ll keep your inflator ready when you need it most.
