
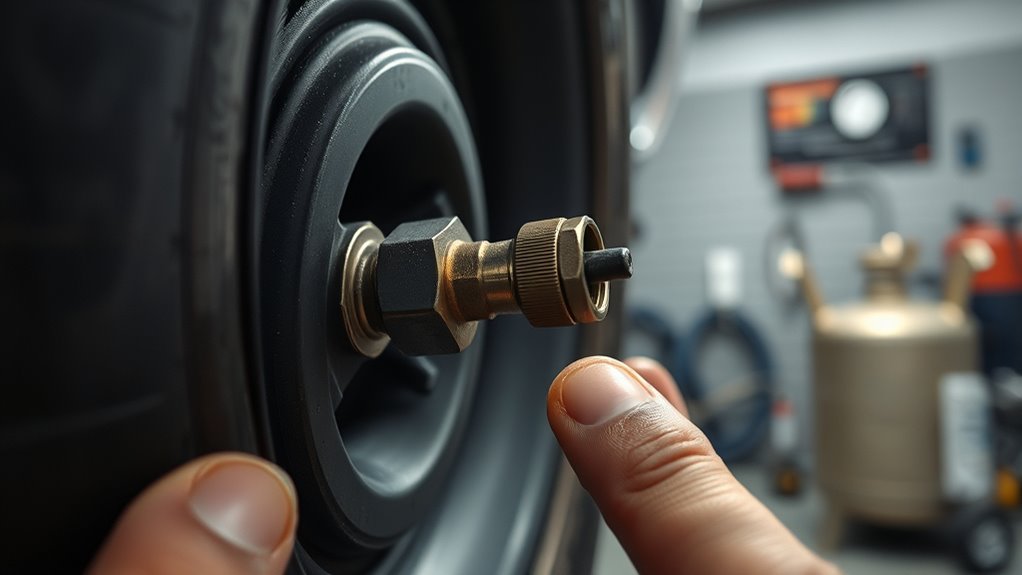
If your tire inflator chuck won’t stay attached, check the valve stem for cracks, bent threads, or dirt that can block a seal. Make sure the chuck matches the valve type, then inspect the locking jaws, spring, and rubber seal for wear or misalignment. Clean both parts and seat the chuck straight on the stem. If it still slips or leaks, the chuck likely needs replacement, and the next steps show how to confirm it.
Key Takeaways
- Check whether the chuck matches the valve type, such as Schrader or Presta, for proper fit.
- Inspect the valve stem for dirt, cracks, bends, or other damage that can prevent sealing.
- Examine the chuck for worn jaws, weak spring action, damaged seals, or misaligned locking parts.
- Clean the chuck and valve stem, then seat the chuck straight and fully onto the valve.
- Replace the chuck if it still pops off, leaks, or feels loose after cleaning and inspection.
Why Your Tire Inflator Chuck Slips Off
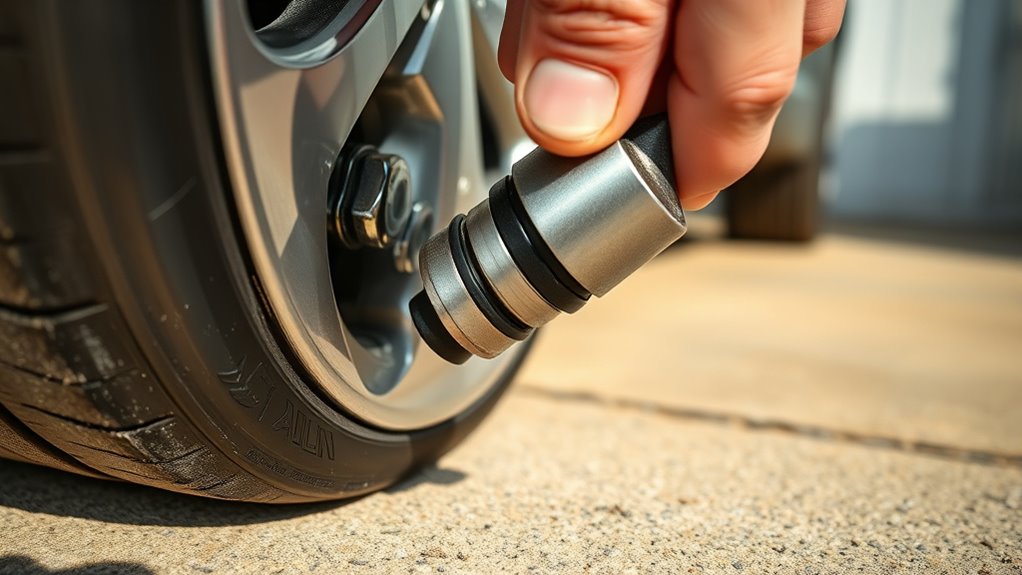
A slipping tire inflator chuck usually means the chuck isn’t gripping the valve stem the way it should. You may be dealing with wear inside the chuck, where the seal and locking parts no longer clamp firmly.
Dirt or debris on the tire valve stem can also block contact and let air loss start during inflation. Check that your air chuck models match the valve type; a Schrader chuck won’t lock correctly on a Presta valve, and mismatch invites slippage.
If you feel extra resistance while holding the connection, the spring action or locking cam may be failing. You can often restore performance by cleaning the chuck, removing contamination, and lubricating the moving parts.
That routine maintenance keeps the mechanism responsive and extends service life. When the chuck grips cleanly and matches the valve, you control inflation instead of fighting the tool.
Check the Valve Stem for Damage
Check the valve stem for cracks, deformities, and visible wear before you attach the chuck.
Even small damage can keep the seal from forming and let air escape during inflation.
If the stem looks frayed or compromised, replace it before continuing.
Inspect Stem Wear
When the chuck won’t seal properly, inspect the valve stem for cracks, bends, or other visible wear that can keep the connection from seating securely. A worn valve stem can block safe tire inflation and let the air chuck slip free. Check the valve core too; if it’s loose or damaged, pressure escapes and the grip weakens. Clear dirt or debris around the stem so the chuck can latch cleanly.
| Condition | Effect | Action |
|---|---|---|
| Worn stem | Poor seal | Replace it |
| Dirty stem | Weak grip | Clean it |
| Damaged core | Air loss | Service it |
| Wrong fit | No attachment | Match components |
If the stem’s damaged, replace it promptly. You deserve equipment that works with you, not against you.
Look For Cracks
Look closely at the valve stem for cracks, chips, or other visible damage, because even small defects can cause air leaks and a poor chuck seal. If you see damage, replace the valve stem before using the air chuck.
Clean off dirt, rubber dust, or debris first, since contamination can keep the chuck from locking on and let it pop free during inflation. Check for bending or deformation too; a misshapen stem won’t hold a secure connection.
Use a tire pressure gauge to verify stable readings, because a faulty stem can show inconsistent pressure. When you repair the stem promptly, you protect your ability to inflate tires reliably and keep control over maintenance without depending on a failing part.
Inspect the Chuck’s Grip and Seal
Check the chuck’s locking jaws for wear or misalignment, since worn jaws can’t hold the valve stem securely.
Inspect the rubber seal for cracks, hardening, or debris that could break the seal and cause leaks.
Then test the fit on the valve stem to confirm the chuck locks on cleanly without slippage or disconnection.
Check Locking Jaws
If your tire inflator isn’t sealing properly, inspect the locking jaws on the chuck for wear, damage, or distortion that could keep them from gripping the valve stem securely. The air chuck must clamp firmly, or pressure will leak and inflation will stall.
Check the jaws for rounding, cracks, and bent edges, then clean out grit that can block full engagement.
- Verify the jaws close evenly on the valve stem.
- Confirm the chuck locks without slipping under hand pressure.
- Replace the chuck if the grip still feels weak.
You need a clean, tight mechanical hold to keep inflation controlled and independent. If the locking jaws can’t secure the valve stem, you won’t get a reliable seal, and the fix is replacement, not frustration.
Inspect Rubber Seal
With the locking jaws verified, inspect the rubber seal inside the air chuck for wear, cracks, hardening, or distortion that can break the airtight grip on the valve stem.
A damaged rubber seal can leak air and let the air chuck pop off during inflation, so replace it if you see deterioration.
Keep the seal clean; dirt, grit, or dried lubricant can block contact and weaken grip on the valve stem.
Apply moderate pressure while you hold the chuck in place. If you must squeeze harder to keep it attached, the seal may be failing.
Clean and lightly lubricate the rubber seal during routine service to extend life and preserve performance.
A sound seal gives you control, reliable inflation, and freedom from repeated disconnections.
Test Valve Stem Fit
Test the valve stem fit to confirm the chuck’s grip and seal are the source of the problem. You should inspect the valve stem for dirt or debris, because contamination can block a tight seal.
Then verify that your air chuck matches the valve type; Schrader and Presta fittings aren’t interchangeable on tire inflators. Next, check the chuck’s grip and locking mechanism for wear or damage. A weak mechanism won’t hold pressure or stay attached.
- Clean the valve stem and retry the connection.
- Test the air chuck on a different valve stem.
- Compare fit, hold, and air loss.
If the chuck works elsewhere, the original valve stem may be faulty. If it slips on every valve, replace the chuck and keep your system working free and reliable.
How to Fix a Loose Tire Inflator Chuck
Start by inspecting the air chuck for wear or damage, since a worn rubber gasket or failing locking mechanism can prevent it from gripping the valve stem securely.
Clean the air chuck and valve stem with a dry cloth, then remove grit that can break the seal.
Check that the chuck seats straight on the valve stem; if it’s angled, air can escape and the connection may slip.
Check that the chuck seats straight on the valve stem; a crooked fit can leak air and slip free.
Apply a light lubricant to moving parts so the jaws or collar don’t stick during inflation.
If the chuck still won’t hold, replace worn internal parts or upgrade to a lock-on model that clamps more firmly.
A solid secure fit gives you control, reduces leaks, and keeps inflation efficient.
Don’t force a damaged chuck to work; fix the attachment point and restore reliable pressure delivery.
Make Sure the Chuck Fits Your Valve Type
Make sure your air chuck matches the valve type on your tire, whether that’s Schrader, Presta, or a specialized large-bore design, because the wrong chuck won’t seal correctly. You need true compatibility between air chucks and valve stems if you want a secure connection and clean inflation.
Check the product specs before you buy, and confirm the chuck is built for your exact valve type.
- Verify the valve standard on your tire.
- Match the chuck threading to the valve stem.
- Inspect the stem for wear or damage.
A mismatch can cause leaks, weak grip, and constant disconnects. If you use a chuck made for a different system, it may fit loosely or fail to engage at all.
Review customer feedback and manufacturer details so you can choose tools that work with your setup. When you select the right air chucks, you gain control, reliability, and the freedom to inflate without frustration.
Test the Chuck on Another Tire Valve
Try the chuck on another tire valve to isolate the problem. Use a compatible Schrader valve so the test reflects normal fit and pressure behavior. Attach the chuck and verify whether it grips firmly without leaks or slippage.
Test the chuck on another Schrader valve to confirm whether the issue is with the valve stem or the chuck itself.
If it seals well on the second valve, your original valve stem likely has debris, wear, or damage that’s preventing a solid connection. Clean the valve area and inspect the stem before you inflate again.
If the chuck still feels loose on a known good valve, the chuck itself is the likely fault, and you’ll need to service or replace it.
Repeat this check on different valves when possible. That habit helps you confirm the chuck’s reliability over time and keeps you in control of your equipment.
You don’t have to accept weak inflation gear or unpredictable pressure readings. A quick comparison test gives you clear evidence and helps you move forward with confidence.
Check the Locking Mechanism for Wear
If the chuck grips another valve poorly, inspect the locking mechanism for wear. You need the air chuck to clamp firmly, or the connection won’t hold pressure.
Look closely at the spring and locking cam for cracks, bending, or corrosion; these parts drive the latch action. Check the rubber gasket too, because wear there can let the chuck pop off and leak air during inflation.
- Clean the locking mechanism so dirt doesn’t mask damage.
- Lubricate moving parts lightly to restore smooth engagement.
- Verify the cam snaps shut and stays seated on the valve stem.
If the mechanism still slips, your air chuck isn’t earning your control. Replace worn sealing parts first, then retest.
Keep the assembly serviced regularly; that small habit protects freedom from downtime and keeps your tire inflation process precise, safe, and reliable.
When to Replace Your Tire Inflator Chuck
When your tire inflator chuck starts popping off the valve stem, leaking audibly, or feeling loose even after cleaning and lubrication, it’s usually time to replace it. You’re likely dealing with worn locking jaws, degraded seals, or damaged collar sliders.
Inspect the chuck for cracks, distortion, and reduced grip; if you must force it to stay connected, the unit’s no longer dependable. A worn gasket can let air escape and throw off readings on your tire inflator gauge and Inflator Gauges setup, wasting time and pressure.
Cracks, distortion, or a weak grip mean the chuck is failing; forcing it to stay connected is never reliable.
Replace the chuck if it won’t seal securely on your valve type, because mismatch causes inefficient inflation and can damage the tire. If the air hose is sound but the connection still fails, the chuck is the weak point.
Don’t keep fighting failing hardware when a new chuck restores control, accuracy, and safety. You deserve equipment that works with you, not against you.
Frequently Asked Questions
How to Attach Tire Chuck to Air Compressor?
You attach the tire chuck by threading it onto your air compressor hose with the correct 1/4 NPT fitting, then tightening it firmly by hand.
Check tire chuck types so you match the chuck to your valve and gauge setup.
Keep the valve stem clean, align the chuck straight, and verify air won’t leak.
Good air compressor maintenance and inflation pressure tips help you inflate safely and accurately.
What Are the Common Problems With Car Tire Inflators?
Car tire inflators can act like a stubborn gatekeeper, and you’ll often face common issues like a loose chuck, worn seals, or the wrong valve fit.
You may also get inaccurate tire pressure readings, weak airflow, or a spring or locking cam that won’t hold.
Keep up with inflator maintenance by cleaning, lubricating, and inspecting fittings, so you stay in control and don’t let bad gear dictate your road freedom.
How to Fix a Tire Inflator?
You fix a tire inflator by checking tire inflator maintenance first: inspect seals, hoses, and the chuck, then clean debris and lubricate moving parts.
Verify air pressure regulation with a gauge, and tighten or replace faulty fittings.
Next, test for inflator compatibility issues, especially with Schrader valves.
If the chuck still slips, swap in a better-quality unit so you can reclaim reliable, independent inflation without waste or frustration.
How to Attach Tire Inflator to Tire?
Hook the air chuck onto the valve stem and press until it clicks. Make sure you’re using the right valve type, usually Schrader, and check that the air hose seals tightly.
Open the inflator trigger or lever to start airflow, then watch tire pressure as you fill. If you hear hissing, reseat the chuck.
Good inflator maintenance keeps you moving free, with control and confidence.
Conclusion
When your tire inflator chuck won’t stay attached, you’re not just fighting a loose tool—you’re losing the steady pressure your tires need. Check the valve stem, the chuck’s grip, and the locking parts until the fit feels firm, like a sealed gate holding back a rush of air. If the chuck still slips, replace it before small wear turns into a flat, uneven ride. A tight connection keeps every drive safer, smoother, and controlled.

