
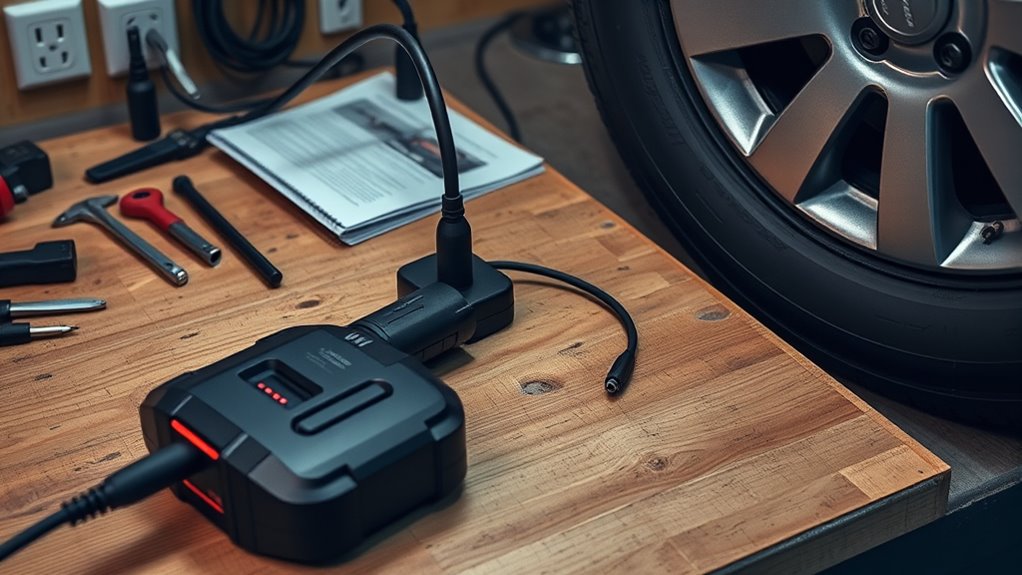
If your tire inflator battery won’t charge, start by checking the charger, cable, and charging port for dirt, moisture, corrosion, or damage. Try another adapter to rule out a bad power source. Then measure battery voltage with a multimeter; a healthy lithium-ion pack should read near 3.7V, while anything below 2.5V may be deeply discharged. Inspect the motherboard and internal connections for faults. If these checks don’t help, repair steps get more specific.
Key Takeaways
- Inspect the charging port, cable, and adapter for dirt, moisture, corrosion, loose connections, or visible damage.
- Test the charger with another device and try a different compatible charger to rule out power supply issues.
- Check battery voltage with a multimeter; below 3V suggests deep discharge or battery failure.
- Examine the motherboard and internal connections for burnt components, corrosion, loose cables, or other visible faults.
- If the battery is swollen, leaking, or still won’t charge, stop using it and consult a qualified technician.
Check the Charger and Charging Port
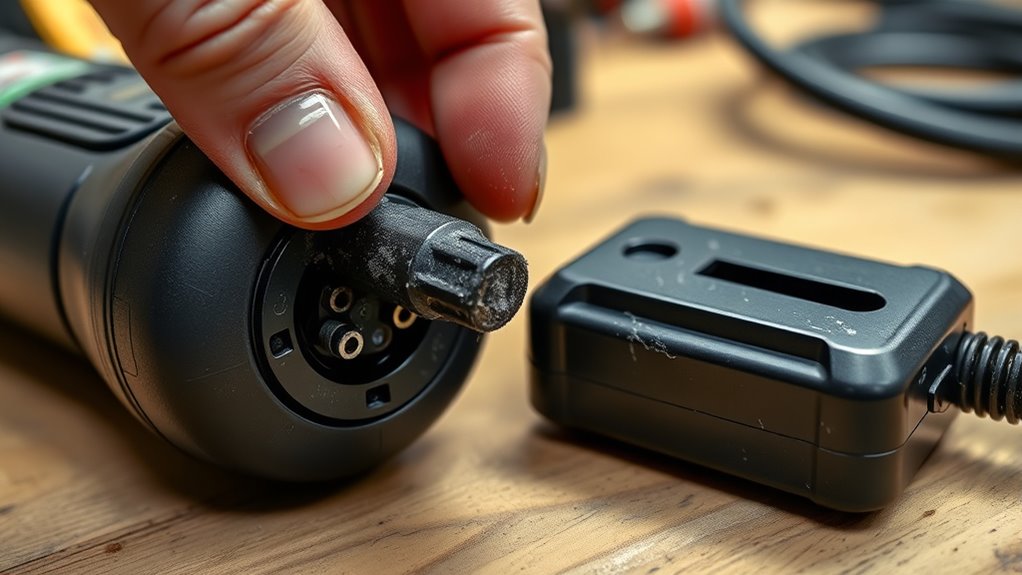
Start with the charger and charging port, since a bad connection is often the simplest cause of a tire inflator that won’t charge. Inspect the charging port for dust, lint, or moisture; any contamination can block contact and stop current flow. Clean it carefully and let it dry fully before you try again.
Next, check the cable at both ends and confirm it seats firmly in the inflator and adapter. If you have a known-good cable, swap it in to isolate a cable fault. Look closely for frays, cuts, or bent plugs, because damaged conductors interrupt power delivery.
Then test the wall adapter with another device that you know charges correctly. If that adapter works, you can focus on the inflator side. Also verify that the charger matches the model’s specified voltage and current. Using the right charger helps you reclaim reliable charging without guesswork.
Test the Battery Voltage
Use a multimeter to check the battery voltage with the battery disconnected from the inflator so you get an accurate reading.
Read the multimeter output and verify that it’s at least 3 volts for proper operation.
If the voltage is below the expected value, you’ve likely got a weak, deeply discharged, or failing battery that may need replacement.
Check Battery Voltage
To check the battery voltage, set a multimeter to DC voltage and place the probes firmly on the battery terminals, making sure you get solid contact for an accurate reading.
This check battery voltage step tells you whether the pack still holds usable charge. A healthy lithium-ion battery should read near its rated value, often about 3.7V. If you see a much lower number, especially below 2.5V, the cell may be deeply discharged or failing.
Move methodically and avoid loose probe placement, because bad contact can mask the truth.
- Set the meter to DC volts
- Touch probes to clean terminals
- Compare the reading to 3.7V
- Inspect low-voltage batteries for replacement
Read Multimeter Output
Set your multimeter to the DC voltage setting and read the battery output by placing the positive probe on the battery’s positive terminal and the negative probe on the negative terminal.
Keep the battery disconnected from the device so you don’t damage the meter or the inflator.
Then read multimeter output directly from the display, using a steady hand and clear contact on both terminals.
A healthy lithium-ion battery usually reads between 3.7V and 4.2V.
If the reading falls far below that range, the battery is likely depleted or faulty.
If you see 0V, check for a broken connection or a dead battery.
Record the value exactly, because precise data helps you decide whether the battery still has the power to work.
Compare Against Expected Voltage
Now compare the multimeter reading against the battery’s rated voltage, which is usually about 3.7 volts for a lithium-ion pack. If your battery voltage matches that range, the pack likely accepts charge and holds power normally.
- Below 3 volts after charging often signals a fault.
- A reading far under spec suggests deep discharge or cell failure.
- Test battery voltage regularly to catch decline early.
- If voltage is correct but the inflator stays dead, inspect circuitry and connections.
Use the meter with confidence: you’re not guessing, you’re verifying. A low battery voltage means the system may need replacement before total failure locks you out.
When the reading is proper yet performance still fails, the problem lies downstream, not in the cell.
Check for Deep Discharge
Check the battery for deep discharge if the tire inflator refuses to power on or take a charge. A deep discharge means the cell voltage has fallen well below its nominal range, and that drop can block normal charging.
If you use a lithium-ion pack, keep it above 3.0 volts; going lower risks damage. Measure the battery with a multimeter, and compare the reading to that limit.
If you find a deep discharge, connect the charger and let the pack sit undisturbed for several hours. Some batteries recover after a slow, uninterrupted charge as the voltage climbs back into a usable band. Don’t interrupt the process with repeated starts or loads.
If the battery still won’t respond, you’re likely dealing with irreversible damage. Check voltage regularly in the future so you can spot decline early and keep your inflator ready, independent, and free from avoidable downtime.
Inspect the Motherboard for Damage
If the inflator still won’t power correctly, inspect the motherboard for visible damage, including burnt components, corrosion, or overheating marks that can disrupt internal circuitry.
You can inspect the motherboard with focused lighting and a steady hand, noting any discoloration, cracked traces, or warped areas. These faults often block proper charge control and keep the battery from recovering.
Clean light dust with isopropyl alcohol and a soft brush so you can evaluate exposed surfaces more accurately.
Then use a multimeter to measure voltage output at the board and confirm it matches the specified operating range. If the reading drifts low or unstable, the board may be failing and limiting current delivery.
- Check for burn spots
- Scan for corrosion
- Verify output voltage
- Remove debris gently
Find Loose Internal Connections
Check the internal cable seating first, and re-seat any connector that feels loose or uneven.
Then inspect the motherboard connections for secure contact, corrosion, or physical damage that could interrupt power flow.
Use a multimeter to verify continuity across these points and document any irregularities you find.
Check Internal Cable Seating
Inspect the internal cables and connections to make sure everything is securely seated on the motherboard and battery, since a loose connector can interrupt charging and cause intermittent power loss. You’re checking the internal battery path for any gap that blocks current flow.
- Verify each plug is fully inserted.
- Use a multimeter to test continuity.
- Re-seat any loose connector firmly.
- Examine cables for wear, cuts, or discoloration.
If a cable reads open, replace it before reassembly. Handle each lead carefully so you don’t dislodge a seated connector while closing the housing.
After tightening everything, restore power and confirm stable charging. This method keeps your inflator reliable and helps you reclaim control from hidden connection faults.
Inspect Motherboard Connections
With the internal cables confirmed, turn your attention to the motherboard and its connection points, especially where it meets the battery and other components.
Inspect the motherboard for loosened plugs, lifted headers, and cracked solder joints that can interrupt charging power. Use a multimeter to verify continuity across critical pathways so you know each circuit is intact.
Examine traces for burn marks, discoloration, or damage that suggests overheating and compromised conductivity. Reseat every connector and cable firmly; vibration can slowly free them and block current flow.
If anything looks suspect, photograph the motherboard and the affected area for later reference or support. This methodical check helps you reclaim reliable charging performance without guesswork.
Know When the Inflator Needs Repair
If your tire inflator still won’t charge after you’ve tried multiple cables and chargers, the problem likely goes beyond the power source and needs repair. You should inspect the unit for physical and electrical faults before you keep forcing it to run.
- Check for battery swelling, excess heat, or a pack that won’t hold charge.
- Examine the charging port; a loose fit or visible damage can block current flow.
- Watch for random startup when connected to power, which points to internal electrical faults.
- If it stays dead after charging, suspect a loose connection or damaged motherboard.
At this stage, stop repeated charging attempts. Continuing can worsen internal damage and compromise your safety.
If the battery is failing, use compatible Replacement Parts instead of improvised fixes. If the inflator still behaves erratically, get a qualified technician to assess the circuitry. A clean repair lets you reclaim reliable performance without guesswork.
Frequently Asked Questions
How to Reset Portable Tire Inflator?
You reset a portable tire inflator by disconnecting it from power, waiting a few minutes, then reconnecting it.
Check your manual for model-specific steps, and make sure it’s fully charged first.
If it has a reset button, press and hold it while the unit’s on.
Follow Safety Precautions, then test for lights or sounds to confirm proper operation.
If it still fails, repeat the procedure or inspect the battery.
How to Fix Battery Not Charging Problem?
Start by checking the charging port, as Achilles’ heel often hides in plain sight. You should clean out lint, inspect for damage, and confirm the cable seats firmly.
Then test a known-good USB cable and wall adapter that match the specs.
Examine the battery for swelling or wear, and verify internal connections if power cuts in and out.
Consistent Battery Maintenance helps you restore reliable charging and keep your device free.
What Are the Common Problems With Car Tire Inflators?
Car tire inflators commonly suffer from poor charging-port contact, faulty chargers or cables, battery degradation, and internal damage from heat or impact.
You’ll also run into broken battery leads or motherboard faults that stop proper operation.
For reliable performance, you should practice Inflator Maintenance: clean contacts, inspect cables, and replace worn parts promptly.
This methodical care keeps your device functional and helps you avoid dependence on unreliable equipment.
How Can I Troubleshoot a Battery Charger That Won’t Charge?
Check the charging port for lint, moisture, or damage, then seat the cable firmly.
You should test a known-good USB cable and wall adapter to isolate the fault.
Let the unit charge for several hours to recover a deep discharge.
If the battery’s swollen or damaged, replace it.
Record odd lights or random starts for support.
Consistent Battery Maintenance helps you prevent recurring failures and keep control.
Conclusion
When your tire inflator battery is not charging, work through each check methodically. Verify the charger and port, measure battery voltage, rule out deep discharge, inspect the motherboard, and tighten any loose internal connections. If the unit still fails, you’re probably dealing with a fault that’s beyond basic maintenance. At that point, repair or replacement is the next step. Don’t let a small issue snowball into a dead tool; act early and keep your inflator reliable.

