
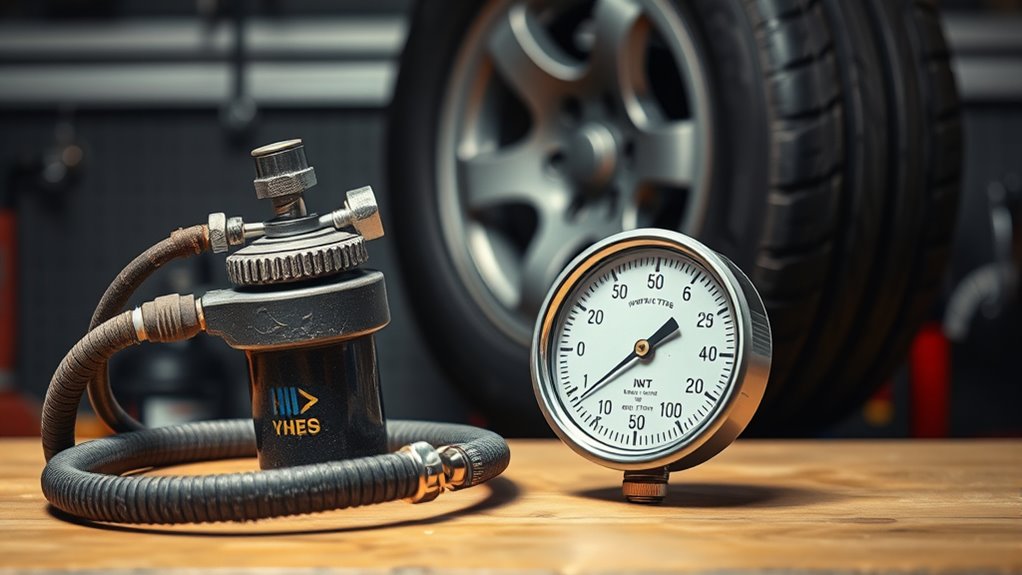
Replace a tire inflator when it can no longer inflate tires safely and reliably after you rule out simple causes such as a loose chuck, leaking valve stem, weak power source, discharged battery, or required cool-down period. Strong replacement signs include persistent air leaks, unreliable pressure readings, repeated overheating within the model’s rated duty cycle, electrical damage, abnormal noise or vibration, or a major drop in inflation performance.
Key Takeaways
- There is no universal 3-to-5-year replacement schedule for portable tire inflators; condition, use, storage, design, and duty cycle matter more than age alone.
- Replace or professionally service an inflator that repeatedly overheats, leaks from non-serviceable parts, gives unreliable pressure readings, or has damaged electrical components.
- Do not judge an inflator by a fixed “30-minute” rule. Tire size, starting pressure, temperature, airflow, and power source can all change inflation time.
- Follow the exact duty cycle in your model’s manual. Portable inflators do not all share the same continuous-run limit.
- Before replacing the unit, check the hose, chuck, valve stem, fuse or power connection, battery charge, and tire itself.
Common Reasons Tire Inflators Fail
Portable tire inflators usually fail because of heat, worn seals or hoses, electrical problems, battery deterioration, contamination, or simple mechanical wear. A loose or worn chuck can leak air and make the pump seem weaker than it really is.
Heat is especially important because compact compressors are designed around a specific duty cycle. That limit varies by model. Some portable inflators require short run-and-cool periods, while others are rated for a percentage of each hour.
Use the duty cycle in your inflator’s own manual rather than assuming every portable compressor can run for the same number of minutes.
For cordless models, battery condition also affects performance. If the battery no longer holds enough charge to complete normal inflation work, check whether the battery is replaceable before replacing the whole inflator.
Keep the unit dry, keep vents and connections free of debris, and follow the manufacturer’s cleaning and storage instructions. Avoid opening or lubricating internal parts unless the manual specifically says they are user-serviceable.
Tire Inflator Warning Signs to Watch For
Start with symptoms that repeat across more than one tire. If only one tire loses pressure or inflates slowly, the tire, valve core, or valve stem may be the real problem.
Check the chuck and hose for air leakage. A steady hiss at the connection can indicate a poor seal, loose fitting, damaged hose, or worn chuck.
Watch the pressure readings. If the inflator repeatedly disagrees with a known-good tire gauge by an unacceptable amount, or its automatic shut-off stops well above or below the set pressure, the gauge or pressure sensor may need service.
Repeated overheating during normal use is another warning sign. First confirm that you are staying within the model’s specified duty cycle and that its vents are not blocked.
Inspect the housing, hose, plug, battery, clamps, and power cord for physical or electrical damage. Stop using a unit with exposed wiring, melted insulation, a cracked battery pack, smoke, a burning smell, or other signs of an electrical fault.
For cordless models, short runtime or a battery that will not charge can be a battery problem rather than a failed compressor. Use only the battery and charging method approved for that model.
How Long Tire Inflators Usually Last
There is no reliable universal lifespan for a portable tire inflator. A lightly used unit can remain useful for years, while a heavily used or overheated unit can fail much sooner. Build quality, tire size, duty cycle, storage temperature, battery health, hose condition, and frequency of use all affect service life.
| Factor | What to Watch |
|---|---|
| Duty cycle | Follow the model-specific run and cool-down limits |
| Inflation speed | Compare performance under similar tire and pressure conditions |
| Pressure accuracy | Confirm suspicious readings with a reliable separate gauge |
| Battery condition | Watch for sharply reduced runtime, charging faults, or swelling |
Age alone should not force replacement if the inflator still works correctly and has no safety defects. However, an older unit deserves closer inspection when performance changes, parts become unavailable, or its battery, cord, hose, or gauge becomes unreliable.
Why Older Inflators Stop Working Well
As an inflator wears, seals can harden, bearings and motor components can deteriorate, and electrical connections can become less reliable. These changes may show up as slower inflation, unusual noise, excess vibration, or trouble reaching the target pressure.
Repeated operation beyond the rated duty cycle can add thermal stress. That is why the correct run time must come from the exact inflator manual rather than a general rule.
Rubber seals, hoses, and chucks can also wear or crack, allowing air to escape before it reaches the tire. On cordless units, battery aging can reduce runtime and output under load.
None of these symptoms proves that the compressor itself is finished. Check the tire, valve, power supply, fuse, hose, chuck, and battery before deciding that replacement is necessary.
When Repair Makes Sense vs. Replacement
Repair makes sense when the fault is limited to a user-replaceable part, the manufacturer provides the part or service procedure, and the repair restores safe operation. Common examples can include an approved replacement hose, chuck, fuse, adapter, or removable battery.
Replacement is usually the safer option when the housing or electrical system is damaged, the motor repeatedly overheats within normal use, the pressure system is unreliable, or required parts and qualified service are unavailable.
Check the warranty before paying for a repair. For a low-cost inflator, professional labor may cost enough that replacement is more practical, but there is no universal dollar amount or percentage that applies to every model.
Repairable Wear And Tear
Start with external, serviceable parts and the troubleshooting steps in the owner’s manual. Do not disassemble a sealed compressor or battery pack unless the manufacturer specifically provides a safe repair procedure.
- Reseat the valve chuck and inspect the hose and connection for leaks.
- Check the approved fuse, plug, battery, clamps, or power source if the unit will not start or runs weakly.
- Clean accessible vents and fittings using the method recommended by the manufacturer.
If the inflator still runs poorly after these checks, contact the manufacturer or a qualified repair service before replacing internal components yourself.
Cost Of Fixes
Repair cost depends on the brand, part availability, warranty status, and whether the fault is external or internal. A replaceable hose or chuck may be worth fixing, while a failed motor, control board, pressure sensor, or sealed battery can make replacement more practical.
Compare the total repair cost, remaining warranty, expected reliability, and price of a suitable new unit. Avoid fixed rules such as “replace it after two repairs” or “replace it when repair reaches 50% of the new price,” because those are budgeting heuristics rather than safety standards.
Signs Replacement Is Due
Replacement becomes the stronger choice when faults remain after basic troubleshooting or when the inflator itself creates a safety concern.
- Pressure control is unreliable: the gauge or automatic shut-off repeatedly gives unsafe or inconsistent results.
- Damage is serious: the cord, plug, housing, hose, or battery has heat, electrical, or structural damage that is not safely serviceable.
- Performance keeps failing: the unit cannot complete normal inflation work even with a good power source, sound hose connection, and proper cool-down.
Do not keep using an inflator that smokes, smells burnt, exposes wiring, or has a damaged or swollen battery.
How Maintenance Can Delay Replacement
Good maintenance can reduce avoidable wear. The safest routine is simple: inspect the hose and power components, keep connections clean, store the inflator dry, and follow the manufacturer’s duty-cycle, battery, and cleaning instructions.
Avoid applying one maintenance schedule to every model. Lubrication, battery storage level, filter cleaning, and vent-cleaning methods can differ between manufacturers.
Routine Care Practices
Use a short pre-use check so problems are caught before a roadside emergency:
- Inspect the hose, chuck, plug or clamps, cord, and battery for visible damage.
- Make sure vents are unobstructed and the unit is dry before use.
- Follow the exact run-time and cool-down limits in the manual.
For cordless inflators, follow the battery maker’s long-term storage and charging guidance. Some lithium-ion products recommend partial charge for storage, while other manuals specify different targets, so a universal 50–60% rule should not be assumed.
Early Wear Detection
Early wear is easiest to spot when you know how the inflator normally sounds and performs. A new grinding or rattling sound, rapidly increasing heat, intermittent power, repeated pressure errors, or a sudden slowdown under similar conditions deserves investigation.
Compare the inflator on more than one tire before blaming the tool. A leaking valve stem, damaged tire, cold temperature, low vehicle voltage, weak battery, or loose chuck can also cause poor inflation performance.
If the problem follows the inflator across different tires and a known-good power source, the inflator itself becomes the more likely fault.
Best Time to Replace a Tire Inflator
The best time to replace a tire inflator is before it becomes unreliable enough to leave you without a safe way to restore tire pressure. Replace or service it when a confirmed inflator fault affects pressure accuracy, electrical safety, heat control, or the ability to complete normal inflation work.
- Replace it if a non-serviceable leak prevents it from building or holding pressure.
- Replace it if the gauge or automatic shut-off remains unreliable after verification and service options are not practical.
- Replace it if electrical damage, a damaged battery, repeated overheating, or internal mechanical failure makes continued use unsafe.
Do not use age or a fixed inflation time by itself as the deciding factor. A large tire starting at very low pressure can take much longer than a small tire that only needs a few PSI.
Key Features to Prioritize in a Replacement Inflator
Choose a replacement based on the tires and power sources you actually use. Start with compatibility: the inflator must be able to reach your vehicle manufacturer’s recommended cold tire pressure and should be suitable for your tire size.
Compare airflow or inflation-time specifications, duty cycle, maximum pressure, hose length, power connection, gauge accuracy, and warranty. Maximum PSI alone does not tell you how fast an inflator will fill a tire.
An automatic shut-off feature can make inflation easier by stopping near a selected target pressure, but you should still verify tire pressure with a reliable gauge when accuracy matters.
For roadside use, consider storage size, cord or hose reach, lighting, and whether the unit works with the power source available in your vehicle. For cordless models, also consider battery availability and whether the battery is shared with tools you already own.
How to Keep Your Replacement Inflator Ready
Store the inflator in a clean, dry place within the temperature range allowed by its manual. Keep the hose, chuck, adapters, plug, clamps, and battery protected from damage.
Readiness matters more than a fixed maintenance calendar: inspect the inflator, keep its approved power source available, and follow the manual for storage and cool-down.
- Inspect the hose, chuck, cord, plug, clamps, or battery periodically for damage or corrosion.
- Keep vents and fittings clean without forcing debris deeper into the unit.
- For cordless models, recharge or store the battery according to the battery manufacturer’s instructions.
Before a long trip, make sure the inflator powers on and that you have the correct adapters. If practical, compare its pressure reading with a reliable gauge before you depend on it for roadside use.
Frequently Asked Questions
What Is the 7 7 Rule for Tires?
There is no universal tire-inflator replacement standard called the “7/7 rule.” The phrase is used inconsistently online for tire-related advice, so it should not be used to decide when to replace an inflator.
For tire condition, follow the vehicle and tire manufacturers’ guidance. NHTSA says tire age recommendations vary by manufacturer and that tread, damage, pressure retention, vibration, and other condition changes also matter.
What Is the 5 PSI Rule?
There is no universal “5 PSI rule” for setting normal tire pressure. Use the vehicle manufacturer’s recommended cold tire pressure shown on the driver-side tire placard or in the owner’s manual.
If a tire is several PSI low, correct it to the placard value and check for continuing pressure loss. Do not wait for the TPMS warning before checking tire pressure; NHTSA notes that the warning is intended for significant underinflation.
What Is the Best PSI for a Tire Inflator?
There is no single best maximum-PSI rating for every tire inflator. Choose a model whose rated pressure range covers the tires and equipment you plan to inflate, then set the tire itself to the vehicle manufacturer’s recommended cold pressure.
Do not use the inflator’s maximum PSI rating or the maximum pressure molded on the tire sidewall as the normal target for your vehicle. Also compare airflow, duty cycle, tire-size suitability, and gauge accuracy when choosing an inflator.
Will It Ruin Tires if You Inflate Them to 40 PSI Instead of 35 PSI When the Recommended PSI Is 35?
If the vehicle placard calls for 35 PSI cold, set the tire to 35 PSI when cold rather than intentionally leaving it at 40 PSI. Overinflation can change ride and handling and can increase center-tread wear.
A brief reading above the cold specification after driving does not mean you should immediately bleed the tire down, because tire pressure rises as the tire warms. Recheck and adjust when the tire is cold, following the vehicle manufacturer’s recommendation.
Conclusion
Replace your tire inflator when a confirmed fault makes it unsafe, inaccurate, or unable to complete normal inflation work. Persistent leaks, unreliable pressure readings, electrical damage, repeated overheating within the rated duty cycle, and major performance loss are stronger reasons to replace it than age alone.
Before buying a new unit, rule out the tire, valve, hose connection, fuse or power source, battery charge, and required cool-down period. For the replacement, choose the right tire-size capability, duty cycle, airflow, pressure range, gauge accuracy, and power source for your vehicle.

