
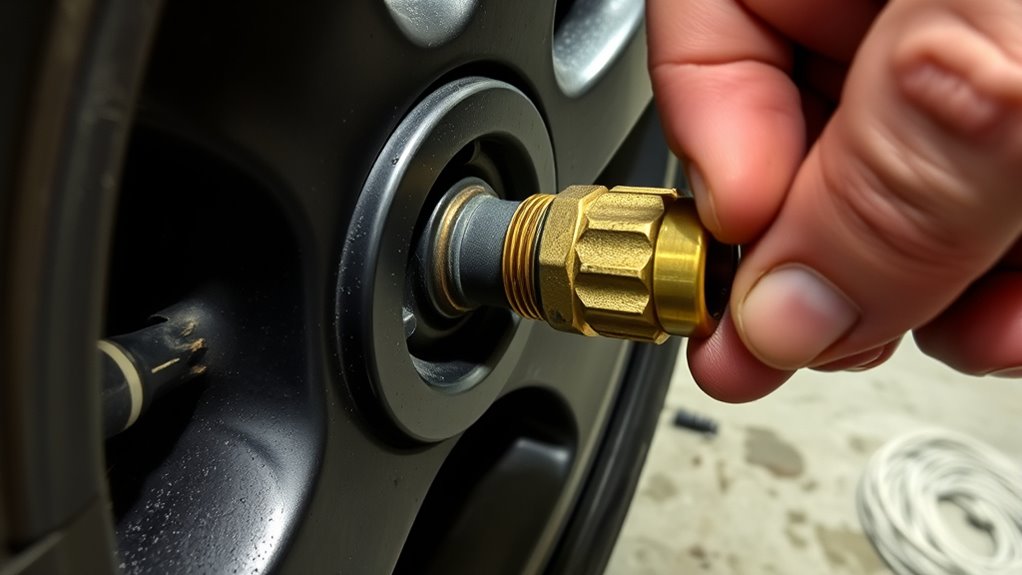
If your tire inflator screw-on chuck is stuck, you’re likely dealing with a poor valve seal, crooked seating, trapped air pressure, or wear in the chuck’s rubber membrane. Hold the hose firmly against the tire, then turn the chuck off with steady counterclockwise torque. If needed, briefly bleed the valve core to release pressure. Check for leaks, clean the threads, and inspect the valve and chuck—there’s more to diagnose if the problem keeps coming back.
Key Takeaways
- A stuck screw-on chuck is often caused by incomplete engagement, crooked seating, or a worn rubber seal trapping pressure.
- Keep the hose pressed to the tire and turn the chuck counterclockwise with steady force, not jerking.
- If needed, briefly depress the valve core to bleed excess air before loosening the chuck.
- Clean the threads, inspect the Schrader valve, and check the chuck for wear or membrane damage.
- Prevent future sticking by fully seating the hose, keeping parts clean, and storing the inflator properly.
Why Tire Inflator Chucks Get Stuck
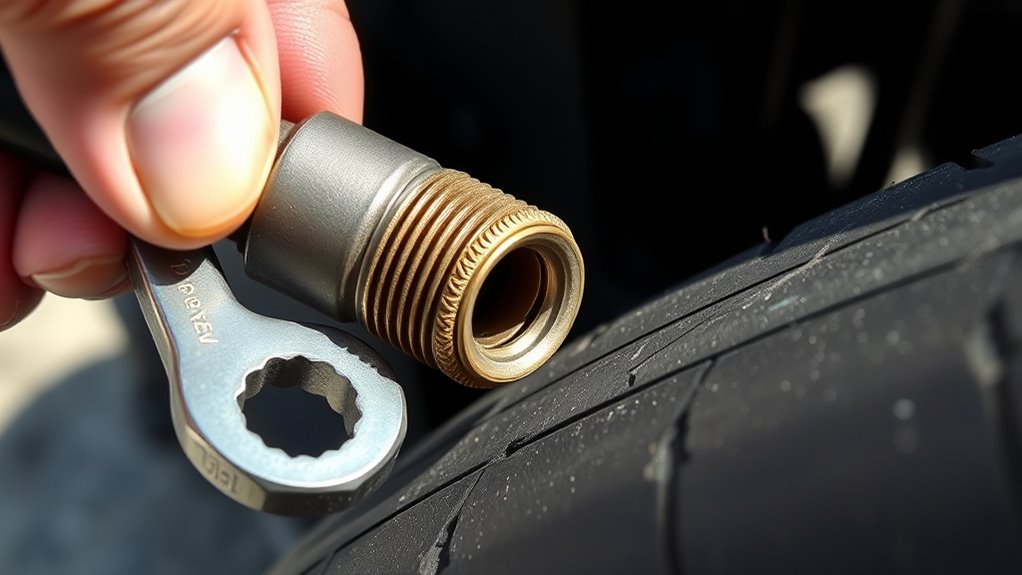
Tire inflator chucks usually get stuck when they don’t fully engage the Schrader valve, which can trap air pressure and make the chuck difficult to unscrew without a leak.
You can worsen this when the tire inflator sits crooked on the valve stem, so the seal never forms cleanly. Wear on the chuck’s rubber membrane also weakens contact, letting air pressure escape unevenly and locking the connection in place.
Low battery levels can drop pump output and cause pressure swings, and a loose hose attachment can do the same by interrupting the seal. If you overinflate, pressure builds inside the chuck and resists removal.
Low battery levels and loose hose fittings can disrupt the seal, while overinflation can trap pressure and make removal difficult.
You’ll prevent many failures by checking maintenance points before use and replacing worn pump heads. Aftermarket heads with hose clamps, not crimped fittings, often hold better over time.
Keep your system tight, aligned, and maintained so you stay in control.
How to Remove a Stuck Screw-On Chuck
When a screw-on chuck won’t back off, keep the hose pressed against the tire as you unscrew it to hold a better seal and reduce air loss. Use steady counterclockwise torque; don’t jerk it. If pressure is high, briefly depress the valve core to bleed a little air, then try again.
Check whether the hose was seated crookedly, because a bad attachment can bind the chuck and waste pressure. Verify the tire with a separate gauge so you know if over-inflation is part of the problem.
- Brace the chuck and hose together.
- Release a small amount of air if needed.
- Inspect the fit and test pressure.
Once it comes free, clean the threads and inspect the chuck for wear. A quick maintenance check before your next inflation keeps the setup ready and gives you a new account of how the tool should feel: smooth, firm, and free.
How to Fix Air Leaks at the Valve Stem
If air is leaking at the valve stem, start by checking the Schrader valve and core for wear, debris, or corrosion. Clean the stem, then inspect the core for looseness. Use a valve core tool to snug it; a loose core often lets air escape.
For quick diagnosis, brush a little soapy water over the valve stem and watch for bubbles. That leak test shows exactly where the seal fails, so you can act with precision. If the core is damaged, replace it. If the leak continues after that, replace the entire valve stem.
Consistent valve stem maintenance keeps you in control and prevents wasted air. Make air pressure monitoring part of your routine, and follow basic tire inflation tips so you don’t chase repeat leaks. When you handle the problem directly, you protect your time, your tire, and your freedom to move without pressure loss.
Why Tire Inflators Overshoot PSI
Even after you fix a leaking valve stem, an inflator can still push past your target PSI for a few common reasons. You’re usually seeing calibration errors, battery performance drift, or air leakage at the hose connection.
Even with a fixed valve stem, inflators can still overshoot from calibration drift, weak batteries, or hose leaks.
If the tool reads low, it keeps pumping; if it reads high, it can still miss the cutoff and overfill your tire.
- Calibration errors: the gauge doesn’t self-correct fast enough when it hits target pressure.
- Battery performance: a weak pack can slow the motor and skew PSI readings.
- Air leakage: an incomplete screw-on chuck lets air escape, confusing the sensor and extending fill time.
Some inflators also don’t auto-deflate after overshoot, so you must bleed air manually to hit spec.
If the PSI jumps while the motor warms or the fan kicks on, treat that as a warning that the reading’s unstable, not freedom.
How to Prevent Chuck Problems
To prevent chuck problems, keep the chuck and valve area clean so debris doesn’t build up and cause sticking or air leaks. Your preventive maintenance should include wiping threads, checking the Schrader valve, and inspecting the rubber membrane for wear. A sound chuck design still needs good user habits: fully seat the hose before inflation, then remove it straight to reduce strain.
| Check | Why it matters | Action |
|---|---|---|
| Chuck threads | Smooth movement | Apply a small amount of silicone spray |
| Valve seal | Prevents leaks | Verify full engagement before inflating |
| Rubber membrane | Maintains grip | Replace if cracked or deformed |
| Storage | Limits fit changes | Keep it cool and dry |
Store the inflator away from heat and moisture so expansion or contraction doesn’t distort the fit. These simple steps keep you in control, reduce frustration, and let you work free from stuck hardware.
Frequently Asked Questions
What Are the Common Problems With Car Tire Inflators?
You’ll usually face tire pressure drift, air leaks at the chuck, and inflators that overshoot your target PSI.
You may also see fluctuating readings, weak performance as batteries drop, and pump heads that wear out fast.
Good inflator maintenance helps you spot loose seals, reduce pressure loss when removing the chuck, and correct over-inflation with manual bleed.
Check your gauge often, and replace damaged parts early.
What Should I Do if I Have a Screw Stuck in My Tire?
Park, inspect, assess. You should stop on stable ground, check that the tire isn’t flat, and remove the screw with pliers if it’s safe.
Expect some air loss, so keep your emergency kit ready. If the puncture’s under 1/4 inch and away from the sidewall, do tire repair with a plug kit.
Check pressure with a gauge, follow safety tips, and call a pro if the damage looks serious.
How to Fix a Tire Inflator?
Check the air hose first: you can’t fix a tire inflator until you find leaks, cracks, or loose fittings.
Tighten the chuck, verify the valve connection, and test tire pressure with a separate gauge. If the inflator still misreads or won’t seal, clean the threads, add a touch of lubricant, and inspect the rubber seals.
Routine inflator maintenance keeps your tool reliable and keeps you in control.
How to Reset Portable Tire Inflator?
Unplug your portable tire inflator and remove all hoses; it’ll feel like you’ve cut a thousand tangled cords.
Press and hold the reset button for a few seconds, then check the display for error codes.
Reconnect only after the unit cools and the battery’s fully charged.
Use inflator maintenance tips, troubleshooting inflator issues, and choosing best inflator practices to keep you independent and ready.
Conclusion
When your tire inflator screw-on chuck sticks, you usually can trace it to worn threads, dirt, or a damaged valve core. Releasing pressure, cleaning the valve stem, and replacing faulty parts solve most cases fast. You’ll also avoid PSI overshoot by using a gauge and stopping near the target. Since underinflated tires can cut fuel economy by up to 3%, a smooth, leak-free chuck isn’t just convenient—it helps you keep tires safe, efficient, and easy to service.

