
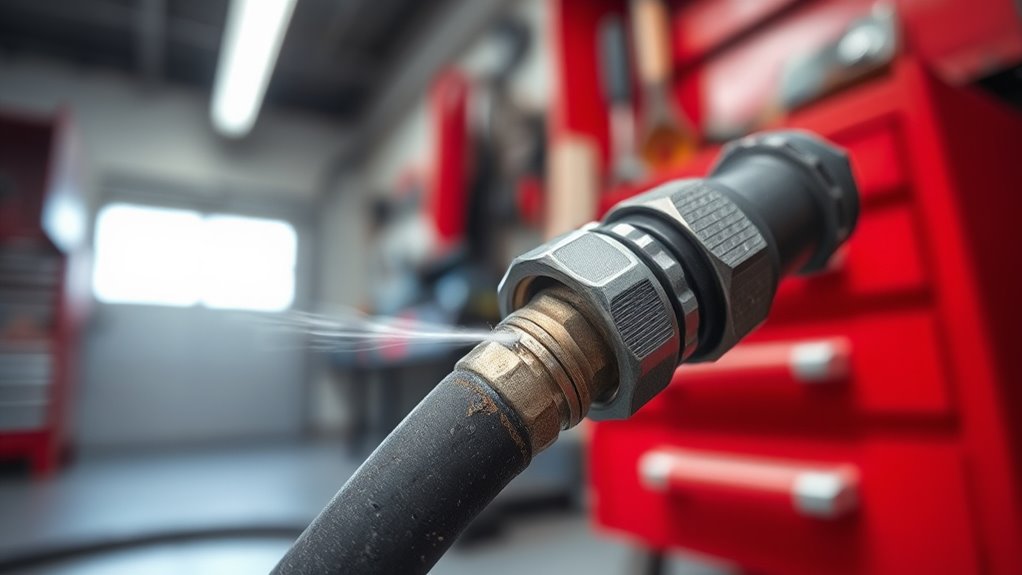
A tire inflator hose usually leaks air because a fitting is loose, a seal is worn, or the hose has a small puncture. First, inspect the hose for kinks, cuts, and hard spots, then check the quick-connect plug and threaded joints. Tighten connections, replace damaged seals, and use soapy water to confirm bubbling. Patch minor punctures with a hose repair kit. If leaks persist, the inflator or hose may need replacement, and there’s more to check next.
Key Takeaways
- Check hose, fittings, and seals for loose connections, cracks, punctures, or wear.
- Use soapy water to locate leaks by watching for bubbling at joints or damaged spots.
- Tighten fittings and apply thread seal tape to male threads if leaks continue.
- Patch small punctures with a rubber hose repair kit, or replace badly damaged hoses.
- Replace the inflator if leaks persist, internal wear is suspected, or repair costs exceed replacement.
Why Your Tire Inflator Hose Leaks Air?
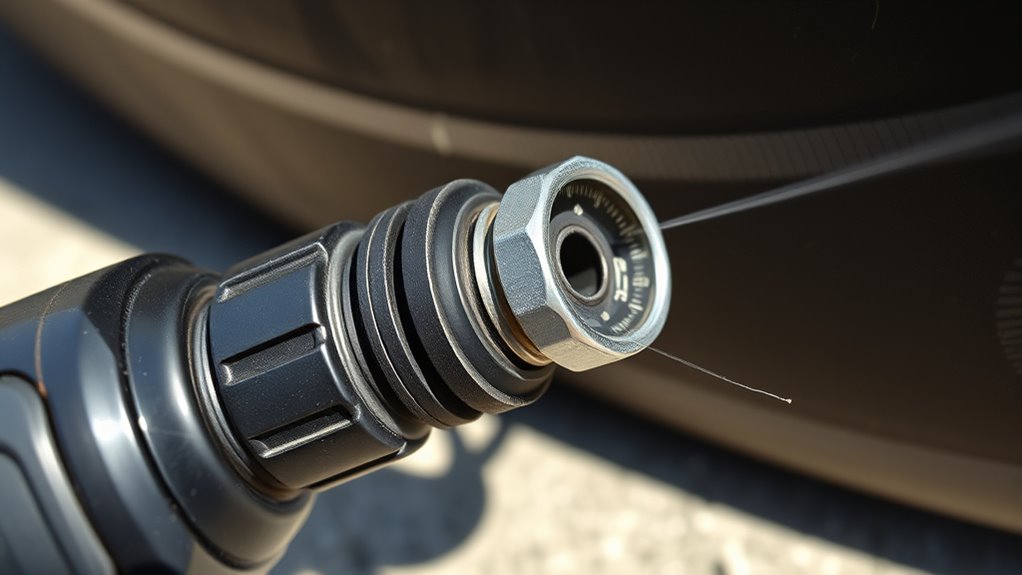
A few common faults usually cause a tire inflator hose to leak air: loose fittings, worn or damaged seals, and punctures from abrasion or sharp objects.
You can also get air leaks when UV rays, heat, cold, or chemical exposure break down the hose wall. In a tire inflator, that degradation weakens flexibility and opens tiny escape paths.
If you hear hissing or see pressure drop, test the hose with soapy water; bubbles mark the leak point fast. Inspect the hose for cuts, cracks, swelling, and hard spots, then check the fittings for alignment and seal condition.
Preventive care matters: store the hose away from sunlight, clean contaminants off it, lubricate moving parts as needed, and avoid over-inflation. These steps reduce strain and delay failure.
When damage is localized, hose repair can restore service; when wear is widespread, replace the hose and regain control over your tools.
Check the Tire Inflator Hose and Fittings
Once you’ve confirmed a hose leak, inspect the tire inflator hose and fittings closely for the source. Run your hand along the hose and look for kinks, cuts, punctures, or abrasion that can let air escape. Even small damage can compromise pressure retention.
Check every fitting for secure engagement and verify that the connector seats fully. Loose or misaligned fittings often create leaks under load. Examine seals at each connection point for cracks, flattening, or other degradation that blocks proper sealing.
Check each fitting for a secure seat and inspect seals for cracks, flattening, or wear that can cause leaks.
If the fault isn’t obvious, apply a soapy water solution to the hose and fittings, then watch for bubbles. Bubbling marks escaping air and pinpoints the leak location fast.
Keep the hose clean and maintain the fittings with appropriate lubricant to reduce wear and support long-term performance. A disciplined inspection lets you isolate failures quickly and keep your inflator operating with precision and control.
Fix Loose Connections and Worn Seals
Tighten every hose connection first, because loose fittings can bleed off a surprising amount of air during operation. You should fix loose connections by hand-tightening, then use the proper wrench to snug threaded joints without over-torquing.
If the fitting still leaks, apply thread seal tape to the male threads and reseat the connection. Next, inspect worn seals at couplers, valves, and adapters. Cracked, flattened, or hardened seals can’t hold pressure, so replace them immediately to prevent leaks and restore a clean seal.
To confirm the fault, brush soapy water over each joint and watch for bubbles where air is escaping. That’s your diagnostic proof, not guesswork. Keep the hose surfaces clean and dry before reassembly, and verify each connection after pressurizing.
If you see visible wear on the hose itself, don’t ignore it; address it before it escalates. Tight seals give you control, efficiency, and freedom from constant pressure loss.
Repair Small Punctures in the Hose
Patch small punctures with a rubber hose repair kit that includes the right adhesive and a matching patch. Before you repair, unplug the inflator and shut off the compressor. Cut power first; don’t invite a sudden start.
Inspect the hose, locate the leak, and mark it. Clean the puncture area with sandpaper or a utility knife, removing grime, oxidation, and loose rubber so the patch bonds well.
Apply the adhesive exactly as the manufacturer directs, then press the patch over the puncture with firm, even pressure. Hold it in place, and let it cure for the full recommended time before you return the inflator to service.
After curing, test the hose at low pressure for residual leakage. If the repair holds, you’ve restored function without replacing the line.
Keep checking for signs of wear and tear on the hose; routine inspection helps prevent future punctures and keeps your system ready.
Check the Quick-Connect Plug for Leaks
Inspect the quick-connect plug seal for wear, damage, or a compromised O-ring, since any defect can let air escape.
Tighten the fitting fully at both the inflator and hose so you’re not dealing with a loose connection.
If you suspect a leak, apply soapy water to the joint and watch for bubbling.
Inspect Plug Seal
A leaking quick-connect plug can cut airflow fast, so check the plug seal if your inflator is losing pressure. Inspect the plug body, seal, and O-ring for wear, cuts, or deformation. Dirt can block contact surfaces, so clean both faces before testing. Use soapy water around the connection and watch for bubbles; bubbles confirm leaks at the plug interface. Keep the plug fully seated on the inflator and hose, because a loose fit wastes pressure.
| Check | Result |
|---|---|
| Visual damage | Cracks, wear |
| Soapy water test | Bubbles = leaks |
| O-ring condition | Replace if worn |
If you find damage, replace the seal parts before you keep inflating. A sound plug helps you work with control, not compromise.
Tighten Quick-Connect Fitting
Tighten the quick-connect fitting if the plug still leaks after you’ve checked the seal. Inspect the quick-connect fitting for visible wear, cracks, or damage at the connection points.
Push it firmly into place until you hear a click; that confirms the plug’s locked. If air leaks continue, use a wrench to tighten the quick-connect fitting just enough to secure it. Don’t over-tighten, or you can strip threads and weaken the assembly.
Check the O-ring for cuts, flattening, or hardening, because a bad O-ring is a common leak source. Replace it if needed.
If leaks persist, add thread seal tape to the threads for a snug, controlled seal. Recheck the fitting under pressure and restore your airflow with confidence.
Test for Leaks With Soapy Water
Mix dish soap with water in a spray bottle, then apply it to the tire inflator hose and all connection points while the inflator is running and pressurized. This test for leaks with soapy water gives you a fast, non-invasive diagnosis.
Watch each fitting, the hose body, and the valve interface closely. If air is escaping, you’ll see bubbles forming at the exact leak site. That pinpointed response helps you isolate the fault without disassembly.
Keep the air compressor at operating pressure during the check, because low pressure can hide small losses. Move methodically and respray any suspect area to confirm the result. Small leaks may only show a brief foam cluster, so observe for a few seconds.
If bubbles persist after tightening and retesting, you may need to replace the damaged section. This simple field test keeps you in control and lets you identify the breach before it becomes a larger failure.
Replace the Hose or Inflator When Needed
If you see kinks, cuts, punctures, or UV and heat damage, replace the hose instead of trying to patch it.
If leaks persist after a new hose, or the motor fails or pressure readings drift, you may need a new inflator.
Compare repair costs with the price of a replacement; when they’re close, a new unit’s usually the better fix.
Hose Replacement Signs
When your hose shows visible damage such as kinks, cuts, or abrasions, replace it before air loss gets worse. These hose replacement signs mean the line’s integrity is failing. If you keep seeing frequent leaks at fittings after tightening, the seals or hose are likely worn out. A steady pressure drop during inflation points to internal damage, so don’t fight a failing hose. UV, chemicals, and heat also weaken the material over time. Use this check:
| Symptom | Likely Cause | Action |
|---|---|---|
| Visible damage | Wear | Replace |
| Frequent leaks | Worn seals | Inspect |
| Pressure drops | Internal failure | Replace |
| Brittleness | Degradation | Replace |
| Repair cost high | Inefficient fix | Upgrade |
Choose reliable hardware and free yourself from recurring failures.
Inflator Replacement Triggers
Visible hose damage, recurring leaks, and pressure loss often mean you’re past simple troubleshooting and into replacement territory. Inspect the hose for kinks, punctures, or hardening; those defects usually justify replacement.
If you can’t restore a seal after checking the fitting and a faulty valve, find replacement hoses that match your inflator’s thread and pressure rating. Replace the whole inflator if the motor stalls, the gauge drifts, or accuracy stays off after calibration. Those failures point to internal wear, not a simple hose issue.
When repair effort starts nearing the cost of a new inflator, choose the cleaner exit and regain dependable performance. A newer model can also give you better hose design, fewer leak points, and steadier inflation under real use.
Repair Cost Comparison
A damaged hose usually costs just $10 to $30 to replace, while a new tire inflator typically runs $50 to $150. So, minor hose faults are usually cheaper to fix than to replace the whole unit. You should compare repair costs before you commit.
If the leak comes from a single crack, hose replacement is the rational move. If the tire inflator is old, or other parts are failing, your total can climb fast. When repairs exceed 50% of a new unit’s price, replacement often wins.
Check age, seals, and valves, because common problems rarely stay isolated. Routine inspections help you catch wear early and avoid inflated repair costs. Choose the fix that restores reliable output, not the one that merely delays another failure.
Frequently Asked Questions
How to Fix Tire Inflator Hose?
You fix it by inspecting the hose for kinks, punctures, and loose fittings. Then you apply hose repair techniques to sealing leaks at the damaged point.
Use soapy water to diagnose bubbles, tighten connections, and replace worn o-rings. These inflator maintenance tips prevent repeat failure.
If the hose is split, swap it out. For emergency fixes, tape may hold briefly, but don’t trust it long term.
What Are the Common Problems With Car Tire Inflators?
You’ll see loose fittings, cracked hoses, and worn seals as common problems with car tire inflators.
You may also face inflator performance issues from overpressure, damaged motors, or inaccurate gauges. Different tire inflator types fail differently, so check specs.
For air compressor maintenance, inspect hoses, tighten connections, and avoid kinks.
Use troubleshooting tips: test for leaks, clean contacts, and replace damaged parts before failure spreads.
How to Reset Portable Tire Inflator?
You reset it by unplugging the portable inflator, waiting a few minutes, then reconnecting it so the system can recalibrate.
If your unit has a reset button, press it after checking the hose seal.
These resetting procedures support portable inflator maintenance and pressure gauge calibration.
Follow your manual, then test inflation.
The moment matters: one small correction can restore control.
Use these troubleshooting tips to keep your gear working free and true.
Why Does My Air Compressor Keep Leaking Air?
Your air compressor keeps leaking air because you’ve got loose fittings, worn seals, damaged hoses, or clogged vents disrupting pressure regulation.
You should inspect every connection, then tighten, clean, and replace bad O-rings or tubing.
Good compressor maintenance stops air leaks before they waste power.
If the problem persists, use sealing solutions like thread sealant or new gaskets.
You’ll restore control and keep your system free, efficient, and ready.
Conclusion
In short, you can stop a tire inflator hose from leaking air by inspecting the hose, tightening the fittings, repairing small punctures, checking the quick-connect plug, and testing the system with soapy water. You save time when you find the fault, you save pressure when you seal the leak, and you save money when you replace worn parts. If the hose still leaks after your checks, replace it or the inflator to restore reliable performance.

