
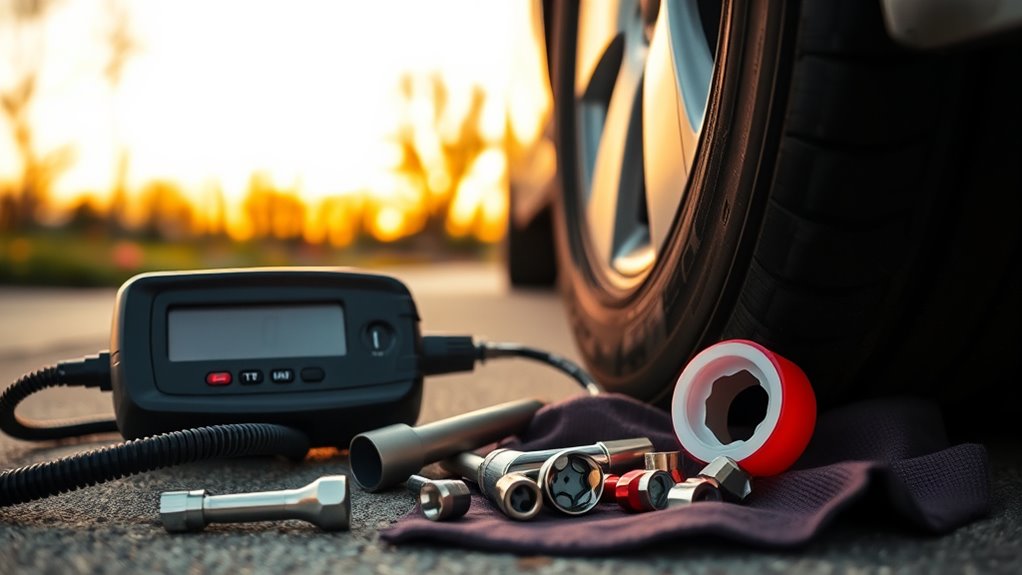
If your tire inflator isn’t building pressure, check the power source, fuse, and battery first, since weak input can stop the motor from working properly. Inspect the hose, valve stem, and seals for leaks, cracks, or loose fittings. Verify the PSI setting and gauge accuracy, because bad auto-shutoff data can end inflation early. If the unit runs but still won’t pressurize, the motor or internal pump may be failing, and there’s more to confirm next.
Key Takeaways
- Check the power source, plug, fuse, and battery first, since weak or interrupted power often prevents inflation.
- Inspect the hose, valve stem, and seals for leaks, cracks, kinks, or loose fittings that stop pressure buildup.
- Let the inflator cool if it overheated, because thermal protection can shut the unit off during extended use.
- Verify PSI settings and gauge accuracy, since incorrect targets or faulty sensors can cause premature auto-shutoff.
- If it runs but still won’t pressurize, the motor or internal pump may be failing and need repair or replacement.
Why Isn’t My Tire Inflator Building Pressure?
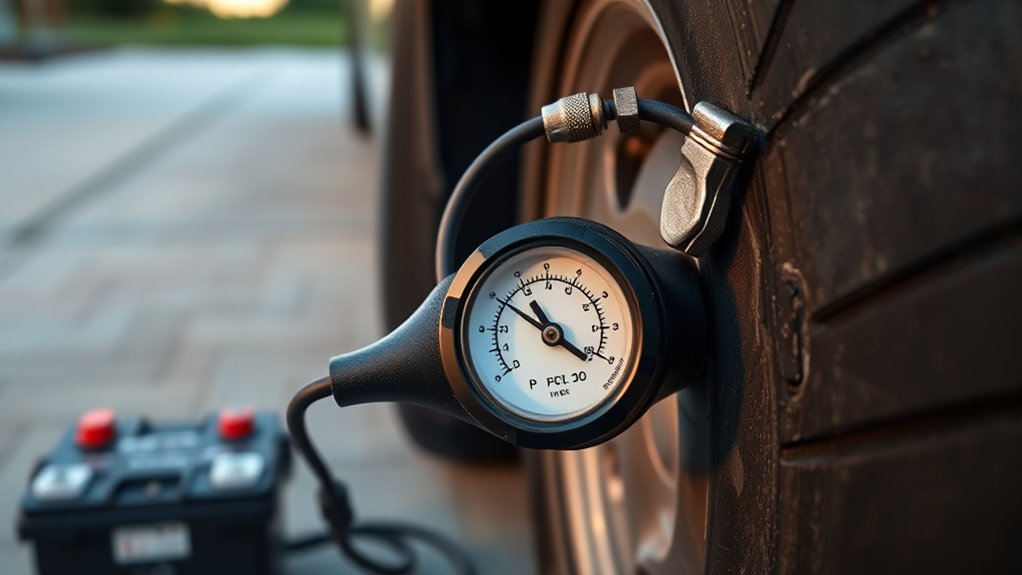
If your tire inflator isn’t building pressure, start by checking the power supply, since a dead battery or loose connection can keep the motor from running correctly.
After that, inspect the power source for signs of instability and verify the unit engages under load.
Inspect the power source for instability, and confirm the inflator engages properly under load.
Then examine the hose, fittings, and tire valve for clogs, cracks, or poor seating that can restrict airflow or let air leaks bleed off pressure.
A damaged internal piston can also reduce compression, so listen for weak operation or uneven cycling.
If the gauge or pressure sensor misreads PSI, the inflator may stop early even though the tire isn’t full.
Extended use can overheat the unit and trigger a safety shut-off, which pauses inflation until it cools.
Keep the hose attached firmly, maintain the tool regularly, and you’ll restore control over pressure generation instead of surrendering to mechanical failure.
Check the Power Source First
First, verify that you’ve connected the inflator to a live power source and that the plug, cord, and terminals are secure and free of corrosion or damage.
Next, check the vehicle fuse or inline fuse, because a blown fuse can stop current flow even when the outlet seems fine.
If you’re using a battery-powered unit, confirm the battery’s charge state and capacity, then test the inflator on another power source if you can.
Verify Power Connection
Start with the power source, since a loose or faulty connection can stop the inflator from turning on or building pressure.
Check the Power Source by confirming the plug seats firmly and the cord isn’t strained, pinched, or intermittent.
Inspect the charging port or outlet for corrosion, dirt, or debris that can interrupt power flow and create hidden leaks in performance.
If you use a battery-powered unit, verify the battery is fully charged and not degraded.
Then test the inflator with a different power source to isolate the fault and prove whether the original supply is unstable.
This diagnostic step keeps you in control: you identify the electrical break, restore reliable power, and move closer to independent inflation without guesswork.
Check Fuse Condition
Check the car’s cigarette lighter fuse next, since a blown fuse can cut power to the tire inflator and keep it from building pressure. To check fuse condition, pull the fuse and test continuity with a multimeter. If the meter reads open, replace it. Then inspect the power source path for secure, clean contacts.
| Check | Tool | Result |
|---|---|---|
| Fuse continuity | Multimeter | Continuity or open |
| Cigarette lighter fuse | Visual inspection | Blown or intact |
| Internal fuse, if fitted | Test probe | Functional or failed |
| Connector condition | Eye and hand | Tight and corrosion-free |
| Power source output | Inflator test | Stable or interrupted |
If the inflator still fails, its internal fuse may be faulty. Maintain fuses and the power source to keep your equipment reliable and free.
Test Battery Charge
If the fuse and connector path are sound, move on to the battery itself, since a weak power source can leave the inflator running but unable to build proper pressure.
First, test battery charge with a multimeter; a healthy lithium-ion pack should read about 12.6 volts when full. If you see a low battery, recharge it completely before retesting.
Check the terminals for corrosion, dirt, or looseness, because resistance here chokes current flow. If the inflator uses a car adapter, inspect the fuse and adapter body for wear or damage, then verify power delivery.
An older battery, or one deeply discharged many times, may no longer hold enough charge. Replace it if voltage stays low after charging.
Look for Hose, Valve, and Seal Leaks
Inspect the air hose for visible cracks, punctures, or loose fittings, since even minor leaks can keep the inflator from building pressure properly. Next, check the hose connection and the valve stem for damage, blockage, or misalignment. If the fit isn’t tight, air leaks around the joint can bleed off pressure before the gauge rises. Also inspect internal seals; worn seals often cause slow, hidden loss that weakens output and wastes your effort.
| Check Point | Symptom | Action |
|---|---|---|
| Hose | Cracks or punctures | Replace or seal |
| Valve stem | Air escape | Clear or repair |
| Seals | Poor pressure buildup | Inspect and replace |
Use a soapy water test on the hose connection and valve stem. Bubbles mark the leak, giving you a precise target for repair. When you isolate the fault, you reclaim control and restore the inflator’s ability to deliver pressure.
Fix Tire Inflator Battery Problems
Check the battery’s health by measuring its voltage during use; if it drops below spec, the inflator may not build pressure reliably.
Inspect the battery and charging port for corrosion, dirt, or loose contacts, and clean them to restore proper power transfer.
If the battery won’t hold a charge or still underperforms after cleaning, replace it or let the unit cool if overheating is triggering shutdowns.
Battery Health Checks
A weak battery can quietly cripple your tire inflator, so start by measuring its voltage and confirming it’s delivering enough power to build pressure effectively.
Check battery voltage with a meter; low readings point to performance issues before you waste time blaming the pump. If you use a lithium-ion battery, keep it charged and avoid deep discharge, which erodes capacity and shortens service life.
Inspect terminals for corrosion, dirt, or looseness, since poor contact can restrict current flow. Feel the housing during operation; if it overheats, stop and let it cool before retrying.
If the unit still won’t hold a charge after several cycles, replace the battery. A healthy power source gives you reliable inflation and control.
Charging Port Issues
When the battery still won’t charge, trace the problem to the charging port and cable first, since dirt, corrosion, or a loose connection can block current flow.
Inspect the charging port closely; any grime or oxidation can create battery issues and prevent a full charge. Clean the port regularly with a dry, nonconductive tool, then reconnect the cable firmly at both ends.
Check for loose connections, bent pins, or frayed insulation that could interrupt charging under load. If the battery still won’t hold power, examine the port and cable for physical damage.
Use a multimeter to verify output voltage from the charging port and compare it with the manufacturer’s specification. When you identify the fault, replace the damaged part and restore dependable, liberated operation.
Reset PSI Settings and Auto-Shutoff
If your tire inflator is shutting off too early, reset the PSI setting according to the user manual and confirm the target matches the recommended pressure on the driver’s door jamb.
Use the reset psi settings function exactly as your model specifies, because the sequence can vary. If you enter a target below the tire’s current pressure, the unit may stop immediately and look faulty when it isn’t.
Inspect the auto-shutoff behavior: if it cuts off before reaching target, recalibrate the control if your inflator allows it. Then compare the digital gauge reading with a separate gauge to verify accuracy.
A mismatch means the inflator’s sensing circuit may need adjustment, not replacement. When the numbers align, you regain control over inflation instead of guessing.
Precise settings free you from underinflated tires, wasted time, and avoidable roadside risk.
Watch for Overheating and Duty Cycle Limits
If your inflator gets hot or shuts off unexpectedly, you’re likely seeing a heat protection trigger.
Most portable units have a 10–15 minute duty cycle, and pushing past it can overheat the motor and damage the unit.
Let it cool for at least 30 minutes before restarting, and keep it in a ventilated area during use.
Heat Shutdown Signs
As your portable tire inflator runs, watch for heat shutdown signs such as a very hot exterior, a built-in cooling fan kicking on, or the unit refusing to restart immediately after use.
These indicators point to overheating, not a pressure fault. Your portable tire inflator may trip an internal safety circuit and pause until components cool, which can take several minutes.
If you’re working in direct sun or a hot garage, the temperature load rises fast. Move to shade, improve airflow, and let the housing rest between jobs.
A unit that feels scorching, cycles its fan, then locks out is telling you to stop pushing it. Reading these symptoms correctly helps you diagnose thermal protection instead of chasing a false failure.
Duty Cycle Limits
Portable tire inflators usually have a 10 to 15 minute duty cycle, so you shouldn’t run one continuously beyond that window if you want to avoid overheating.
You need to treat that limit as a hard operating boundary, not a suggestion. If you keep the compressor engaged too long, internal parts can overheat, trigger a temporary shutdown, and suffer wear that shortens service life.
Check the housing temperature during use; if it feels excessively hot, stop and let the unit rest. Don’t force it to push through thermal stress.
Respecting the duty cycle helps you hold output steady, preserve efficiency, and maintain peak performance.
For reliable inflation, you should work in measured intervals and stay attentive to heat buildup, because disciplined use protects both the tool and your freedom to move.
Cool-Down Before Restart
When an inflator shuts down from heat, you shouldn’t restart it immediately; let it cool for at least 20 minutes before trying again. That cool-down protects the motor, resets the safety shut-off, and helps you confirm overheating caused the stop.
Portable units usually have a duty cycle of 10 to 15 minutes, so don’t run them continuously past that limit. During operation, watch the housing and hose for rising temperature; excessive heat can damage internal components and weaken pressure output.
If the unit keeps quitting, check airflow, voltage, and load, then rest before retrying. Follow the manufacturer’s duty cycle and cool-down guidance exactly.
That discipline keeps your inflator reliable, preserves performance, and gives you control instead of heat-driven failure.
Check the Gauge and Sensor
Check the gauge and sensor first if your tire inflator won’t reach the target PSI, because a faulty gauge can report inaccurate pressure and a miscalibrated sensor can stop the unit too early or prevent it from starting.
Inspect the gauge for cracks, fogging, or sticky movement; these signs point to a faulty reading path. Then compare the inflator’s pressure reading with a reliable external gauge to confirm accuracy. If the numbers disagree, the unit may be lying to you, not resisting you.
Inspect the gauge for cracks or fogging, then verify its reading with a trusted external gauge.
- Verify gauge accuracy against a trusted external tire pressure gauge.
- Check the sensor calibration and reset it if your model allows.
- Test in moderate temperatures, since extreme heat or cold can skew pressure feedback.
If the gauge or sensor is damaged, replace the part before chasing other causes. Precise diagnostics restore control and keep you from letting bad data decide your pressure limit.
Match PSI to Your Tire
Match your inflator’s PSI to the manufacturer’s recommended pressure listed on the sticker inside the driver’s door jamb, because that’s the target for your specific tire and vehicle load. When you match psi to your tire, you remove guesswork and let the system work as designed.
Most passenger vehicles call for 32 to 35 PSI, but your spec can differ with load, tire size, or chassis design. Set the inflator to that value before you start, since incorrect pressure settings can stop the unit from reaching the correct air pressure.
If the tire still reads low, verify it with a separate gauge; inflator displays can drift and hide a slow leak. Also recheck after temperature drops or normal air loss, because pressure changes over time.
Stay precise, stay autonomous, and don’t let a bad setting keep you from clean, reliable inflation.
When Your Tire Inflator Motor Fails
If your tire inflator runs but won’t build pressure, the motor is likely failing internally, with a worn piston, weak output, or another mechanical fault. You may hear the unit spin, yet the tire stays flat because the motor can’t compress air effectively.
- Listen for noise with no pressure rise: that points to a broken piston or worn motor in your tire inflator.
- Check for overheating: if it shuts down early, let it cool; thermal cutout can mimic failure.
- Inspect hose leaks, kinks, and blockages: airflow loss can look like a faulty pressure gauge or a dead pump.
A worn motor often can’t reach target PSI, even when the gauge reads normally. Those common causes signal declining output, not just bad calibration.
Clean vents, verify connections, and keep the unit maintained so you preserve performance and keep your road independence intact.
Repair or Replace Your Tire Inflator
When your tire inflator still can’t build pressure after troubleshooting, weigh repair costs against replacement before sinking more money into a failing unit.
When troubleshooting fails, compare repair costs with replacement before investing more in a failing tire inflator.
If it won’t inflate tires or reach target PSI, even after you’ve checked fittings, you’re likely facing deeper wear. Compare the price of replacement parts, motors, or air hoses with a new inflator; expensive repair can exceed the value of freedom from future breakdowns.
Portable units usually last two to five years, so age matters. If yours is near that limit and shows repeated malfunction, replacement often makes sense.
Repair only when the fault is isolated and parts are cheap. Keep the unit maintained by cleaning air filters and checking for leaks, because those steps can extend service life and improve return on your initial investment.
If you choose repair, verify specs before ordering parts.
Frequently Asked Questions
My Tire Inflator Isn’t Working. What Can I Do to Fix It?
Check the power source first: you may have a dead battery or bad car adapter.
Then inspect the hose, valve, and fittings for leaks, kinks, or blockages.
Verify your pressure setting matches the tire’s PSI, and let the unit cool if it overheats.
For tire maintenance tips, practice compressor care and pressure monitoring.
Clean filters, replace worn parts, and test again.
What Are the Possible Reasons Why My Air Compressor Isn’t Building Pressure?
Your air compressor may not build pressure because you’ve got restricted intake airflow, air hose issues, leaking fittings, a slipping belt, a faulty check valve, or worn piston parts.
You should check compressor maintenance tips first: clean filters, inspect seals, and verify pressure gauge accuracy.
If the gauge reads low or erratic, troubleshoot the sensor.
These faults limit compression, waste energy, and keep you from reaching target pressure.
How to Reset Portable Tire Inflator?
To reset your portable tire inflator, you’ll unplug it, let it cool 10-15 minutes, then check the manual for model-specific steps.
If it has a digital display, hold the power button 3-5 seconds to reset it.
Reconfirm PSI settings, reconnect power, and test it.
These portable inflator maintenance and inflator troubleshooting steps support tire pressure tips and restore your ability to move freely with reliable inflation.
What Are the Common Problems With Car Tire Inflators?
You’ll often see four common problems: the inflator won’t power on, it runs but won’t build pressure, it overheats and shuts off, or it can’t reach the set PSI.
You should also check for hose leaks, loose valve connections, weak batteries, and broken internal pistons.
Use tire maintenance tips, follow inflator safety precautions, and compare choosing inflator types carefully to match your vehicle and workload.
Conclusion
If your tire inflator won’t build pressure, start with the basics: power, seals, settings, and sensors. You can trace most failures like a mechanic following a pressure leak through a hose. Check for weak batteries, loose fittings, and incorrect PSI targets before blaming the motor. If the unit still stalls, the pump or gauge may be worn out. Diagnose it step by step, fix what’s failing, and replace the inflator only when repairs can’t restore output.

