
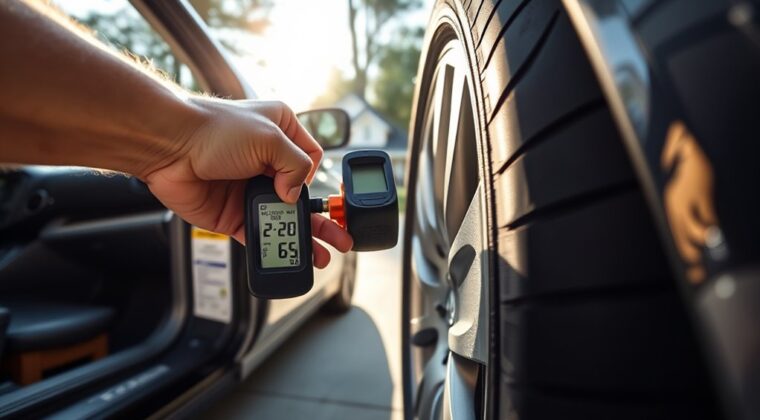
You can find your recommended tire pressure on the driver’s door placard or in the owner’s manual, and that PSI is the baseline for cold tires. Use a tire pressure gauge to check each tire, then add or release air with a compressor until you match the listed front and rear values. Don’t use the sidewall maximum for normal driving. Vehicle load, temperature, and TPMS can change readings, and there’s more to get right.
Key Takeaways
- Check the driver’s side door jamb sticker for the manufacturer’s recommended cold tire PSI.
- Use the owner’s manual if the door placard is missing or unclear.
- Follow separate front and rear PSI values if your vehicle lists both.
- Measure tire pressure when tires are cold using a reliable tire gauge.
- Avoid using the tire sidewall maximum PSI as your daily target pressure.
What Is Recommended Tire Pressure?
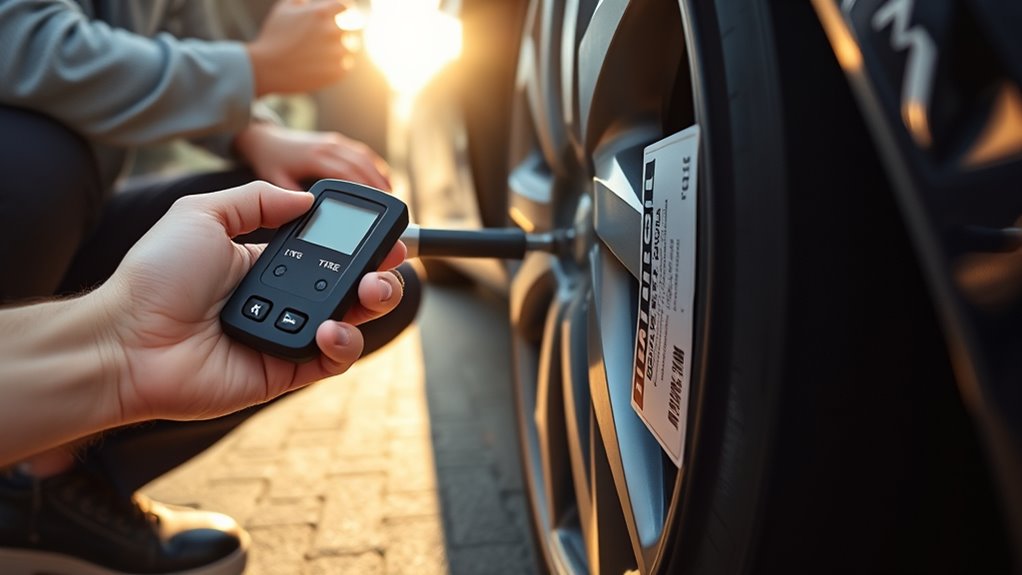
Recommended tire pressure is the PSI your vehicle manufacturer specifies for your tires, and you can usually find it in the owner’s manual or on a sticker in the driver’s door jamb or glove box.
This setting tells you the correct vehicle’s tire pressure for safe, efficient operation. You should treat it as a baseline, not a guess. The exact PSI depends on your vehicle’s make, model, tire size, and load requirements. Most vehicles call for 30 to 35 PSI, but you should follow your own specification.
Treat recommended tire pressure as your baseline—your vehicle’s exact PSI depends on make, model, tires, and load.
Check the pressure when tires are cold, before you drive, so heat doesn’t distort the reading. Use your tire pressure monitoring system as a warning tool, not a substitute for manual checks.
Maintaining recommended tire pressure improves handling, fuel economy, tire life, and safety. You’ll keep your vehicle ready, responsive, and free from avoidable waste.
Find Your Tire PSI
You can find your vehicle’s recommended tire PSI on the driver’s side door jamb sticker, which gives the correct pressure for daily driving.
If you can’t locate it there, check your owner’s manual for the manufacturer’s specified values.
Use those figures instead of the tire sidewall maximum, and verify both front and rear tire pressures.
Check Door Jamb Sticker
Open the driver’s side door and check the door jamb sticker, because it usually lists the correct tire PSI for both the front and rear tires.
This quick check door jamb sticker step gives you the recommended tire pressure set by vehicle manufacturers for your exact tire size and load rating. Use the sticker’s PSI numbers as your target cold pressure, since heat from driving can skew readings.
- Locate the sticker on the driver’s door jamb or rear edge.
- Read separate front and rear PSI values.
- Compare them with your cold tire readings.
- Ignore the tire sidewall maximum unless the sticker says otherwise.
Use Owner’s Manual
Your owner’s manual is the most reliable source for your vehicle’s tire PSI because it lists the manufacturer’s recommended pressure for your exact setup, often with separate values for front and rear tires.
Use it to verify recommended tire pressure in PSI, then match those numbers to your tire specifications and current load. If you’ve changed tire sizes, wheels, or cargo weight, recheck the manual before you inflate. That step helps you avoid guesswork and keeps proper tire inflation aligned with how you actually drive.
You can also cross-check the driver’s door jamb sticker for a quick reference, but the manual stays authoritative when conditions change.
Check the Driver’s Door Placard
You can usually locate the driver’s door placard on the door jamb or rear edge of the driver’s door.
Read the listed PSI for the front and rear tires, and use the cold-inflation values shown there.
Match the OE tire size on the placard to your tires so the pressure spec aligns with your vehicle’s load and safety requirements.
Locate Door Placard
The driver’s door placard is the quickest source for your vehicle’s recommended tire pressure, usually listed in PSI. Open the driver’s side door and inspect the door jamb; the car manufacturer places the label where you can read it fast and check your tire pressure before driving.
Use a tire pressure gauge to compare each tire with the recommended pressure, not the sidewall maximum. The placard also shows tire size and load capacity, which helps you match specs without guesswork.
- Find the placard on the inside door jamb.
- Read the PSI (pounds per square inch) value.
- Compare it with your gauge reading.
- Inflate or release air to meet the placard.
Read PSI Specifications
Check the driver’s door placard to read the manufacturer’s recommended PSI for both the front and rear tires; it’s the authoritative source for proper tire pressure and typically sits on the driver’s side door jamb or the rear edge of the door.
| Item | Value |
|---|---|
| Front PSI | See placard |
| Rear PSI | See placard |
| Check state | Cold tires |
| Reference | driver’s door placard |
| Warning | Ignore tire sidewalls |
Use the listed recommended PSI only when your tires are cold, after the vehicle has rested for several hours. The placard may also note tire size and load capacity, helping you keep handling stable and compliant. Your pressure monitoring system (TPMS) can alert you to loss, but it doesn’t replace the placard. Read the numbers directly, set tire pressure precisely, and drive with confidence and control.
Match Tire Size
If the placard lists multiple PSI values or tire sizes, match them to the exact OE tire size on your vehicle before setting pressure.
Check the driver’s side doorjamb, where the placard shows the recommended tire pressure, the correct PSI for front and rear tires, and often the vehicle’s load rating. Your tire size matters because different OE sizes can require different inflation targets.
Do this:
- Read the placard.
- Verify your tire size.
- Use the listed correct PSI.
- Ignore the maximum pressure on the sidewall for normal driving.
Set pressure cold, then recheck regularly. This keeps handling stable, preserves freedom from avoidable wear, and helps your vehicle perform safely under real-world load conditions.
Use the Owner’s Manual
Your owner’s manual is the most reliable source for the manufacturer’s recommended tire pressure for your specific vehicle, and it often lists separate front and rear settings based on load and driving conditions.
Open the tire pressure section to find the exact values your model requires for maximum safety and performance. You’ll usually see guidance for different load conditions, including standard driving and fully loaded operation, so you can set pressures that match real use instead of guessing.
Keep the manual accessible in your glove box or digital files; that way, you can verify specs before long trips, seasonal changes, or any change in cargo or passengers.
When checking or adjusting tire pressure, follow the manual’s instructions for your vehicle class and trim. This simple reference gives you control: no dealer dependence, no uncertainty, just the manufacturer’s numbers you need to maintain efficient, safe, and independent driving.
Read a Tire Pressure Gauge
Once you know the manufacturer’s recommended PSI, you need a tire pressure gauge to verify that your tires match it. A gauge measures tire pressure in PSI, so you can make informed, independent decisions about inflation.
Remove the valve cap, then press the gauge firmly onto the valve stem to get an accurate reading. If you hear hissing, the seal isn’t tight, and air is escaping; reset the gauge and try again. Read the display immediately, because that number tells you whether you need to add or release air.
- Remove the valve cap.
- Seat the gauge squarely on the valve stem.
- Read the PSI without delay.
- Repeat to check tire pressure regularly.
Use a reliable gauge and check tire pressure often. That habit protects performance, extends tire life, and supports your freedom to move safely on your own terms.
Check Tire Pressure When Cold
Check tire pressure when the tires are cold, because driving heats the air inside them and can raise PSI by several points. For an accurate reading, check tire pressure before you start driving, or wait at least 2 to 3 hours after parking so the cold tires return to ambient temperature.
Use your gauge, then compare the result with the recommended PSI listed on the sticker in the driver’s door jamb. That value is the standard you should trust, not a guess or a memory.
Regular monitoring pressure matters because tires lose about 1.45 PSI each month, even without leaks. When you check tire pressure this way, you protect fuel efficiency, limit uneven wear, and keep handling predictable.
Cold checks are a small routine, but they give you real control over your vehicle’s condition. Make them part of your maintenance rhythm, and you’ll keep tire pressure within spec.
Inflate Tires With an Air Compressor
To inflate tires with an air compressor, start by confirming the recommended PSI on the driver’s door jamb sticker or in your owner’s manual. Then make sure the tire is cold for an accurate reading. Your freedom starts with exact tire pressure and a clear target.
Connect the air compressor nozzle firmly to the valve stem so air doesn’t leak. Watch the gauge as you add air in short bursts, then stop when you reach the recommended tire pressure.
- Check tire pressure with a reliable gauge.
- Attach the air compressor to the valve stem.
- Inflate in brief bursts to the target PSI (pounds per square inch).
- Recheck tire pressure before driving.
Don’t guess or overinflate; precision protects handling and tire life. If the reading is low, repeat small fills until you hit the correct PSI.
Afterward, verify the final measurement again, because confidence comes from confirmation, not assumption.
Why Tire PSI Varies by Vehicle
Tire PSI varies by vehicle because manufacturers match pressure to the vehicle’s weight, load capacity, tire size, and handling needs.
You’ll see different tire pressure specs because a truck, SUV, sedan, or hatchback carries forces differently. Heavier vehicles usually need higher PSI (pounds per square inch) to support mass and keep the tread stable, while lighter models can run lower settings.
Wider tires can also change the target pressure, since they spread load and affect contact patch shape. Engineers set each recommendation around vehicle dynamics, expected driving conditions, and safety margins, so the number on your placard isn’t arbitrary.
If you ignore that spec, you can sacrifice peak performance, tire wear, fuel economy, and control.
Check your vehicle’s recommended tire pressure regularly, use the exact PSI for your model, and keep your setup aligned with the factory design.
Watch TPMS and Temperature Changes
Your TPMS is your first warning that pressure has fallen about 25% below the recommended level, so don’t ignore the light if you see the “U” symbol with an exclamation point. Treat it as a direct signal to check tire pressure now, not later. Low tire pressure reduces grip, raises heat, and can trigger wear or blowouts.
- Compare each tire pressure to the vehicle placard, then correct it to the recommended level.
- Account for temperature changes: a 10°F shift can move pressure by about 1 psi.
- Watch cold weather closely, because colder air drops psi faster than you may expect.
- If TPMS stays on after inflation, inspect for leaks or a system fault.
Regular checks keep you in control and prevent hidden losses.
When you respond early, you protect performance, extend tire life, and stay free from unnecessary risk on every drive.
Frequently Asked Questions
How to Figure Out Recommended Tire Pressure?
Check your vehicle’s tire pressure in the driver’s door jamb sticker or owner’s manual, then match those PSI values to your tire size and load. You’ll usually see separate front and rear settings.
Use cold tires for accuracy. Keeping the right tire pressure supports ideal inflation, meets safety standards, improves fuel efficiency, and reduces uneven wear patterns.
Recheck after seasonal adjustments, especially when temperatures swing.
What Is the 4 PSI Rule on Tires?
The 4 psi rule means you shouldn’t change your tire pressure by more than 4 psi at once; a U.S. Department of Energy estimate says proper tire inflation can improve fuel economy by up to 3%.
You use gradual inflation tips, then recheck with pressure monitoring to avoid safety concerns. This method helps you keep tire pressure accurate, reduce tire wear, and capture the psi benefits of steady, controlled adjustment.
What Is the 5 PSI Rule?
The 5 psi rule means you should inflate your tires if they’re 5 PSI below the vehicle maker’s recommended pressure.
You use pressure gauges to check, then add air with practical inflation tips. This supports tire safety, limits overinflation risks, and helps you account for temperature effects.
It also protects tread depth and handling. If your tire should be 32 PSI and reads 27, you need inflation.
Should Tires Be 32 or 36 PSI?
Neither by default—you should follow your vehicle’s placard, because tire pressure isn’t a democracy, no matter how loudly the rubber protests.
You’ll usually see 32–36 psi, but your exact target protects Safety concerns, Fuel efficiency, and Tire lifespan. Check front and rear specs, then adjust for Weather impacts.
Use these Maintenance tips: verify cold pressure monthly, inflate precisely, and don’t guess your way into a blowout.
Conclusion
In short, you can find your recommended tire pressure by checking the driver’s door placard, confirming it in your owner’s manual, and measuring your tires when they’re cold. Use a reliable gauge, then inflate to the listed PSI. Remember, PSI can shift with load, tire size, and temperature. I once saw a 6°F drop pull a tire down 1 PSI overnight—like a slow leak in a balloon, it quietly changes performance if you don’t watch it.