
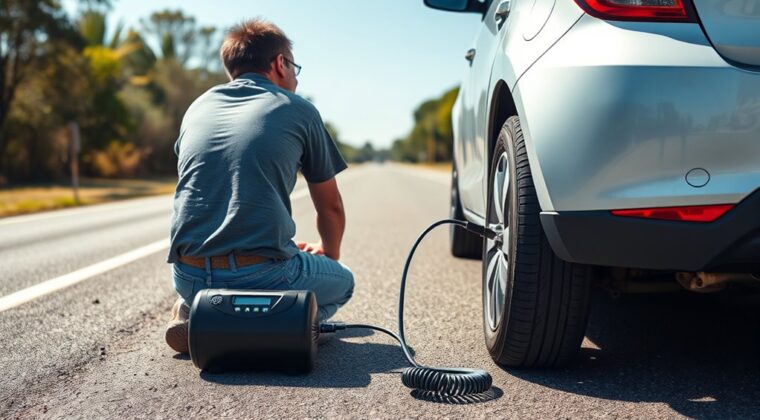
Start by checking your spare tire’s recommended PSI in the owner’s manual or on the tire sidewall; compact donuts are often 60 to 80 PSI. Use a tire gauge to confirm the current pressure, then attach an air compressor and add air in short bursts. Recheck PSI after each burst to avoid overinflation. Inspect for cracks, bulges, or leaks, then reinstall the tire securely. A few more steps can make the job even safer.
Key Takeaways
- Check the spare tire’s recommended PSI in the owner’s manual or sidewall before inflating.
- Use a tire pressure gauge to measure pressure when the tire is cold.
- Attach an air compressor or inflator to the valve stem and add air in short bursts.
- Recheck PSI after each burst and stop when it reaches the correct pressure, usually 60–80 PSI for donut spares.
- Inspect the tire for damage or leaks, and seek professional help if pressure drops again.
Find the Right PSI for Your Spare Tire
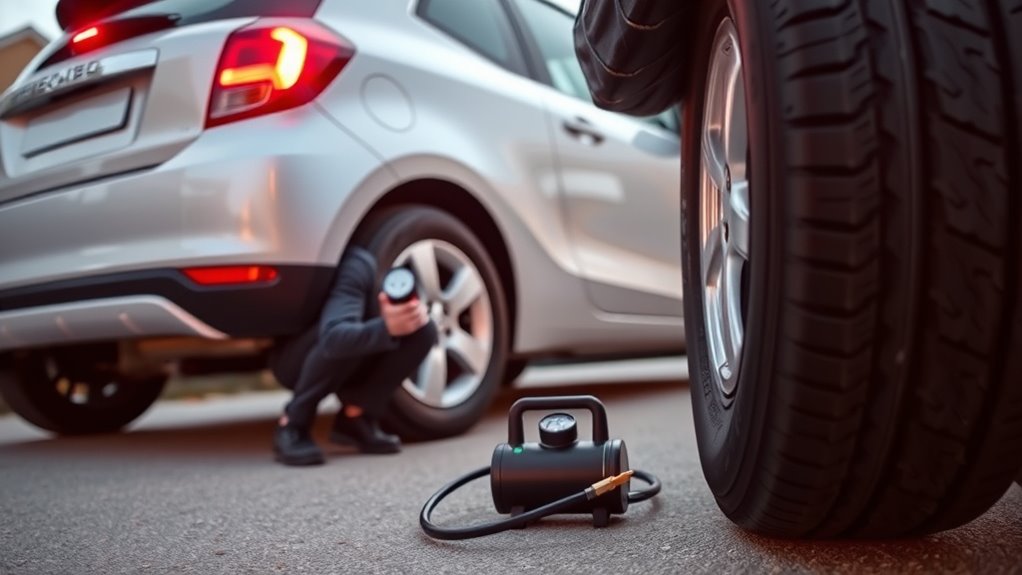
Before you inflate a spare tire, check the exact PSI for that tire type in your owner’s manual. Your spare tire’s recommended PSI depends on its design. Compact “donut” spares usually need 60 to 80 PSI, while full-size spares often match the vehicle placard in the driver’s door jamb, like regular tires.
Use the vehicle’s owner’s manual first, then confirm the sidewall for any listed inflation pressure. That gives you the precise target before you begin.
Check the owner’s manual first, then confirm the sidewall for the exact inflation pressure.
You should check tire pressure every 3 to 6 months so the spare stays properly inflated and ready for use. If the pressure drops too low, the tire can weaken over time and won’t perform as intended in an emergency.
If you overinflate it, you can also create unnecessary stress. Set the pressure to the specified level, not an estimate. When you know the correct PSI, you protect handling, preserve reliability, and keep your spare tire prepared to help you move freely when you need it most.
Gather the Tools You Need
Gather a tire pressure gauge, an air compressor or portable tire inflator, and your vehicle’s owner’s manual before you start. You’ll use the gauge to verify PSI, the air compressor or tire inflator to add air, and the manual to confirm the recommended pressure for your spare tire.
Keep the tools within reach so you can work efficiently and without dependence on guesswork. If the spare tire is mounted, you may need a jack to lift the vehicle and clear access to the valve stem.
Inspect the valve stem first; remove dirt or debris so the gauge seals correctly and air flows cleanly. For compact donuts, the manual usually lists a recommended PSI between 60 and 80, but trust the specification for your vehicle.
Having the right equipment lets you take control of the task, inflate precisely, and return to the road on your terms.
Check Your Spare Tire Pressure
Use a tire pressure gauge to check the spare when it’s cold, since that gives you the most accurate reading.
Check your spare tire at least once or twice a year, because air escapes naturally and pressure can drop about 1.45 PSI per month.
For temporary spare tires, the recommended pressure is usually 60-80 PSI; for a full-size spare, follow the vehicle manufacturer placard in the driver’s door jamb.
Read cold tire pressure before driving or several hours after use, then compare it with spec. If the reading is low, inflate the tire to the recommended pressure; if it’s high, release air carefully.
While you inspect, look for signs of wear, cuts, bulges, or cracking.
A spare that’s properly pressurized and undamaged keeps you ready to act without delay. This quick check protects your mobility and keeps you in control when the road demands it.
Inflate the Spare Tire Step by Step
Start by checking the spare tire with a pressure gauge while it’s cold, ideally before you drive, and confirm whether it falls within the recommended 60–80 PSI for a donut or the vehicle manufacturer’s spec for a full-size spare.
If the pressure is low, connect an air compressor or tire inflator to the valve stem and inflate in short bursts. After each burst, stop and recheck the pressure so you stay in control and avoid overshooting the target.
Keep the inflation process steady and deliberate; precision preserves your mobility. If the tire pressure goes above the recommended level, release air by pressing the small pin in the center of the valve stem until it drops to spec.
Once the spare is set, store it properly and check it regularly for wear or damage so it’s ready when you need it.
Look for Leaks, Damage, or Wear
Inspect the spare tire for cracks, bulges, punctures, and rim corrosion before you proceed, because any structural damage can cause failure or air loss.
Check the valve stem with a soapy water solution; if bubbles form, you’ve found a leak.
Measure tread depth and verify the tire’s age, since worn rubber or an old spare can’t hold pressure reliably.
Inspect For Visible Damage
Before you inflate the spare, give it a close visual check for cracks, bulges, punctures, uneven tread wear, or bald spots that could signal damage or reduced structural integrity.
You should inspect the spare tire for visible damage before you check tire pressure. Look closely for wear patterns that suggest the tire’s materials have aged unevenly or lost strength. Any deformity can compromise safety and trigger air loss when the tire goes into service.
Examine the rim for corrosion that could weaken the mounting area and reduce reliability. Make this monthly assessment routine, and repeat it before long trips so you’re ready for a roadside emergency.
A disciplined inspection helps you keep control of your vehicle and avoids preventable failure when you need that spare.
Check Valve Stem Leaks
Check the valve stem for cracks, cuts, or other visible damage, since even small defects can let air escape and reduce tire performance.
When you check valve stem leaks, look for visible cracks and worn rubber around the seal. Apply soapy water and watch for bubbles; they signal air leaks that need attention before you inflate a spare tire.
- Inspect the stem during tire maintenance.
- Confirm the valve cap is securely tightened.
- Replace damaged rubber seals promptly.
- Clean off dirt and moisture.
- Recheck pressure after any repair.
These simple checks keep air where it belongs and help you move with confidence.
Assess Tread And Age
A spare tire’s condition matters as much as its pressure. You should assess tread depth with a tread depth gauge; 2/32 inch is the minimum for reliable grip.
Check tire age by reading the DOT code on the sidewall, because rubber can age out after 6-10 years even if tread looks fine.
Inspect for visible signs of wear: cracks, bulges, cuts, and tread separation all signal risk.
Spray soapy water on the tire and valve stem to reveal leaks; bubbles mean trouble.
Also check the rim for corrosion or rust, since it can weaken the bead seal and undermine performance.
If you find damage, replace the tire now. A safe spare gives you freedom to drive without fear when the road turns hostile.
Reinstall and Recheck the Spare Tire
Reinstall the spare so the holes line up with the wheel studs, then hand-tighten the lug nuts.
Lower the vehicle gently until the tire contacts the ground, remove the jack, and tighten the lug nuts in a crisscross pattern.
Recheck the spare’s pressure after installation to confirm it’s within the recommended range.
Reinstall Spare Correctly
Align the holes in the spare tire with the wheel studs and push it onto the hub until it sits snugly in place.
To reinstall spare correctly, hand-tighten the lug nuts so the wheel stays centered while you lower the vehicle. Then use a lug wrench in a crisscross pattern to secure even clamping force.
Check the tire pressure, because tire inflation still matters after mounting. A full-size spare tire may match normal driving specs, but a temporary spare tire often has a maximum speed limit; check tire guidance in your vehicle’s owner’s manual.
- Confirm each lug seats flush.
- Lower the vehicle fully.
- Tighten evenly, not randomly.
- Recheck fit for wobble.
- Inspect for leaks or damage.
Recheck Tire Pressure
Once the spare is back on the vehicle, check its pressure again with a tire gauge to confirm it’s at the recommended PSI—typically 60 to 80 PSI for a donut spare, though full-size spares vary by vehicle. Recheck tire pressure now so your spare tire stays ready. Use a tire pressure gauge, not guesswork, because accurate PSI supports vehicle handling and safety.
| Check | Action |
|---|---|
| Low PSI | Inflate to spec |
| Correct PSI | Drive with confidence |
| Slow leak | Seek professional inspection |
| Ready spare | Prepare for roadside emergencies |
If the reading’s low, you may have a puncture or leak that needs professional inspection and repair. Make this a habit every 3-6 months, and you’ll avoid surprises when freedom from roadside emergencies matters most.
Frequently Asked Questions
How to Put Air in a Tire Step by Step?
Check the tire pressure first, then remove the valve cap and attach a tire gauge to the valve stem.
If the reading is low, connect an air compressor and add air in short bursts. Stop often to recheck tire pressure, following inflation tips and safety precautions.
When you reach the recommended PSI, disconnect the compressor, replace the cap, and inspect for leaks.
Repeat this maintenance schedule so you’re ready for a flat tire.
What Is the 50/50 Rule for Spare Tires?
Like a spare tire on a short leash, the 50/50 rule means you should drive a compact donut no more than 50 miles and no faster than 50 mph.
You should use it only for temporary tire usage, follow safety precautions, and check tire pressure monitoring.
Add it to your emergency preparedness kit, note flat tire symptoms, review tire repair tips, and compare roadside assistance options.
Full-size spares still need caution.
How to Put on a Spare Tire Step by Step?
You loosen lug nuts, jack up the car, remove the flat, and mount the spare tire.
Then hand-tighten nuts, lower the vehicle, and torque them in a crisscross pattern.
Keep tire changing tools, an emergency roadside kit, and spare tire maintenance notes ready.
Check tire pressure monitoring, winter tire storage, flat tire prevention, roadside assistance plans, and your tire rotation schedule so you stay mobile, independent, and safe.
Do I Really Inflate My Spare Tire to 60 PSI?
Yes—you usually should, if it’s a compact spare.
Spare tire maintenance starts with tire pressure importance: many donuts need 60 psi. Use proper inflating methods and air compressor usage, then check tire condition and the sidewall or door-jamb placard.
For emergency preparedness, follow safety tips, avoid common mistakes, and don’t assume every spare’s the same.
If you’ve got a full-size spare, your owner’s manual sets the exact pressure.
Conclusion
Now you know how to inflate your spare tire safely and accurately. Use the PSI listed on the tire or vehicle placard, and check pressure before every long trip. Keep in mind that underinflated tires can reduce fuel economy by up to 3% and increase wear. After inflation, inspect for leaks, cracks, or bulges, then reinstall the spare securely. A few careful minutes now can help you avoid a roadside delay later.