
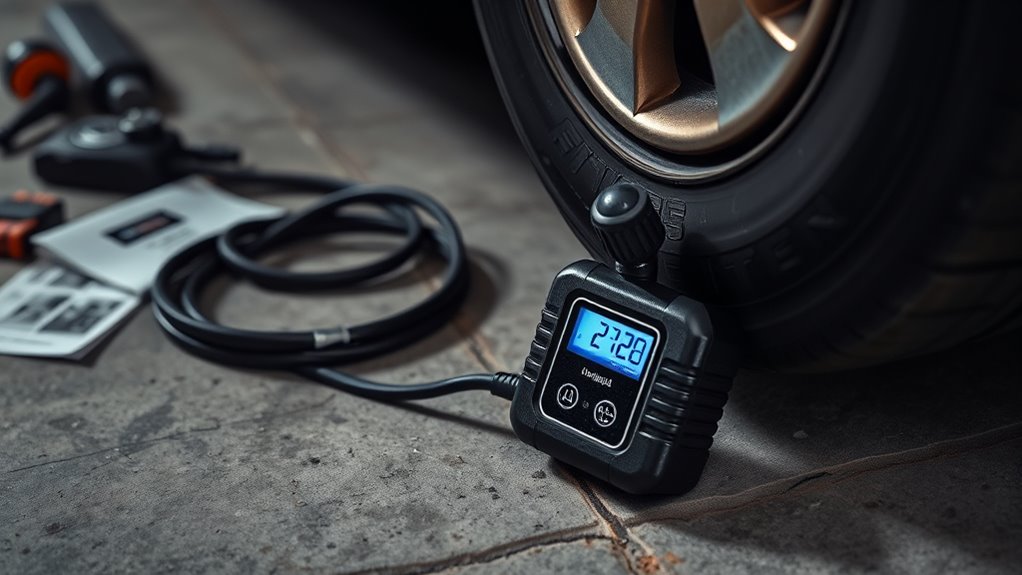
If your tire inflator fills too slowly, check the hose for kinks, debris, or leaks, then inspect the valve stem for dirt or damage. Make sure the hose seats tightly on the valve and that your PSI target matches the tire spec. A weak power source or overheating protection can also throttle output. If the unit still struggles, it may be undersized for the tire, and the next steps will show you how to isolate it.
Key Takeaways
- Check the hose, nozzle, and valve stem for kinks, debris, damage, or air leaks.
- Verify the hose seals tightly to the valve stem and use soapy water to find leaks.
- Confirm the inflator is set to the correct PSI for your tire and vehicle.
- Let the inflator cool if it slows down from overheating or thermal protection.
- Use a higher-output inflator with enough CFM for larger tires or repeated fills.
Why Is My Tire Inflator So Slow?
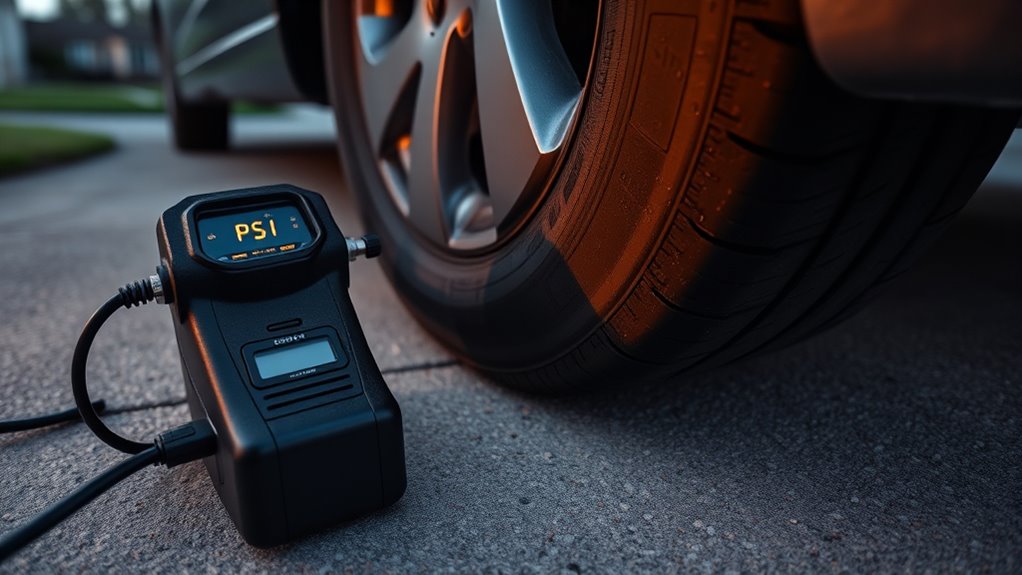
If your tire inflator is slow, you’re usually dealing with an airflow or power limitation. You may be using a unit that can’t deliver enough volume for larger off-road tires, so the pressure rises sluggishly.
Many tire inflators also throttle output when thermal protection engages during extended use, and that can look like a fault even when the compressor is protecting itself.
Another cause is air leaks at the hose-to-valve connection, which steals pressure and extends fill time. You should also consider common problems like a dirty valve stem or neglected filters, because contamination reduces effective flow.
Proper maintenance keeps the system efficient: inspect seals, clean intake filters, and confirm the connection is tight before you start.
When you diagnose these conditions methodically, you reclaim control over inflation performance and reduce wasted time, especially when you need your vehicle ready for demanding terrain.
Check the Hose for Blockages
You should inspect the hose for kinks, bends, or sharp restrictions that can cut airflow and slow inflation.
Clear any internal debris with compressed air, and clean the nozzle if dirt is obstructing the passage.
If the hose is cracked, worn, or loosely connected, you’ll lose pressure and the inflator won’t perform efficiently.
Inspect Hose Kinks
A restricted hose can choke off airflow and slow inflation dramatically, so inspect the air hose for kinks, bends, or blockages first. Keep it straight, because even minor twists can throttle pressure and create common issues.
Check the nozzle and hose ends for dirt that narrows the passage. Confirm the connection at the inflator and valve stem is tight; loose fittings can cause air leakage and waste output. If you see cracks, flattened sections, or repeated pinching, replace the hose to restore performance.
A clean, unobstructed hose gives you faster, more reliable inflation and more control over the job.
- Trace the full hose length
- Remove sharp bends immediately
- Verify secure fittings at both ends
- Watch for pressure drops
- Replace worn hose sections
Clear Internal Debris
Once you’ve ruled out hose kinks and bends, check for internal debris that can choke airflow and slow inflation.
Disconnect the air hose and inspect both ends for grit, rubber dust, or lodged particles. If you find obstruction, clear internal debris with short bursts of compressed air, working from the nozzle toward the coupler.
Clean the nozzle so it seals tightly on the valve stem; a loose fit wastes pressure and slows every inflate cycle.
Test the hose for leaks with soapy water, and watch for bubbling that signals escaping air. If the hose stays blocked or damaged, replace it.
You deserve tools that deliver full flow, not compromised output, so verify the hose is open before you start inflation.
Inspect the Valve Stem
Inspect the valve stem for dirt, debris, or visible damage before inflating the tire, since blockages can restrict airflow and cracks or cuts can cause air leaks.
You need a clean valve stem to support fast, stable tire inflation and stop hidden losses from slowing the job. Use compressed air or a soft brush to clear dirt or debris, then inspect for splits, bends, or worn threads.
If you see damage, replace the stem before proceeding. Confirm the inflator nozzle seats securely on the valve stem; a loose fit can waste pressure and distort readings.
Keep this part on your regular maintenance checklist so each inflation cycle stays efficient and controlled.
- Clear obstructions first
- Look for cracks and cuts
- Clean with compressed air
- Brush away stubborn grime
- Inspect routinely for slow inflation
Check the Hose-to-Valve Seal
Even with a clean valve stem, a poor hose-to-valve seal can still choke airflow and slow inflation, so make sure the hose is fully seated and locked onto the valve. You need a secure connection; if the fitting sits loose, compressed air escapes instead of entering the tire.
Check the hose-to-valve seal by feeling for play at the coupler and listening for hissing. If you suspect air leaks, brush soapy water around the joint and watch for bubbles that mark a breach.
Feel for play at the coupler and listen for hissing; soapy water reveals leaks by bubbling.
Inspect the valve stem and hose connector for dirt, worn threads, or damage, because contamination can block the passage and weaken the seal. Clean both parts regularly so the connection stays tight and efficient.
When you remove and reinstall the hose, keep it aligned straight to avoid cross-threading or partial engagement. That small discipline protects your time, your tire pressure, and your freedom to work without needless delay.
Verify Your PSI Setting
Check the target PSI on the tire placard or owner’s manual before you start.
Confirm your inflator matches the tire’s required pressure, since passenger and off-road tires often need different settings.
Avoid overinflation settings, because an incorrect PSI can slow inflation and create unsafe tire pressure.
Check Target PSI
Before you inflate, verify the target PSI against the vehicle manufacturer’s recommendation and confirm the inflator’s gauge is reading accurately.
Set the correct pressure for the tire you’re servicing; a wrong target slows inflation and skews diagnosis. If the pressure gauge drifts, recalibrate or replace it before continuing.
Also check the battery, because low voltage can reduce output and make the unit seem weak. Stay within the inflator’s maximum PSI so it can work efficiently without strain.
- Compare the displayed PSI with the door-jamb spec
- Match settings to on-road or off-road use
- Confirm the tire’s target pressure before starting
- Watch for gauge lag or inconsistent readings
- Stop if you’re near maximum PSI limits
Confirm Tire Requirement
Verify the manufacturer’s recommended PSI for your specific tire size, then set the inflator to that value before you start.
To confirm tire requirement, compare the label on the door jamb or tire sidewall with your current setting. A portable tire inflator won’t correct a wrong target; it’ll just work longer while tire pressure stays off-spec.
Use a reliable tire pressure gauge to measure actual pressure, and recalibrate it if readings drift. Your tire size matters: larger off-road tires often need a different PSI than standard passenger tires, so don’t assume one setting fits all.
If inflation feels slow, recheck the PSI command against the required value. Precise setup gives you control, reduces waste, and keeps your ride ready for the road ahead.
Avoid Overinflation Settings
Once you’ve confirmed the target PSI for your tire size, keep the setting accurate and don’t push beyond it. A wrong Inflator setting can slow air delivery and distort pressure readings. Use a reliable gauge, then enter the exact target PSI.
Watch the tire pressure as you inflate; stop at the spec, not above it. Overinflation wastes time, strains the tire, and can trigger unsafe handling. Check your Inflator’s max PSI, too. If you set it too high, it may cycle inefficiently or shut down late.
Precision frees you from guesswork and protects performance.
- Verify PSI against the tire sidewall or placard
- Recheck gauge accuracy before each fill
- Confirm Inflator mode matches your unit
- Monitor air flow and pressure rise
- Stop immediately when the target PSI is reached
Watch for Overheating Protection
If your tire inflator starts slowing down after several minutes of use, it may be hitting its built-in overheating protection, which reduces performance to prevent internal damage. When this happens, you’ll notice slow inflation even though the unit still runs.
Stop the inflator and let it cool fully before restarting; forcing continued operation only extends the slowdown. Check that you’ve got proper airflow around the housing, vents, and motor area, since heat buildup rises fast in cramped spaces.
Don’t run the compressor continuously past the recommended 10–15 minutes unless the manual says otherwise. Regular maintenance also matters: clean filters, remove dust, and inspect vents so the cooling system can do its job.
If the unit repeatedly enters overheating protection under normal use, treat that as a diagnostic clue, not a nuisance. You deserve equipment that works with you, not against you, so keep it cool, clean, and ready for efficient inflation.
When Your Inflator Just Isn’t Strong Enough
Sometimes the problem isn’t your tire or the valve—it’s that the inflator simply doesn’t have enough output for the job. If you’re inflating tires on larger off-road setups, your portable air compressor may be undersized, delivering insufficient airflow even when the PSI setting looks correct.
For efficient fill rates, target at least 1.85 CFM; below that, expect slow recovery and long run times. Listen for unusual noises, which can signal strain or poor internal performance under load.
- Compare your tire size to the inflator’s rated airflow
- Verify the unit’s CFM, not just its maximum PSI
- Check for airflow loss at the hose-to-valve connection
- Inspect the valve stem for dirt, damage, or restriction
- Confirm the inflator isn’t heat-limiting during extended use
When the machine can’t move enough air, you can’t outwait the bottleneck. Match the tool to the tire, and you’ll reclaim speed, control, and independence.
Troubleshoot Slow Inflation in Order
Start with the simplest checks and move in order: verify the power source, then inspect the hose and nozzle for kinks or blockages, because weak power or restricted airflow can slow inflation immediately.
First, check the power source; a loose plug, weak outlet, or low battery cuts output fast.
Next, inspect the air hose and nozzle for bends, debris, or damaged seals that choke airflow.
Then, check for air leaks at every connection by brushing soapy water over fittings; bubbles show where pressure escapes.
After that, confirm proper settings by matching the target PSI to your tire specs, since wrong presets can stall the cycle.
If inflation still drags, listen for abnormal compressor noise and watch the gauge for erratic movement, which points to internal fault.
You deserve tools that work on your terms, so diagnose each step deliberately and restore steady, efficient inflation without guesswork or delay.
Pick an Inflator for Off-Road Tires
For off-road tires, choose an inflator built for sustained output, not just emergency top-offs: a model like the ETENWOLF Vortex S7 pairs a dual-motor, 260W system with up to 1.85 CFM airflow, so you can restore pressure quickly in demanding conditions.
- Use a high-capacity battery, like 38,400mAh, to inflate multiple tires without a power source.
- Verify continuous-duty cooling so the inflator stays stable during long trail sessions.
- Check automatic shut-off to stop at target PSI and prevent over-inflation.
- Read the digital display; ±1 PSI precision helps you diagnose and correct pressure fast.
- Prefer a press-on valve for rapid attachment and release when terrain changes.
This inflator becomes an essential tool when you need control, speed, and autonomy. You’re not chasing weak compression or waiting on a truck battery; you’re carrying a self-contained system that keeps your rig ready.
Select for output, thermal management, and accuracy, and you’ll cut downtime on the trail.
Frequently Asked Questions
How to Reset Portable Tire Inflator?
To reset a portable tire inflator, you unplug it from the power source, let it cool, then reconnect it.
If it’s battery-powered, remove the battery and reinstall it after a brief pause.
Check the reset procedure in the manual, and inspect inflator settings for errors.
Power-cycle the display if needed.
These maintenance tips help restore control, clear faults, and keep you moving with autonomy and precision.
What Are the Common Problems With Auto Air Tire Inflators?
You’ll commonly face weak air compressor performance, slow inflation, leaks at the hose or valve stem, dirty fittings, and overheating shutdowns.
You may also see low voltage, clogged passages, or inaccurate pressure gauges.
Use inflator maintenance tips: inspect seals, clean valves, and verify power delivery.
Don’t trust tire pressure myths; they don’t fix common inflator issues.
Diagnose airflow, connection integrity, and duty cycle before you blame the tire.
How Long Should an Air Compressor Take to Fill Up?
A 1.85 CFM compressor can fill a standard passenger tire in 5–10 minutes; like a liberated clock, it frees you from waiting.
You should expect slower inflation with larger tires or lower-output air compressor types. Check inflation speed against ideal pressure, then inspect hose length, leaks, and blockages.
Use maintenance tips—clean filters, tighten fittings, and avoid overheating—to restore performance and keep your system moving efficiently.
Why Does My Tire Keep Deflating Slowly?
Your tire’s likely deflating because you’ve got slow air leaks from a tiny puncture, valve stem issues, or a poor bead seal.
Temperature drops can also lower pressure. Use tire pressure monitoring to track losses, then inspect the tread, sidewall, and valve for damage.
For puncture detection, spray soapy water and watch for bubbles. If you find seepage, you can reclaim control by repairing it fast.
Conclusion
When your tire inflator drags, don’t guess—diagnose. Check the hose, inspect the valve stem, confirm the seal, verify the PSI setting, and let overheating protection reset if needed. If the unit still crawls, the inflator may simply lack the output your tires demand. In troubleshooting, as in inflation, order matters: find the restriction, fix the restriction, and restore the pressure. Choose the right tool, and your tires won’t keep you waiting.

