
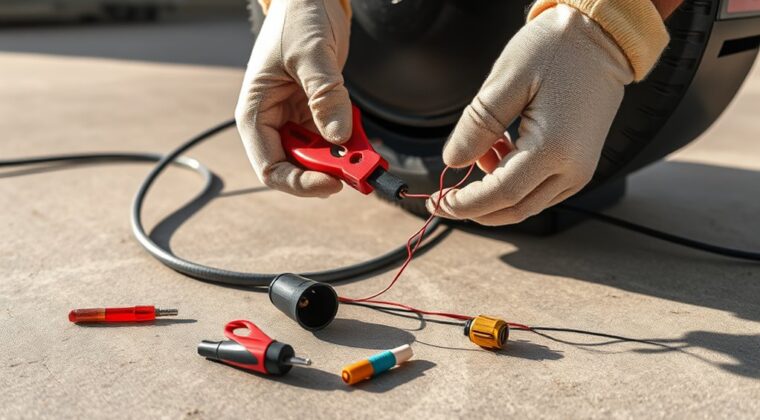
To fix a tire inflator power cord, start by unplugging the unit and checking the fuse, plug, and cord for frays, cuts, bent prongs, or corrosion. Test continuity with a multimeter and verify the vehicle outlet with a known-working 12V charger. If you find a damaged section, cut it out, splice in matching wire with crimp connectors or solder, and insulate it with heat-shrink tubing. Then test the inflator safely and see what else to check.
Key Takeaways
- Inspect the cord, plug, and fuse for cuts, fraying, bent prongs, corrosion, or blown fuse damage.
- Test continuity with a multimeter and verify the vehicle’s 12V outlet using a known-working charger.
- Gather tools like a matching replacement fuse, screwdriver, pliers, crimp connectors or solder, and heat-shrink tubing.
- Open the casing, remove the damaged cord section, and splice in a new cord with secure, insulated connections.
- Reassemble and test the inflator; replace the unit if damage, overheating, or repeated fuse failures continue.
Spot a Bad Tire Inflator Cord
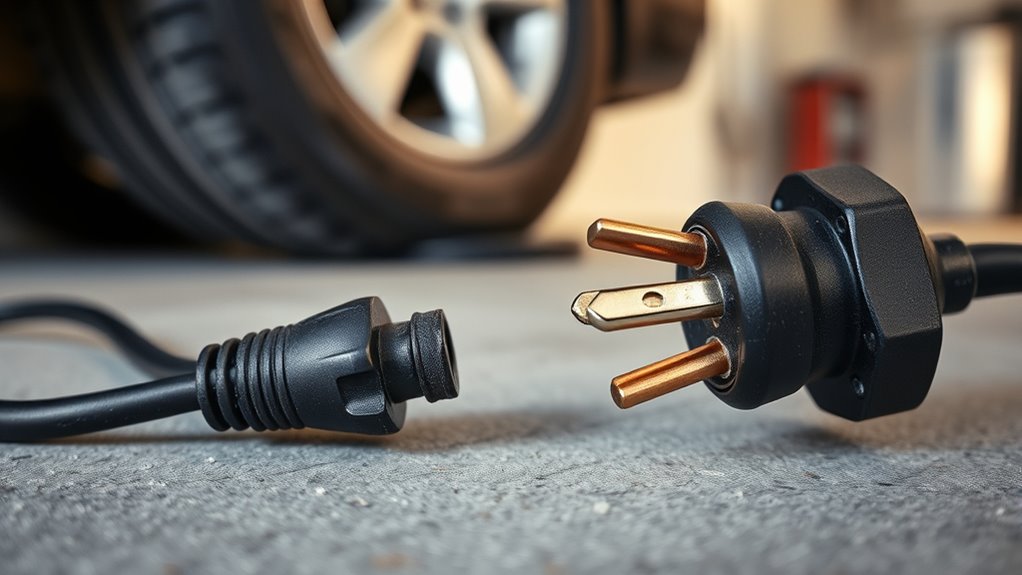
Start with a quick inspection of the cord and plug for obvious damage. You should look for fraying, cracked insulation, exposed wires, or burn marks on the power cord, because each sign points to electrical failure.
If your inflator won’t turn on or stays silent when plugged in, the cord may be open or broken internally. Next, check the connection at both ends of the cord. Loose, bent, or corroded contacts can interrupt current and make a healthy inflator seem dead.
If your inflator stays silent, inspect the cord, terminals, and plug for hidden breaks or poor connections.
Make sure the plug seats firmly in the 12V outlet; a weak fit can cause intermittent power and false symptoms. If the exterior looks intact, test continuity with a multimeter. No continuity means the cord has a fault and can’t carry power reliably.
Confirm the problem before you move on, so you can act with confidence and reclaim control over your repair.
Gather the Right Repair Tools
Before you open the plug or replace any damaged parts, gather the tools and parts you’ll need: a replacement glass fuse with the same size and amp rating as the original, a small screwdriver, needle-nose pliers, and a flashlight for better visibility.
Keep crimp connectors, or solder plus heat-shrink tubing, nearby if you need to repair or replace the 12V cigarette lighter plug. For portable tire inflators, that lets you restore a secure, insulated connection without improvising.
You should also have a known-working 12V car charger ready so you can test the vehicle outlet before you commit to the repair. Organize everything on a clean surface, then make sure the fuse, plug, and wire ends match the inflator’s design.
When you prep the right tools first, you reduce wasted effort and keep the job controlled. That discipline gives you a cleaner repair and a cord that works with confidence.
Check the Fuse and Plug First
Start by unplugging the inflator, letting it cool, and opening the plug to inspect the fuse, since it’s often the first failed component when the unit won’t power on.
Next, test the vehicle’s 12V outlet with a known-working device to confirm the source is live before you troubleshoot the inflator further.
If the fuse is damaged, replace it with an exact size and amp match, then reassemble the plug securely to prevent loose connections.
Fuse Inspection First
If your tire inflator won’t power on, inspect the 12V plug first by unscrewing the metal tip to access the fuse inside, since a blown fuse is a common cause of failure. During fuse inspection, check for a broken wire or darkened glass casing. If the plug tip separates, you’ve revealed the fuse and can remove it safely. Replace any failed fuse with the same size and amp rating to keep the circuit stable and protect your gear.
| Check | What to see | Action |
|---|---|---|
| Fuse | Broken wire | Replace |
| Fuse | Dark glass | Replace |
| 12V plug | Tip loose | Inspect |
| Rating | Mismatch | Correct |
| Fit | Same size | Install |
This simple step restores control and keeps your power path honest.
Test The 12V Plug
First, test the vehicle’s 12V outlet with a known-working device to confirm the socket is delivering power, then inspect the inflator’s plug.
Next, you can test the 12V plug on your Portable Tire Inflator by unscrewing the metal tip and checking the fuse inside. Look for a broken filament, discoloration, or a tip that separates as you loosen it; that usually means the fuse has failed.
If the fuse is damaged, install an exact replacement with the same size and amp rating. Don’t improvise with foil, wire, or any makeshift substitute. That shortcut can overheat the plug, damage the inflator, and strip you of reliable service.
Keep the plug clean, tight, and intact so the system can deliver power safely.
Replace Damaged Plug Safely
Before you replace a damaged 12V plug, unscrew the metal tip and inspect the fuse, since a blown fuse is often the real cause of a tire inflator failure. If the fuse looks open or cracked, swap in the same-size glass fuse with the same amp rating.
| Check | Action |
|---|---|
| Fuse | Inspect for breakage |
| Rating | Match amperage exactly |
| Plug body | Look for heat damage |
| Wiring | Confirm polarity |
| Connection | Tighten securely |
Use no foil, no oversized fuse, and no shortcuts; those hacks can overheat the circuit. When you replace damaged plug parts, wire them cleanly and secure every joint. That keeps current stable, protects the inflator, and helps you reach proper tire pressure without risking another failure.
Inspect the Cord for Damage
Start by checking the full cord for frays, cuts, or abrasions that could expose damaged conductors.
Then inspect the plug for bent or broken prongs and verify that the wiring at the inflator connection is secure and free of corrosion or loose strands.
If you spot any damage, test continuity with a multimeter before deciding on a repair or replacement.
Check For Frays
Inspect the power cord closely for any frays, cuts, exposed wires, discoloration, or brittleness, since these signs can indicate electrical shorts or a cord that’s nearing the end of its service life.
To check for frays, run your eyes along the power cord’s length and rotate it so you can inspect every side. Use a flashlight to reveal damage in shaded sections.
Gently tug at several points to expose weak spots that may fail under load. If you find thinning insulation, broken strands, or soft, cracked areas, stop using it immediately.
A damaged cord limits your freedom to work safely and reliably. Replace the entire cord or consult a qualified professional for repair.
Don’t gamble with compromised insulation when a clean, intact line restores control and safety.
Examine Plug And Wiring
Once the cord passes the basic fray check, examine the 12V plug and wiring for damage that could interrupt power delivery. You should inspect the examine plug and wiring points for cuts, exposed conductors, or crushed insulation. Confirm the plug tip is tight and the cord doesn’t wiggle at the joint. Use a flashlight to look inside the plug for corrosion, heat marks, or broken parts. If you spot damage, replace the cord or plug with a compatible part to make it work safely.
| Check | Why it matters |
|---|---|
| Loose plug tip | Breaks current flow |
| Internal corrosion | Raises resistance and heat |
| Damaged wiring | Creates shock and failure risk |
Then test it in a known working 12V outlet. If the inflator starts, your repair is sound and your mobility stays in your hands.
Fix Small Cord Problems
If your tire inflator is still acting up, check the power cord first for fraying, cuts, or other visible damage that could interrupt electrical flow. Inspect both ends: the inflator connector and the 12V outlet plug should sit firmly, with no looseness or corrosion.
Clean minor oxidation if you see it, then reseat the connection so current can move without resistance. Use a multimeter to test continuity along the cord; a healthy cable should show an unbroken path. If readings jump or stop, you’ve found an internal fault.
Keep the cord straight during use and storage, because sharp bends can make hidden wire damage worse. These small fixes help your inflator make a reliable seal with power and reach the correct pressure faster.
If the cord still fails after these checks, stop forcing it and move to a full replacement.
Replace a Damaged Power Cord
When the cord is too damaged to repair, replace it with one that matches the original gauge and length. Unplug the inflator and let it cool, so you can replace a damaged power cord without risk.
Use a small screwdriver to open the casing, then trace the wiring path and note each connection before you disconnect anything. Cut out the damaged cord, strip the new conductors, and join them with crimp connectors or solder.
Keep each splice tight, fully insulated, and routed so it won’t pinch when you close the housing. Match the original specifications exactly; the right gauge and length preserve current flow, safety, and compatibility. A proper replacement supports reliable operation and helps you maintain correct inflation without interruption.
After the wiring is secured, reinstall the casing carefully, making sure no conductors shift or touch exposed metal.
Test the Inflator Safely
Before you test the inflator, unplug it and let it cool fully, then inspect the cord for fraying, cuts, or loose insulation.
To test the inflator safely, keep your hands dry and connect it only after you’ve verified the vehicle systems outlet with a known-working 12V charger. That quick check tells you whether the problem sits in the car or the tool, saving time and frustration.
- Plug the inflator into the 12V outlet.
- Listen for a motor hum or watch for a power light.
- If it stays dead, inspect the plug fuse.
A blown fuse in the 12V plug often blocks power and usually swaps out easily.
If the unit hums and the light stays on, your cord repair likely worked. If it doesn’t, recheck the outlet, plug, and cord path before moving on.
When to Replace the Inflator
A damaged inflator power cord isn’t worth risking once you see fraying, exposed wires, or repeated electrical failures. Replace the unit instead of gambling on a repair when the cord shows visible wear, the casing feels brittle, or the plug won’t hold a steady connection.
If your Portable inflator still won’t power on after you’ve checked the fuse and verified the 12V outlet, the fault may sit inside the cord or its termination. When you’ve already replaced fuses multiple times and the tool still dies, stop troubleshooting and replace it.
Heat is another hard signal: if the cord gets excessively hot during use, internal damage can compromise insulation and safety. You should also replace an inflator that’s too short or poorly designed, because strain and disconnects reduce performance and pressure maintenance.
Choose a reliable replacement that supports safe, independent tire service.
Frequently Asked Questions
How to Fix a Tire Inflator?
Check the 12V outlet with a known working device, then inspect your tire inflator‘s plug and cord.
If it’s dead, unscrew the plug tip, replace any blown fuse with the exact amp rating, and repair damaged wires with crimp connectors or solder.
Don’t bypass the fuse. That’s essential tire inflator maintenance and inflator troubleshooting.
After repairs, test the inflator on a tire to confirm safe, reliable operation before you trust it.
Why Did My Tire Inflator Stop Working?
Your tire inflator likely stopped working because of a blown fuse, a faulty 12V plug, or other power cord issues.
You should check whether the light comes on, the motor hums, and the plug tip opens to expose the fuse.
Test your vehicle’s 12V outlet with another device to isolate the fault.
For effective tire inflator maintenance, replace any fuse with the exact size and amp rating, then inspect the cord.
What Are the Common Problems With Car Tire Inflators?
Common problems with car tire inflators often seem to strike together: a dead 12V plug fuse, a faulty vehicle outlet, or a damaged cord.
You’ll also see loose connections, frayed wires, overheating, and intermittent power loss.
For effective inflator troubleshooting, test the outlet with another device and inspect the plug for damage.
Consistent tire inflator maintenance helps you prevent failures, preserve performance, and keep your equipment ready when you need it.
How to Reset Portable Tire Inflator?
Unplug your portable tire inflator from the 12V outlet, then wait a few minutes so the unit can cool and clear its internal state.
Next, check your manual for model-specific reset methods, including any reset button.
If it still won’t respond, apply troubleshooting tips: inspect the cord, plug, and outlet, then test the outlet with another device.
Reconnect the inflator and power it on again.
Conclusion
By now, you can spot cord faults, check the fuse and plug, and repair minor damage with confidence. If the cord is split, frayed, or burned beyond a safe fix, replace it before using the inflator again. Test every repair carefully and stop if you see heat, sparks, or weak power. A damaged cord can turn your inflator into a useless brick, so keep safety first and maintain it before the next roadside emergency.
