
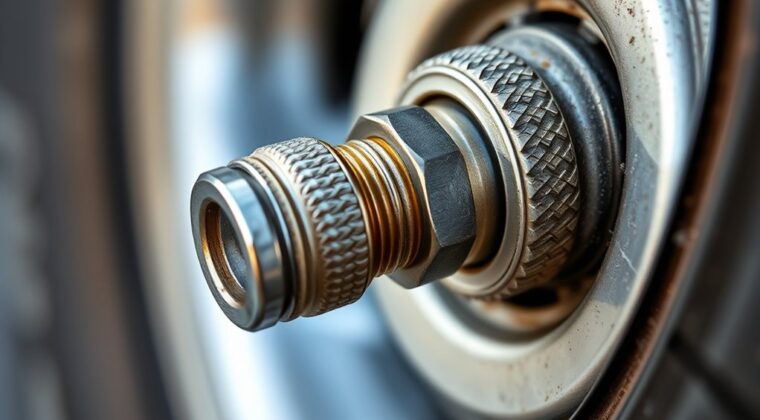
A Schrader valve connects to a tire inflator with a direct push-on or clamp-on chuck that fits over the valve stem and depresses the spring-loaded core. You remove the cap, align the chuck, and lock it in place so air can flow into the tire. When you disconnect the inflator, the core reseals automatically to hold pressure. The standard 0.305″-32 thread geometry and replaceable core make this system simple and serviceable, and there’s more to note.
Key Takeaways
- Remove the valve cap and align the tire inflator chuck with the Schrader valve stem.
- Press or clamp the chuck onto the valve to open the spring-loaded pin and start airflow.
- Schrader valves use standard 0.305″-32 external threads, fitting common automotive air chucks directly.
- A brief hiss during connection is normal; a steady seal is important for proper inflation.
- After inflating, disconnect the chuck and replace the cap to protect the valve from dirt and moisture.
What Is a Schrader Valve
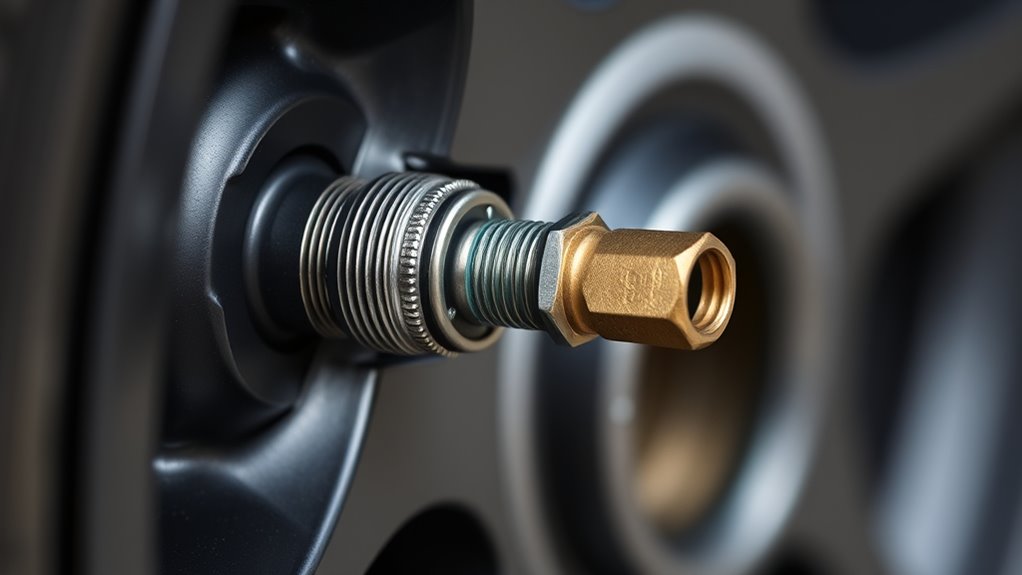
A Schrader valve is a spring-loaded pneumatic valve that lets air enter and leave through a central pin mechanism, making it the standard fill point on most automotive tires.
You use the Schrader valve to control air pressure in a tire through its valve core, which reseals automatically when you stop inflating. That self-sealing action limits loss and helps you verify pressure quickly and precisely.
Engineers standardized its geometry: an external thread of 0.305″-32, an internal thread of 0.209″-36, and a stem diameter near 8 mm.
Engineers standardized its geometry: 0.305″-32 external threads, 0.209″-36 internal threads, and an 8 mm stem diameter.
August Schrader patented the design in 1893, and it now serves as a global interface across pneumatic systems.
You can match it with a standard air chuck, which makes the valve practical for cars, bicycles, and HVAC equipment.
Its broad compatibility gives you efficient access to controlled inflation without dependence on proprietary hardware.
How a Schrader Valve Connects to a Tire Inflator
You remove the valve cap, align the inflator chuck with the Schrader valve stem, and press it on until the fit is secure over the standardized 0.305″-32 threads.
As the pump head engages the core pin, the valve opens and lets air flow into the tire.
When you disconnect the inflator, the spring-loaded mechanism reseals automatically, so you don’t lose pressure.
Schrader Valve Chuck Fit
The Schrader valve chuck fits over the valve stem and uses a spring-loaded mechanism to depress the valve pin, opening the valve so air can flow into the tire.
You align the tire inflator with the Schrader valve’s 0.305″-32 thread, then lock it onto the valve stem for a stable seal.
- Match the chuck to the standard air source.
- Seat it squarely to avoid air leaks.
- Use a tire pressure gauge to verify pressure.
- Remove the chuck; the self-sealing design closes automatically.
This interface gives you precise control, whether you’re at a gas station or tire shop.
When you connect correctly, you keep airflow disciplined, preserve tire pressure, and maintain the freedom to move without waste.
Inflate And Seal
Once the valve cap is removed, the inflator nozzle presses the Schrader valve’s spring-loaded pin downward, opening the passage so compressed air can enter the tire while the rubber gasket maintains a seal around the stem.
You align the air hose with the standard 0.305″-32 thread and tighten the chuck until it seats firmly on the valve core. At that point, the valve opens under controlled pressure, and tire inflation begins with minimal loss.
You should hear a brief hiss as air moves through the Schrader valve; that sound confirms flow, not failure. Keep the connection stable to preserve the seal and sustain efficient inflation.
When you finish, detach the inflator and replace the valve cap to guard the valve core against dirt, moisture, and leaks.
Core Pin Activation
When the inflator head is threaded onto the Schrader stem, its fitting presses the spring-loaded center pin downward and overcomes the valve’s internal spring tension, which opens the air passage into the tire. You’re activating the core pin, not forcing air blindly; you’re controlling a precise mechanical gate.
- The Schrader threads align the inflator securely.
- The core pin drops, opening the valve.
- Air flows fast enough to inflate efficiently.
- When you remove the head, sealing resumes automatically.
That automatic resealing matters: the rubber seat and spring stop air loss, so you keep pressure where it belongs.
If you hear hissing, your engagement isn’t complete. Re-seat the fitting, confirm the seal, and let the valve do its work.
Schrader Valve Thread Size and Stem Specs
A Schrader valve uses an external thread size of 0.305″-32, so it connects reliably with standard air chucks and inflators. You get a standardized Schrader valve thread size that supports fast, repeatable tire inflation without adapter friction.
Inside the stem, the internal 0.209″-36 thread accepts compatible valve core parts, so you can maintain serviceable air systems with exact fit. The stem’s outer diameter, about 8 mm, gives the assembly the rigidity needed for durable automotive use.
Its spring-loaded valve core holds an airtight seal when you’re not actively servicing it, minimizing leakage and preserving pressure. That architecture matters because you need equipment that won’t lock you into proprietary hardware.
With this spec, you can move across vehicles and pneumatic tools with confidence, since the geometry is already normalized. In practice, the thread size and stem specs make the Schrader valve a practical interface for controlled inflation and dependable retention.
How to Inflate a Tire With a Schrader Valve
You remove the valve cap and inspect the Schrader valve for dirt or damage before inflating.
You then connect the air chuck securely so it depresses the spring-loaded pin and allows airflow into the tire.
As you inflate to the recommended pressure, you recheck with a gauge to prevent over-inflation.
Then disconnect and replace the cap.
Valve Cap Removal
Start by removing the valve cap and turning it counter-clockwise to expose the Schrader valve stem. This valve cap removal is the first control point when you inflate a tire, because it gives direct access to the valve stem and lets your air pump interface correctly with the Schrader valve.
- Inspect the cap threads for damage.
- Confirm the valve stem is clear.
- Verify your air pump matches Schrader specifications.
- Keep the cap accessible for reinstallation.
You’re not surrendering to guesswork; you’re taking command of tire pressure with a disciplined setup.
After removal, preserve the cap’s threads and keep the opening clean. Once inflation is complete, you’ll replace the cap promptly to protect the valve from contamination and preserve system integrity.
Secure Pump Connection
With the valve cap removed, press the inflator head firmly onto the Schrader valve stem so it seats cleanly and depresses the spring-loaded pin, allowing air to flow into the tire.
You’re aligning the air pump with the valve stem to create a secure fit, not forcing it at an angle. If the connection is correct, you’ll hear a steady hiss as air enters; no sound usually means the seal isn’t complete.
Keep the pump head stable and centered so the Schrader valve stays open. This controlled connection lets you direct inflation on your terms, with no wasted effort.
Watch tire pressure with a gauge as you proceed, and keep the valve cap close for reinstallation after inflation.
Inflate and Recheck
Pump air in short bursts while watching the gauge closely, and stop once the tire reaches the pressure listed on the sidewall or in the vehicle’s recommended range. You’ll inflate the tire through the Schrader valve with your air pump, keeping control and precision.
- Remove the valve cap and confirm the valve stem is clean.
- Seat the pump head firmly to depress the pin and start airflow.
- Monitor tire pressure continuously; if it climbs past target, briefly deflate to correct it.
- Detach the pump quickly, let the valve reseal, then replace the valve cap.
Recheck the reading after a minute. If it’s stable, you’ve achieved accurate inflate performance and preserved system integrity.
Common Schrader Valve Uses Beyond Tires
Beyond tire inflation, Schrader valves serve as compact, high-pressure service ports in a range of pneumatic and fluid systems. You’ll find Schrader valves in air conditioning systems, where service technicians access refrigerant circuits through valve cores for controlled charging and recovery. In pneumatic systems, they support pressure adjustment in air suspension, giving you easy inflation and deflation without complex hardware.
| Use | Function | Benefit |
|---|---|---|
| HVAC | Refrigerant service | Controlled pressure handling |
| Suspension | Air adjustment | Rapid tuning |
| Refrigeration | Gas charging | Reliable sealing |
| Hydraulics | Fluid management | Stable performance |
| Industry | Air tools/tanks | Durable access |
You also encounter them in refrigeration and high-pressure hydraulic systems, where precise sealing matters. In industrial applications, their standardized form lets you connect gauges and hoses quickly, reducing waste and friction. That’s useful when you need efficient control over pressure while keeping systems serviceable, modular, and accessible.
Schrader Valve vs. Presta Valve
Although both valve types regulate tire inflation, Schrader and Presta valves differ sharply in geometry, compatibility, and serviceability. You’ll usually meet the Schrader valve on automotive pneumatic tires, where its wider body, spring-loaded pin, and external 0.305″-32 threads accept standard air chucks. To inflate a Schrader valve, you connect directly and control air inside the tire without adapters.
- Schrader valve: wider, rugged, replaceable core.
- Presta valve: narrow, lock nut seal, internal threads.
- Compatibility: Presta needs an adapter for typical pumps.
- Service: a valve core removal tool helps on Schrader; Presta cores vary and may demand specialized tools.
You gain faster maintenance with Schrader valve caps, because the core’s replaceability simplifies service.
Presta valve systems suit high-performance bicycles, but they constrain access and add friction. If you want liberated, efficient inflation, choose the interface that matches your pump and tire, then let mechanics—not compromise—set your ride’s limits.
Frequently Asked Questions
How to Attach a Schrader Valve?
You attach a Schrader valve by removing the cap, aligning the pump head with the stem, and pressing firmly until the pin opens and air flows.
You’ll then monitor pressure, compare inflator types, and follow a DIY inflator setup.
Check common valve issues, apply valve maintenance tips, and respect tire pressure importance.
Use a valve replacement guide for damaged stems, and complete tire safety checks before driving.
How to Connect a Pump to a Schrader Valve?
Like a handshake with steel, you connect your pump by removing the cap, aligning the chuck, and pressing it onto the Schrader valve until it locks.
You’ll check pump compatibility factors, then use pressure gauge usage to manage tire inflation techniques precisely.
Inspect for common issues, apply valve maintenance tips, and keep DIY inflator setups reliable.
If a core fails, follow valve replacement procedures and reconnect firmly for safe, liberated mobility.
What Is a Quick Connect Adapter for Schrader Valves?
A quick connect adapter for Schrader valves is a tool that lets you snap your inflator onto the valve fast, seal securely, and monitor tire pressure with minimal effort.
You get better valve compatibility, higher inflation efficiency, and less wear than repeated hand threading.
Choose from adapter types with or without gauges, follow maintenance tips, and observe safety precautions so you can inflate confidently and independently, without wasted motion or air loss.
How Does a Schrader Valve Look?
Small but sturdy, simple but engineered, a Schrader valve looks like a short metal cylinder with a threaded body and a tiny center pin. You’ll see it protrude from the rim or tube, unlike slimmer valve types.
Its valve anatomy supports valve function, valve durability, and valve maintenance. You can check valve compatibility across valve applications, because you’re choosing access, control, and freedom through precise, practical design.
Conclusion
When you connect a tire inflator to a Schrader valve, you’re using a simple, reliable interface that helps you keep pressure where it should be. With the correct thread size and stem specs, you can inflate tires cleanly and efficiently, avoiding unnecessary trouble. Compared with a Presta valve, Schrader’s wider design makes setup easier and more forgiving. In practice, you’ll find it’s a straightforward, well-mannered solution for everyday inflation needs.
