
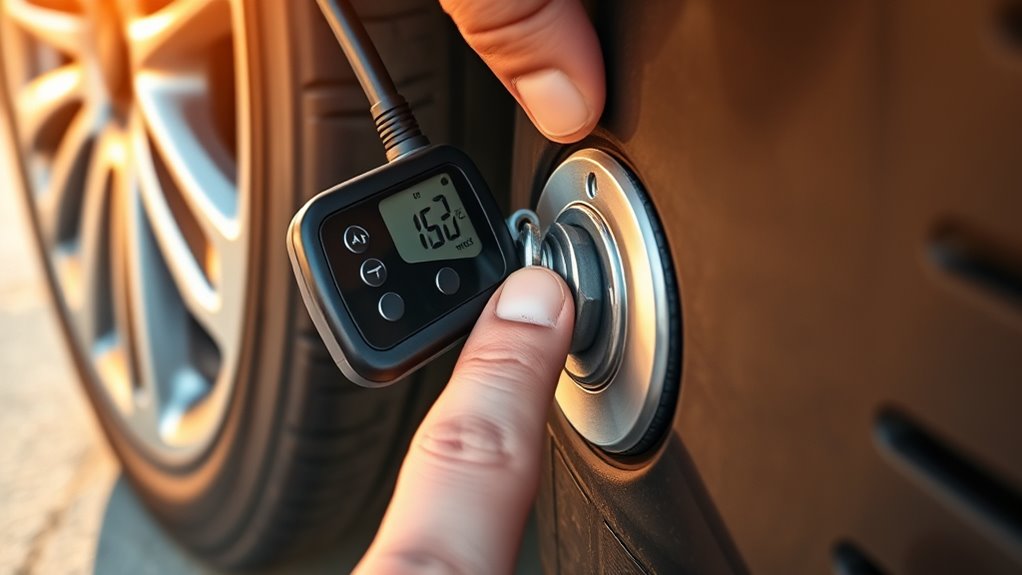
To set the PSI on a tire inflator, first find your vehicle’s recommended cold tire pressure on the driver-side door-jamb placard or in the owner’s manual. Select PSI on the inflator, enter the recommended value, attach the chuck securely to the valve stem, and start inflation. When the inflator stops or reaches the target, let the reading stabilize and verify the pressure with a reliable tire gauge. Do not use the maximum PSI molded into the tire sidewall as your normal target.
Key Takeaways
- Use the vehicle manufacturer’s recommended cold tire pressure, not the maximum pressure printed on the tire sidewall.
- Check pressure when the tires are cold—ideally after the vehicle has been parked for at least three hours.
- Select the correct unit before entering the target: PSI in the U.S., or the matching kPa/bar value if your vehicle label uses it.
- Attach the chuck firmly so the connection does not leak, then monitor the inflator even if it has automatic shutoff.
- After inflation, let the reading settle and confirm the final pressure with a trustworthy gauge.
- If a tire is severely underinflated, damaged, or quickly loses pressure again, do not keep topping it off; have the tire inspected.
How to Find the Right PSI
Start with the Tire and Loading Information placard, usually on the driver-side door jamb or door edge. The owner’s manual is another reliable source. Some vehicles may place tire-pressure information in another location, such as the glove box or fuel door.
The placard lists the vehicle manufacturer’s recommended cold tire pressure. Front and rear tires may have different values, so read the label carefully. If your vehicle has an inflatable spare, check its specified pressure separately.
Do not set the inflator from the number molded into the tire sidewall. That number is generally the tire’s maximum cold inflation pressure, not the pressure your vehicle manufacturer recommends for normal use.
For the most accurate comparison with the placard, check pressure when the tires are cold. A practical rule is to measure before driving or after the vehicle has been parked for at least three hours.
Before You Start: Safety Checks
- Park on a stable surface away from moving traffic and set the parking brake.
- Inspect the tire for obvious cuts, bulges, exposed cords, or other damage before adding air.
- If the tire was driven while very low or flat, have it inspected before relying on reinflation alone.
- Keep the inflator, hose, and power cord away from hot exhaust parts and moving components.
- Follow the inflator manufacturer’s duty-cycle and cooldown instructions so the compressor does not overheat.
- Do not leave the inflator unattended while it is running, even if it has automatic shutoff.
Set the Target PSI on Your Inflator
Turn on the inflator and select the pressure unit that matches the value you intend to use. In the U.S., that will usually be PSI. Many digital inflators also support bar or kPa.
Use the +/− buttons, dial, preset control, or menu to enter the recommended cold pressure from the vehicle placard. The exact sequence varies by model: some inflators let you set the target before connecting to the tire, while others read the tire pressure first and then let you enter a target. Follow your inflator’s manual if the controls differ.
| Action | What You Do | Why It Matters |
|---|---|---|
| Select unit | Choose PSI, kPa, or bar | Prevents unit-entry errors |
| Enter target | Use the placard value | Sets the correct pressure goal |
| Confirm | Check the target on screen | Catches accidental changes |
| Start | Begin inflation when connected | Lets auto-stop work if equipped |
Connect the Tire Inflator to the Valve
Locate the valve stem on the wheel and remove its cap. Keep the cap somewhere clean so you can reinstall it afterward.
Attach the inflator chuck straight onto the valve stem. A screw-on chuck should be threaded on until snug; a clamp-style or lever chuck should be seated and locked according to the inflator’s instructions.
A brief hiss while connecting can be normal, but continuous hissing usually means the chuck is not sealed correctly.
If the display shows an obviously unrealistic pressure, or pressure does not change as expected, stop the inflator and reseat the connection. Do not force a crooked fitting onto the valve stem.
Start Inflating Your Tire
Once the chuck is secure and the target pressure is set, power the inflator from its approved source. Depending on the model, that may be a rechargeable battery, a 12-volt vehicle outlet, or household AC power.
Start inflation and watch the hose, tire, and display. Automatic shutoff can reduce the risk of overinflation, but it does not replace supervision or a final pressure check.
- Confirm the correct tire and target pressure.
- Make sure the chuck is seated securely on the valve stem.
- Start the inflator and monitor the pressure display.
- Allow an auto-stop model to stop at the preset value, or stop a manual model at the target.
- Pause briefly for the pressure reading to stabilize before checking the final PSI.
If the inflator becomes unusually hot, smells abnormal, or shuts down from thermal protection, stop using it and follow the manufacturer’s cooldown instructions.
Check Tire Pressure as You Inflate
The displayed pressure can fluctuate while air is flowing. For a more useful final reading, stop or pause inflation and allow the reading to stabilize.
| Action | Tool | Purpose |
|---|---|---|
| Check starting pressure | Tire gauge or inflator display | Shows how much air is needed |
| Monitor inflation | Inflator display | Tracks pressure as air is added |
| Verify final pressure | Reliable tire gauge | Confirms the settled reading |
| Correct excess pressure | Gauge bleed feature or valve core | Reaches the placard value |
If the tire is cold and the final reading is above the placard value, release a small amount of air and check again. If it is below the target, add air in short bursts.
If the tires are hot from driving, do not bleed them down simply because the reading is above the cold placard pressure. Tire pressure normally rises as tires warm. Recheck and adjust when the tires are cold.
Stop at the Correct PSI
The correct stopping point is the vehicle manufacturer’s recommended cold inflation pressure for that tire position. After inflation, disconnect the chuck carefully, recheck the pressure, and reinstall the valve cap.
Find Recommended PSI
Use the driver-side tire placard or owner’s manual. Do not assume all four tires use the same value, and do not substitute the tire sidewall’s maximum-pressure number for the vehicle recommendation.
- Read the placard.
- Check whether front and rear specifications differ.
- Confirm the tire is cold when comparing it with the cold-pressure specification.
- Note the required unit and pressure before adjusting the inflator.
Set Auto-Stop Pressure
If your inflator has auto-stop, enter the placard pressure and confirm the value on screen before starting. Auto-stop behavior varies by model, so follow the inflator’s instructions rather than assuming every unit works the same way.
| Step | Action | Result |
|---|---|---|
| 1 | Select the pressure unit | Avoids PSI/kPa/bar mistakes |
| 2 | Enter the placard pressure | Sets the target |
| 3 | Confirm the display | Verifies the preset |
| 4 | Start and monitor inflation | Confirms normal operation |
| 5 | Let the unit stop at the target | Completes the preset cycle |
Verify Final Tire Pressure
After the inflator stops, let the pressure settle and check it with a reliable tire gauge. Compare that reading with the vehicle manufacturer’s recommendation.
- If the tire is low, reconnect the inflator and add air in a short burst.
- If the cold tire is high, release a small amount of air and check again.
- Repeat until the settled reading matches the recommended pressure closely.
- Reinstall the valve cap and check for an obvious continuing leak.
Solve Common Inflator Setting Issues
If the inflator does not behave as expected, stop and check the basics before assuming the tire or compressor is faulty.
| Issue | Likely Cause | What to Do |
|---|---|---|
| Wrong target displayed | Wrong unit or accidental input | Select the correct unit and re-enter the target |
| Reading jumps or looks unrealistic | Loose or crooked chuck | Stop and reseat the connection |
| Inflator stops below target | Weak power, overheating, or model-specific protection | Check the power source and manual; allow cooldown if required |
| Inflator and gauge disagree | Gauge tolerance or calibration difference | Compare readings after pressure stabilizes and use a trusted gauge for the final check |
| Tire quickly loses air again | Leak, puncture, valve problem, or tire damage | Stop repeated top-offs and have the tire inspected |
If the inflator repeatedly gives abnormal readings, consult its manual for reset, calibration, service, or fault-code instructions. Do not keep inflating when the displayed pressure is clearly unreliable.
Keep Your Tire Inflator Ready
Store your tire inflator in a clean, dry location within the temperature limits in its manual. Protect the hose, chuck, cord, and battery from damage.
Before use, inspect the hose and fittings for cracks, leaks, loose parts, or contamination. For battery-powered models, keep the battery charged according to the manufacturer’s storage guidance.
Proper Storage Practices
- Inspect the inflator for visible damage before putting it away.
- Wipe dirt from the chuck and hose after use.
- Store accessories so they do not damage the hose or valve fittings.
- Secure the inflator in the vehicle so it does not become a loose object during travel.
Routine Performance Checks
Check the inflator periodically rather than discovering a dead battery or damaged hose when you need it on the road. If its pressure reading consistently differs from a trusted gauge, consult the manual or manufacturer for calibration or service guidance.
Also check your vehicle’s tire pressure at least monthly when the tires are cold. A tire-pressure monitoring system is an important warning feature, but it does not replace routine manual pressure checks.
Frequently Asked Questions
How to Set PSI on Tire Inflator?
Find the recommended cold PSI on the driver-side tire placard or in the owner’s manual. Select PSI on the inflator, enter that value with the unit’s controls, attach the chuck securely, and start inflation. When it stops, let the reading stabilize and verify the final pressure with a reliable gauge.
How to Set Air Compressor PSI?
For a portable tire inflator with a preset, enter the vehicle’s recommended tire pressure as the target. For a tank-style air compressor, the regulator controls outlet pressure, so follow the compressor and tire-inflation accessory instructions and monitor the tire with a proper gauge. Never use the compressor tank pressure itself as the tire-pressure target.
How to Set Tire PSI?
Use the vehicle manufacturer’s recommended cold pressure from the tire placard or owner’s manual. Check the tire when cold, add or release air as needed, and verify with a reliable gauge. Do not use the maximum PSI on the tire sidewall as the normal setting.
How to Operate a Portable Tire Inflator?
Park safely, check the placard pressure, connect the inflator to its approved power source, attach the chuck securely, select the correct unit and target pressure, then start inflation. Monitor the unit while it runs, stop at the recommended pressure, verify the final reading, and replace the valve cap.
Should You Check Tire Pressure When the Tires Are Hot or Cold?
Use a cold reading whenever possible because the vehicle placard specifies cold inflation pressure. If you have been driving, tire pressure will normally be higher. Do not bleed a hot tire down to the cold placard value; recheck it after the vehicle has been parked long enough for the tires to cool.
What If the Tire Inflator Stops Before Reaching the Target PSI?
Check the power source, battery charge, hose connection, and the inflator’s temperature or overload indicator if it has one. Some units stop when they overheat or detect a fault. Let the unit cool if the manual requires it, reconnect the chuck, and try again only if the tire itself appears safe to inflate.
Conclusion
Setting a tire inflator correctly starts with one number: the vehicle manufacturer’s recommended cold tire pressure. Enter that value in the correct unit, connect the inflator securely, monitor the process, and verify the final pressure after the reading stabilizes.
Correct tire pressure supports safe handling, tire durability, and fuel efficiency. Check your tires at least monthly when cold, and investigate any tire that repeatedly loses pressure instead of relying on repeated top-offs.

