
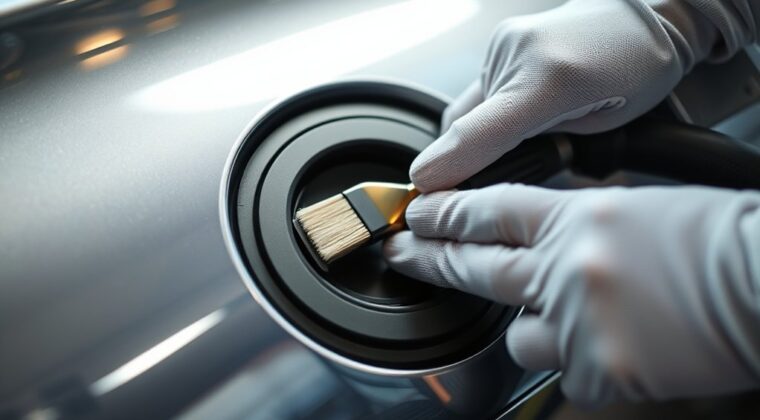
A dirty EV charging port can cause poor connector seating, failed charge starts, moisture around the inlet, or extra wear on the charging flap and seals. You can handle light cleaning at home, but treat the port like an electrical connector: stop charging, unplug the cable, keep liquids out of the inlet, and use only soft, low-moisture tools.
Quick Answer
To clean an EV charging port gently, stop charging, unplug the cable, turn the vehicle off if your manual recommends it, and inspect the inlet with a light. Wipe only the outer flap and surrounding trim with a microfiber cloth. Use a soft brush or dry foam swab for loose debris, then let the port dry fully before charging.
Key Takeaways
- Keep water, oils, WD-40, metal tools, and abrasive pads away from the charge inlet.
- Use a microfiber cloth, soft brush, foam swabs, and low-pressure air only for light dust and surface grime.
- Do not scrape pins, force debris out, or apply grease unless your vehicle maker or a qualified technician approves it.
- Call service if you see corrosion, burn marks, bent pins, melted plastic, damaged seals, or repeated charging failures.
At a Glance
| Time Required | 5 to 10 minutes for light cleaning; longer if the area must air-dry |
| Difficulty | Easy for surface dust and flap cleaning; stop if you see electrical damage |
| Tools Needed | Microfiber cloth, soft detailing brush, dry foam swabs, flashlight, low-pressure air bulb or gentle air blower |
| Cost | Usually $0 to $15 if you already own basic detailing supplies |
Safety First: Preparing to Clean Your EV Charging Port
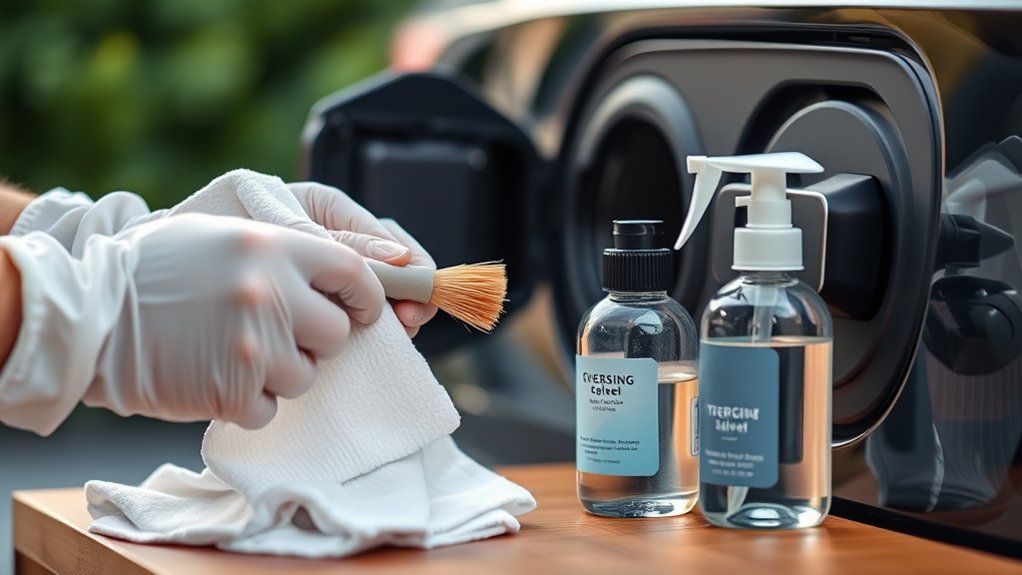
Before you touch the charging port, stop the charging session and disconnect the cable. If your owner’s manual tells you to switch the vehicle off before charging-port service or cleaning, follow that guidance. Wait a few minutes if the connector, cable, or port area feels warm.
Warning: Never spray water, steam, WD-40, silicone spray, oil, or household cleaner into an EV charging port. Do not use metal picks, screwdrivers, abrasive pads, or high-pressure air inside the inlet. If debris will not lift with a soft dry tool, stop and have the port inspected.
Use a flashlight first. Look for loose dust, leaves, sand, lint, moisture, cracked rubber seals, bent contacts, green or white corrosion, burn marks, melted plastic, or a flap that does not close securely. Light dust is owner-cleanable. Electrical damage, corrosion, heat marks, and broken latch parts are service items.
Modern EV charging connectors use physical contacts and signaling paths. In North America, many vehicles use SAE J1772, CCS, or SAE J3400/NACS style connectors. The shapes differ, but the safe cleaning rule is the same: keep the inlet dry, avoid harsh chemicals, and do not scrape or bend contact surfaces.
What You Need for a Gentle Clean
You do not need aggressive products to clean an EV charging port. In most cases, the safest approach is a dry inspection, a soft wipe around the flap, and careful debris removal from non-contact areas.
Essential Cleaning Supplies
| Microfiber cloth | Wipes the charging flap, painted area, and surrounding trim without scratching. |
| Soft detailing brush | Lifts dry dust, sand, and lint from corners around the flap and inlet housing. |
| Foam swabs | Useful for tight, non-abrasive cleaning where fingers cannot reach. Use dry unless your manual allows a cleaner. |
| Low-pressure air bulb or gentle blower | Moves loose dust or helps dry the area without blasting moisture deeper into the inlet. |
| pH-neutral automotive cleaner | Use only on the outer flap and surrounding bodywork, applied to the cloth rather than sprayed into the port. |
Safe Cleaning Techniques
Keep the cleaning process light and controlled. Apply cleaner to the cloth, not to the port. Wipe the painted area and outside of the charging flap first. Then open the flap and use a dry soft brush to sweep loose debris away from the inlet opening.
If there is sticky residue on plastic trim around the port, use a barely damp microfiber cloth and dry the area right away. If residue appears on metal contacts, do not scrape it. A dry foam swab is the safest first step. If your owner’s manual or dealer approves isopropyl alcohol for contact cleaning, use only a tiny amount on the swab, never poured or sprayed directly into the port.
Pro Tip: Clean the charging cable connector too. A dirty cable plug can transfer grit back into the vehicle inlet the next time you charge.
Recommended Cleaning Products
Choose mild, residue-free products. A clean microfiber cloth and a dry soft brush should handle most dust. For the painted area around the port, a diluted pH-neutral automotive cleaner is safer than household degreasers or strong alkaline soaps.
Do not use WD-40, petroleum oils, silicone sprays, tire shine, all-purpose household degreasers, bleach, vinegar, abrasive polish, or metal tools in the charging inlet. Also avoid routine dielectric grease inside the port unless your vehicle manufacturer or a qualified EV technician specifically recommends it for your model.
Step-by-Step Cleaning Process for Your Charging Port
Follow these steps for light cleaning only. If the port is wet, corroded, visibly damaged, or repeatedly fails to charge, skip cleaning and schedule service.
Essential Cleaning Tools
Gather a flashlight, microfiber cloth, soft detailing brush, dry foam swabs, and a low-pressure air bulb or gentle blower. Keep liquids away from the inlet. If you use a pH-neutral cleaner on the outer flap, spray it onto the cloth away from the vehicle.
Step-by-Step Instructions
- Stop charging and unplug. End the charging session, remove the connector, and make sure the cable is away from the port.
- Inspect with a flashlight. Look for moisture, sand, leaves, lint, cracked seals, corrosion, bent pins, heat marks, or melted plastic.
- Wipe the outer area. Use a microfiber cloth to clean the charging flap, hinge area, and surrounding painted surface. If needed, use a small amount of pH-neutral cleaner on the cloth only.
- Brush loose debris. Use a soft detailing brush around the inlet housing and corners. Brush outward so debris leaves the port area instead of moving deeper inside.
- Use foam swabs carefully. Use a dry foam swab for tight spots. Do not press hard on contacts, seals, or small pins.
- Dry the area. Let the port air-dry. Use a low-pressure air bulb or gentle blower only from a short distance. Do not blast high-pressure compressed air into the inlet.
- Check the flap and seal. Confirm the flap opens, closes, and latches normally. The seal should sit evenly with no cracks or loose sections.
- Reconnect only when dry. Charge again only after the port and connector are dry and the connector seats smoothly.
Note: A clean port can help the connector seat properly, but it will not fix a damaged charger, bad cable, failed latch, software issue, or internal vehicle charging fault.
What Not to Use on an EV Charging Port
The fastest way to damage a charging port is to treat it like a normal exterior trim gap. Avoid anything that can leave residue, push moisture deeper, scratch contacts, or interfere with connector seating.
- Do not use WD-40 or oil-based sprays. They can leave residue and attract dust.
- Do not use metal picks or screwdrivers. They can scratch contacts, bend small parts, or damage seals.
- Do not use pressure washers or steam cleaners. They can force moisture past seals and into electrical areas.
- Do not pour rubbing alcohol into the port. If alcohol is approved, use only a small amount on a foam swab.
- Do not apply dielectric grease as routine maintenance. Use it only when your vehicle maker or technician specifically calls for it.
- Do not force a connector into a dirty or damaged inlet. Stop and inspect the port first.
Inspecting for Damage
Regular inspections help you catch small problems before they become charging failures. Start with the rubber seals around the charging flap and inlet. Cracked, flattened, torn, or missing seals can let water and grit enter the port area.
Next, look at the port opening and visible contact areas. Watch for corrosion, discoloration, bent contacts, broken plastic guides, dark burn marks, or melted edges. Any of these signs means you should stop cleaning and arrange a professional inspection.
Check the charging flap hinge, latch, and release mechanism. The flap should open smoothly and close securely. If it sticks, hangs loose, or does not seal, dirt and moisture can enter more easily.
Also inspect your charging cable connector. Dirt, moisture, cracked plastic, or damaged pins on the cable side can cause the same symptoms as a dirty vehicle port. Wipe the cable handle exterior with a dry microfiber cloth and keep the connector covered when not in use.
Troubleshooting Common Charging Issues
If your EV charges at one station but not another, the problem may be the public charger, cable connector, adapter, payment system, software handshake, or vehicle inlet. Dirt is only one possible cause.
Start with simple checks. Make sure the connector is fully seated, the flap is not blocking the latch, the cable is not pulling sideways, and the station screen or app has started the session. If you use an adapter, remove it and inspect both ends for moisture, grit, heat marks, or cracked plastic.
A failed “handshake” means the vehicle and charger did not complete the connection and communication sequence needed to begin charging. Poor seating, damaged latch parts, debris, charger faults, or adapter problems can all contribute. Public fast-charger reliability studies have found that charger-side problems, including broken connectors, can be part of failed charging experiences.
If the port looks clean but charging still fails, try a different cable or station if it is safe to do so. If the same vehicle error returns across multiple chargers, schedule service rather than continuing to clean the port.
Long-Term Care Tips for Your EV Charging Port
Keep the charging flap closed whenever the port is not in use. This simple habit helps keep rain, dust, road salt, pollen, and wash water away from the inlet.
After driving through heavy rain, snow, mud, or road salt, inspect the flap area before your next charge. If the port area is wet, let it dry before connecting. If you use public chargers often, look at the charger connector before plugging in. Do not use a connector that is cracked, muddy, soaked, overheated, or visibly damaged.
Store portable charging cables with their caps on and keep them off the ground when possible. Dirt on the cable connector can transfer directly into the vehicle port.
During regular car washing, avoid aiming a pressure washer at the charging flap or inlet area. Wash around the flap gently, then dry the area with a clean microfiber towel.
A charging port should be clean and dry, but it should not be scrubbed, soaked, lubricated, or treated with harsh chemicals.
When to Call Service
Stop cleaning and contact your dealer, mobile service provider, or qualified EV technician if you notice any of these issues:
- Green, white, or powdery corrosion on or near contacts
- Burn marks, melting, scorching, or a hot-plastic smell
- Bent, loose, recessed, or missing pins
- Broken flap, loose hinge, failed latch, or damaged locking pin
- Water trapped inside the inlet after drying time
- Repeated charging errors across different chargers
- Connector will not seat smoothly or release normally
These problems can involve the vehicle inlet, cable, adapter, charger, or onboard charging system. Do not keep scraping or adding cleaner to the port in hopes of forcing a fix.
Frequently Asked Questions
How do you clean EV charging ports?
Stop charging, unplug the cable, inspect the port with a flashlight, and wipe only the outer flap and surrounding trim with a microfiber cloth. Use a soft dry brush or foam swab for loose debris. Keep liquids out of the inlet and let the area dry fully before reconnecting.
How do I clean my charging port without damaging it?
Use soft, non-metal tools and very little moisture. Do not scrape pins, push tools deep into the inlet, use abrasive pads, or spray cleaner into the port. If dirt does not lift with a soft dry brush or foam swab, stop and have the port inspected.
Can I put rubbing alcohol in my charging port to clean it?
No. Do not pour or spray rubbing alcohol into an EV charging port. If your owner’s manual or dealer approves alcohol for light residue, apply a tiny amount to a foam swab outside the port area, then clean gently and let the inlet dry completely.
Can I use WD-40 to clean a charging port?
No. WD-40 and similar sprays can leave residue, attract dust, and interfere with clean connector seating. Use a dry microfiber cloth, soft brush, or foam swab instead. For corrosion or stuck debris, contact a qualified technician.
Should I clean the charging cable connector too?
Yes, inspect it before plugging in. A dirty, wet, cracked, or damaged cable connector can transfer grime into the vehicle inlet or cause a poor connection. Wipe the handle and exterior with a dry microfiber cloth, but do not scrape or soak the connector.
What if my EV still will not charge after cleaning?
Try a different charger or cable if it is safe and convenient. If the same error appears at multiple chargers, or you see corrosion, heat marks, bent pins, or latch damage, stop cleaning and schedule service. The issue may be the inlet, cable, adapter, charger, or onboard charging system.
Conclusion
Keeping your EV charging port clean is mostly about prevention. A dry, debris-free inlet helps the connector seat correctly and reduces the chance of dirt, moisture, or damaged seals causing charging trouble. Use soft tools, avoid sprays and oils, clean the cable connector too, and stop immediately if you see corrosion, heat damage, bent pins, or repeated charging errors. Gentle care is safe; forced cleaning is not.
Sources
- SAE J1772 Electric Vehicle and Plug in Hybrid Electric Vehicle Conductive Charge Coupler — backs up J1772 connector and safety/signaling context.
- SAE J3400 North American Charging System — backs up NACS/J3400 connector context.
- IEC 62196-1:2025 — backs up international EV plug, socket-outlet, vehicle connector, and vehicle inlet standard context.
- Reliability of Open Public Electric Vehicle Direct Current Fast Chargers — backs up charger reliability and broken-connector troubleshooting context.