
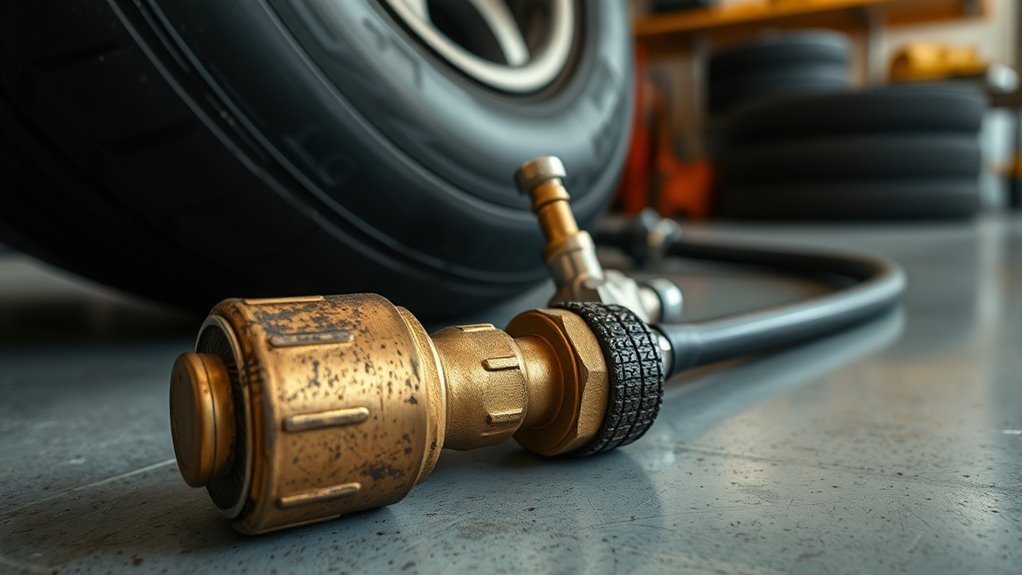
Replace a tire inflator air chuck when it has a persistent leak after you have reseated and cleaned it, cannot stay securely attached to the valve stem, has a cracked or bent body or locking mechanism, or has a damaged seal that cannot be serviced. A brief hiss while attaching or removing some chucks can be normal. Before replacing the chuck, confirm that the leak is not coming from the hose fitting, quick coupler, tire valve core, or valve stem.
Key Takeaways
- Replace the air chuck if it keeps leaking after correct seating, cleaning, and fitting checks.
- Replace it if a locking or clip-on chuck will not stay securely attached to the valve stem.
- Stop using a chuck with a cracked body, bent lever or collar, damaged threads, or other structural damage.
- Do not use an arbitrary inflation-time rule to diagnose chuck failure; inflation speed depends on the tire, inflator, hose, pressure, and airflow.
- Match the replacement chuck to the valve type, thread or connector, pressure rating, and open-flow or closed-flow design required by your equipment.
First Signs of Air Chuck Wear
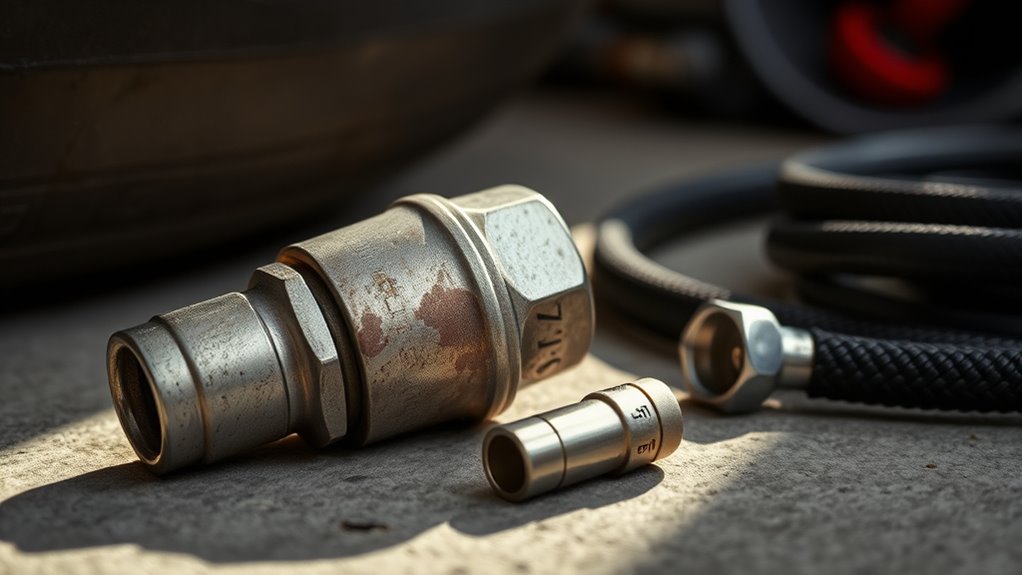
A continuous hiss while the chuck is fully seated can point to a poor seal, but the chuck is not always the cause. Dirt on the valve, a crooked connection, a loose hose fitting, or a leaking tire valve can produce similar symptoms.
Inspect the chuck closely. Look for a cracked body, a bent lever or collar, damaged threads, a torn or hardened internal seal, corrosion, or a locking mechanism that no longer moves smoothly.
If a locking or clip-on chuck slips off the valve stem, its gripping parts may be worn or damaged. Some locking designs use steel jaws, while other chucks use clips, levers, or different internal mechanisms, so inspect the parts used by your specific model.
Extra force is another warning sign if the chuck used to connect easily. First clean the chuck and valve stem and check alignment. If the mechanism still binds, sticks, or will not lock correctly, service or replace it according to the manufacturer’s instructions.
A good air chuck should connect squarely, seal without continuous leakage, and remain stable while you inflate the tire.
When Should You Replace an Air Chuck?
Replace an air chuck when it cannot make a dependable seal after basic troubleshooting or when the chuck itself is physically damaged. Persistent leakage, a failed locking mechanism, damaged threads, cracked metal or plastic, or a non-serviceable worn seal are practical replacement triggers.
Do not judge a chuck by a fixed number of seconds needed to build pressure. Inflation time varies widely with tire size, starting pressure, compressor output, hose size, valve flow, and the inflator’s duty cycle.
Inspect the chuck periodically and whenever it is dropped, contaminated, difficult to connect, or starts leaking. Follow the tool manufacturer’s maintenance interval if one is provided rather than relying on a universal six-month schedule.
Replace or Troubleshoot First?
| Symptom | First Step | Replace the Chuck? |
|---|---|---|
| Brief hiss while connecting or removing | Reconnect squarely and test | Usually not by itself |
| Continuous hiss while fully connected | Check seating, debris, valve, seal, and hose fitting | Yes if the chuck remains the confirmed leak source |
| Leak at threaded hose connection | Depressurize, inspect threads, and reseal as specified | Only if threads or body are damaged |
| Chuck slips or will not lock | Clean and inspect the locking mechanism | Yes if worn, bent, or non-serviceable |
| Cracked body or damaged threads | Stop using it | Yes |
| Tire loses pressure after chuck is removed | Check the valve core, stem, bead, tread, and wheel | Not unless the chuck also fails a separate leak test |
Can You Fix a Leaking Air Chuck?
Sometimes. Start by finding the exact leak source. Reattach the chuck squarely to the valve stem, clean dirt from the contact surfaces, and inspect the chuck seal, valve stem, hose fitting, and quick coupler.
If the leak comes from a threaded air-line connection, disconnect and depressurize the system before tightening or resealing the fitting. Use the thread sealant and installation method specified for that fitting. If the chuck body, threads, locking parts, or a non-serviceable internal seal are damaged, replacement is usually the better repair.
Quick Leak Fixes
A leaking chuck does not always need immediate replacement. Work from the simplest external causes toward the chuck itself.
- Seat the chuck squarely and fully on the valve stem.
- Clean dirt or grit from the valve and chuck sealing surfaces.
- Check threaded hose connections and quick couplers for leaks.
- Use a mild soap-and-water solution on pressurized joints and watch for growing bubbles.
- Inspect serviceable seals or O-rings for cuts, flattening, hardening, or twisting.
- Check the tire valve core and valve stem if the leak appears to come from the tire rather than the chuck.
A small puff of air during attachment or removal can be normal on some inflators. Continuous hissing after the chuck is correctly connected is the symptom that needs diagnosis.
When To Replace
Replace the chuck when cleaning, reseating, and correcting external fittings do not stop a confirmed chuck leak. Also replace it if the body is cracked, the threads are damaged, or its locking mechanism is bent, broken, or too worn to hold securely.
If the tire loses pressure after the chuck has been removed, do not assume the chuck is causing the ongoing loss. Test the tire valve core, valve stem, bead, tread, and wheel because those parts remain connected to the tire after the inflator is gone.
Check the Seal and Locking Mechanism
Inspect the rubber seal or other sealing surface because wear, hardening, cuts, or trapped debris can prevent an airtight connection. If your chuck has a serviceable seal, use the manufacturer’s specified replacement part.
- Check the seal for cuts, flattening, hardening, or missing material.
- Make sure the locking lever, clip, collar, or jaws move freely.
- Confirm the chuck does not slip off the valve stem under normal use.
- Listen for continuous hissing at the chuck-to-valve interface.
- Inspect the chuck body and inlet threads for cracks, corrosion, or damage.
Do not force a sticky mechanism onto the valve stem. Excess side pressure can damage the valve or make a poor seal look temporarily better without fixing the underlying problem.
A good chuck should connect squarely, stay secure, and seal without continuous hissing.
Signs Your Air Chuck Needs Replacement
The strongest replacement signs are a leak that has been traced to the chuck and will not stop after proper seating and cleaning, a locking mechanism that will not hold, damaged inlet threads, or visible cracks or bending.
Seal wear is also a common cause. If your model has a replaceable seal, repairing it may be reasonable. If the seal is not serviceable, the chuck keeps leaking under normal operating pressure, or the structure is damaged, replace the chuck.
Pressure readings that fluctuate while air escapes at the connection can also be unreliable. Correct the leak before using the inflator to set tire pressure.
Open Flow or Closed Flow?
Choose the flow type that matches how your inflation system controls air. An open-flow chuck allows air to pass through even when it is not attached to a valve stem. It is commonly used with inflator gauges, trigger-controlled tools, automatic systems, and many portable inflators that control airflow elsewhere.
A closed-flow chuck stops airflow when it is disconnected and opens when it engages the tire valve. It is commonly used when the chuck connects directly to a pressurized compressor hose or another constant-pressure line.
- Open flow: airflow is controlled elsewhere in the system.
- Closed flow: the chuck itself stops flow when disconnected.
- Using the wrong type can cause constant air discharge or prevent the system from operating as intended.
- Always follow the inflator, gauge, compressor, or chuck manufacturer’s compatibility instructions.
Choose the Right Replacement Air Chuck
Match the new chuck to the equipment instead of choosing by appearance alone. Check the system manual or the markings on the original part.
| Check | What to Match |
|---|---|
| Valve type | Schrader or the required valve/adapter |
| Pressure rating | At least the required system working pressure |
| Flow type | Open flow or closed flow |
| Connection | Correct thread size or quick-connect interface |
| Chuck style | Push-on, clip-on, locking, straight, or angled as needed |
Many air chucks use NPT pipe threads, but sizes and connection systems vary. Do not assume every chuck uses the same thread. A pressure rating also applies to the specific product, not to all chucks as a category.
Install and Test Your New Air Chuck
Install the replacement chuck on the inflator hose, gauge, or air-line fitting—not permanently on the tire valve stem. Disconnect the inflator from power or depressurize the air line before removing a threaded chuck.
Confirm that the new chuck has the correct thread or connector and flow type. If the connection uses NPT threads and the manufacturer calls for thread sealant, apply the approved sealant correctly, start the threads by hand, and tighten the fitting without overtightening.
Reconnect the system, attach the chuck to a tire valve, and test the installation for leakage before normal use.
Remove Old Chuck
Disconnect the inflator from its power source or shut off and depressurize the compressed-air line. Use the correct wrench or tool to remove the old air chuck from the hose or inflator fitting.
- Protect the hose and fitting from twisting.
- Inspect the threads for stripping, cracking, or corrosion.
- Remove old sealant and debris without damaging the threads.
- Confirm the replacement uses the same compatible connection.
- Do not force a fitting that binds or cross-threads.
Attach New Chuck
Start the new chuck on the air-line or inflator fitting by hand so you can feel whether the threads are aligned. Use the manufacturer-approved thread sealant when required for the connection.
Tighten the chuck securely with the proper tool, following any torque or installation instructions supplied with the product. Do not overtighten, because damaged threads can create another leak.
Once installed, attach the chuck to the tire valve stem in the normal way for that design. A push-on chuck should be held squarely, a clip-on design should lock cleanly, and a screw-on or locking design should follow its own operating instructions.
Test For Leaks
Pressurize the system within the rated limits of the equipment. Apply a mild soap-and-water solution to suspected connection points and watch for growing bubbles, which indicate escaping air.
Check the chuck-to-hose joint, quick coupler, and chuck-to-valve connection separately. Listen for continuous hissing while the chuck is fully seated.
- Reseat the chuck if the leak is at the valve connection.
- Correct the threaded fitting if bubbles form at the chuck inlet.
- Inspect or replace a serviceable seal if the manufacturer permits it.
- Replace the chuck if the body, threads, or locking mechanism are damaged.
- If pressure drops after the chuck is removed, inspect the tire and valve system rather than blaming the disconnected chuck.
Frequently Asked Questions
How Often Should I Replace My Tire Valve Stem?
There is no universal 5-to-7-year replacement rule for every valve stem. Replace a valve stem sooner if it is cracked, damaged, corroded, or leaking.
For rubber snap-in valves and TPMS service components, replacement is commonly recommended when the tire is changed or serviced, using the correct parts for the wheel and sensor. Follow the vehicle, tire, TPMS, or valve manufacturer’s service instructions.
How to Fix a Tire Inflator?
Start by identifying the exact problem. Check the power source, hose, quick coupler, gauge, air chuck, and tire valve. For a leak, use a soap-and-water test to isolate the joint that is losing air.
If the chuck leaks, clean and reseat it, check the hose fitting, and inspect serviceable seals. Replace the chuck if it remains the confirmed leak source or has structural damage. For electrical, compressor, or internal inflator faults, follow the specific inflator manual rather than opening a sealed unit without instructions.
How Long Should I Wait Before Putting Air in My Tires?
For the most accurate reading, check and adjust tire pressure when the tires are cold. NHTSA defines cold tires as tires on a vehicle that has not been driven for at least three hours.
If a tire is significantly underinflated while you are on the road, do not leave it low just to wait for a cold reading. Inflate it using the vehicle manufacturer’s placard pressure as a temporary reference, then recheck and adjust the pressure when the tire is cold. Use the pressure on the vehicle placard or owner’s manual, not the maximum pressure molded into the tire sidewall.
How to Use Tire Inflator Chuck?
Remove the valve cap and connect the chuck squarely to the valve stem. Make sure the chuck is fully seated and secured according to its design, then inflate to the vehicle manufacturer’s recommended pressure.
When finished, stop airflow, remove the chuck straight from the valve, verify the tire pressure with the inflator gauge or a suitable pressure gauge, and reinstall the valve cap. A brief hiss during removal can be normal, but a continuous leak while fully connected needs attention.
Conclusion
Replace your tire inflator air chuck when a confirmed chuck leak persists after cleaning and reseating, the chuck will not stay securely attached, or its body, threads, seal, or locking mechanism is damaged beyond normal service. Do not use fixed inflation-time rules or assume every leak comes from the chuck.
Diagnose the leak first, choose the correct open- or closed-flow replacement for your equipment, install it on the inflator or air line correctly, and test the system before putting it back into regular use.

